Accelerometer calibrations
Contents
Accelerometer calibrations#
The IMU is embedded in the flight controller and includes a gyroscope and an accelerometer, which respectively produce angular rate (in degrees/second) and linear acceleration measurements (normalized to gravitational acceleration at sea level \(g = 9.81 \frac{m}{s^2}\)).
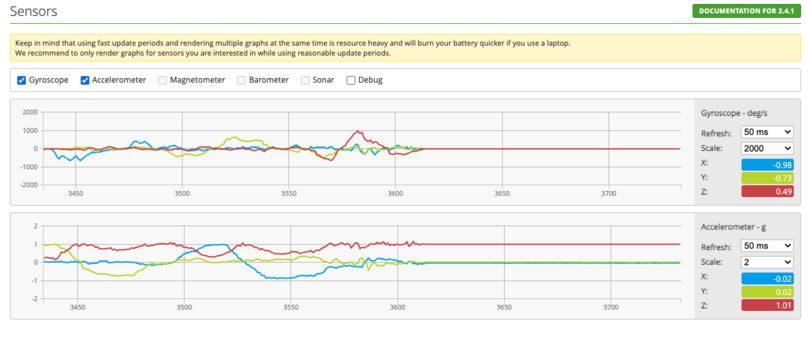
Fig. 118 Sensors tab in Cleanflight Configurator showing Gyroscope and Accelerometer readings#
Calibrating the accelerometer provides the “zero” plane around which the Flight Controller will stabilize the drone during flight, and is a procedure that should be repeated before each flight.
Method 1: calibration through CleanFlight#
Connect the Flight Controller to the base station using the micro USB cable.
Navigate to the Setup page
Place the drone on a (very) flat surface
Attention
Make sure the drone is level on the flat surface.
Click on Calibrate Accelerometer
Warning
Do not move the drone while the calibration is in progress or it will invalidate the calibration.
Wait for a few seconds. A successful outcome will produce a “reset” of pitch and roll measurements and the rendering of the drone’s attitude will show a level condition.
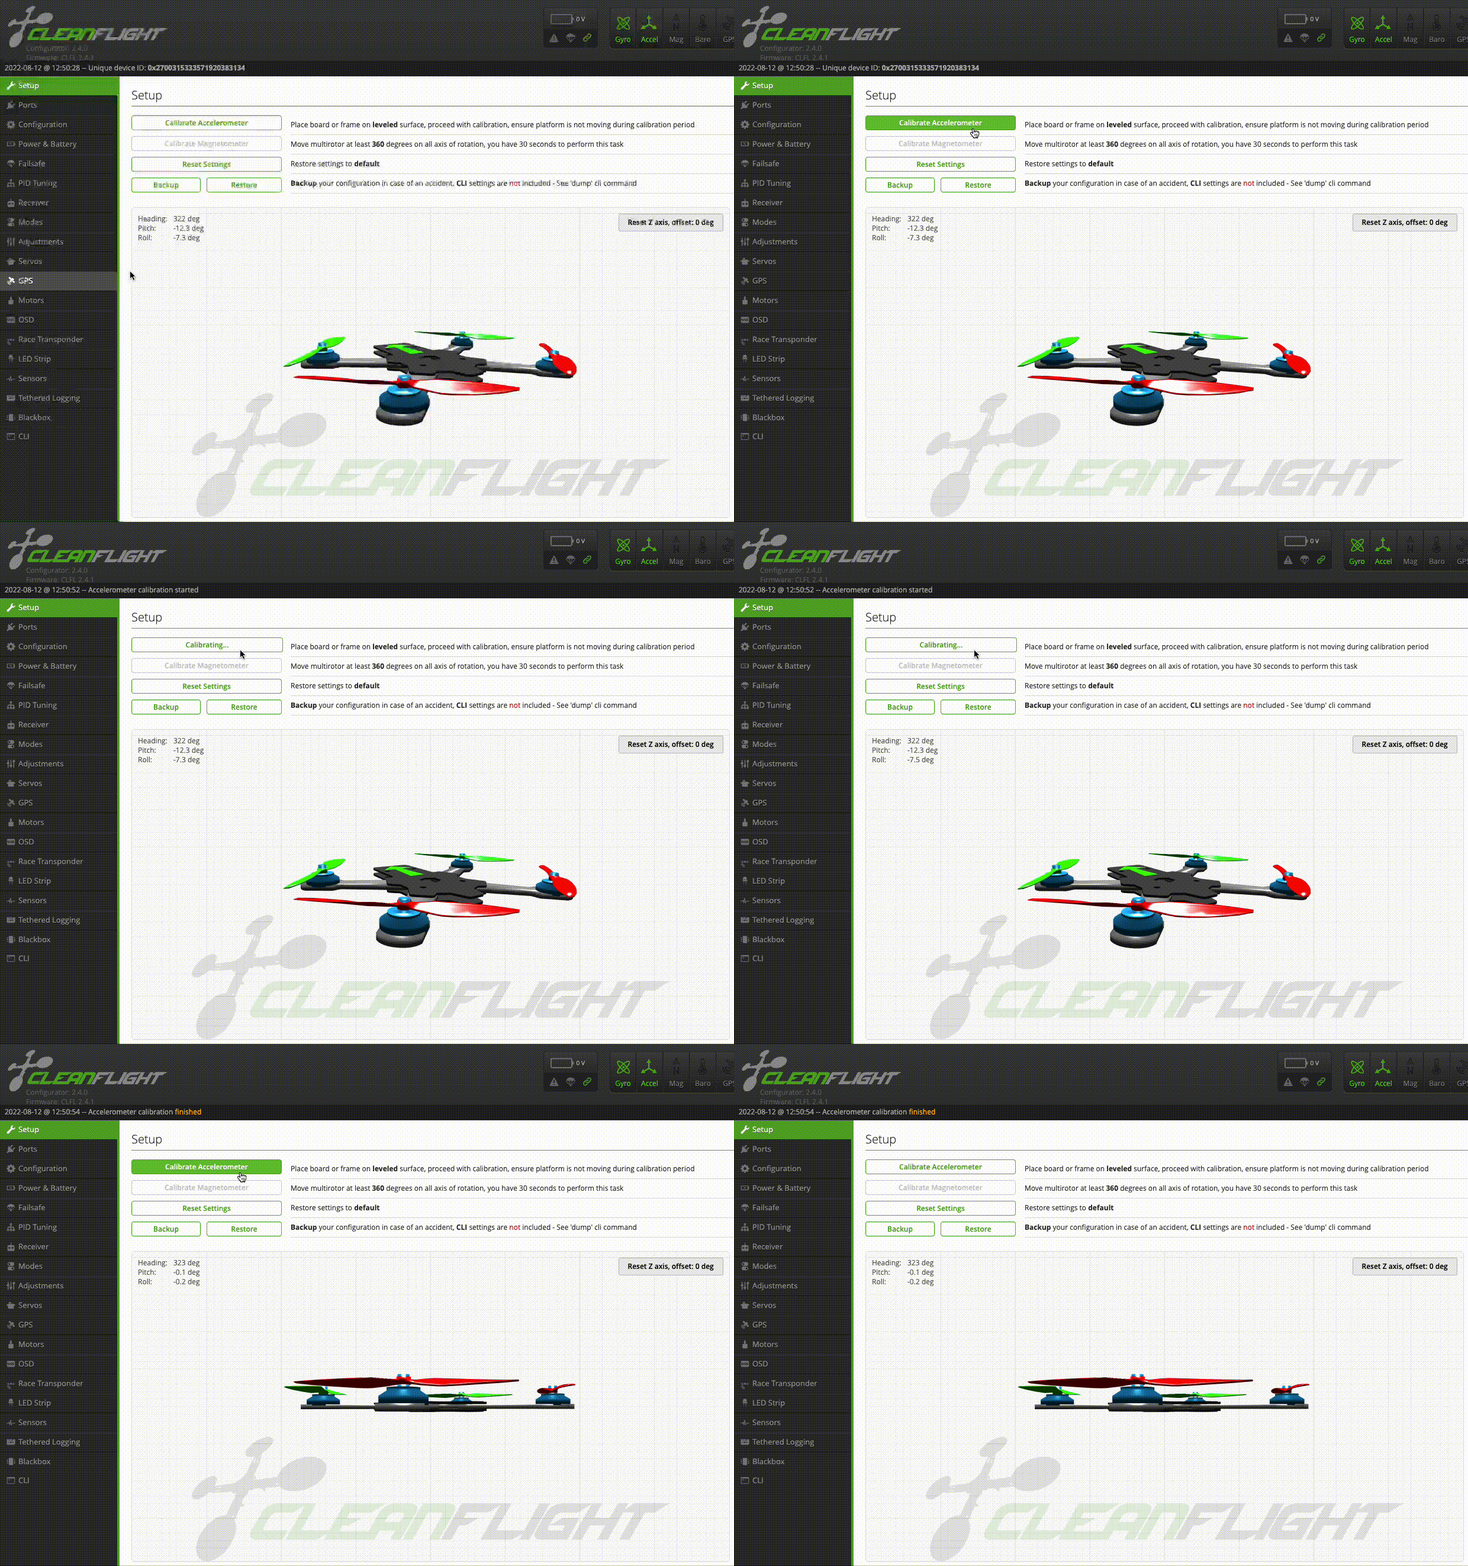
Fig. 119 Calibration procedure#
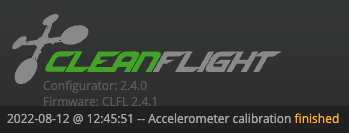
Moreover, a message will appear on the top left of the CleanFlight interface saying Accelerometer calibration finished.
Method 2: calibration through the Dashboard#
The same result as above can be obtained by connecting to the Dashboard instead of directly hard-wiring the Flight Controller to the base station.
Connect to the Dashboard (First connection)
Navigate to the Robot > Mission Control page
Find the
IMU - Orientationmission control blockIn the top right corner of this block, find and click on the Calibrate IMU button.
The data streaming will freeze for a few seconds while the calibration is undergoing, and it will resume once the calibration is complete.
Fig. 120 Calibration of the IMU through the Duckiedrone dashboard#
Resetting Yaw offset#
The IMU calibration “resets” roll and pitch values to zero, but not the yaw.
Note
This part is optional and not strictly needed to have stable flight.
Zeroing the yaw defines the new “forward” direction of the drone, and it can be done through the CleanFlight interface.
Connect the Flight Controller
Navigate to the Setup page
Click on Reset Z axis, offset
A successful outcome will:
show a new
offsetvalue on the reset button itselfthe rendering will show the drone oriented towards the new zero.
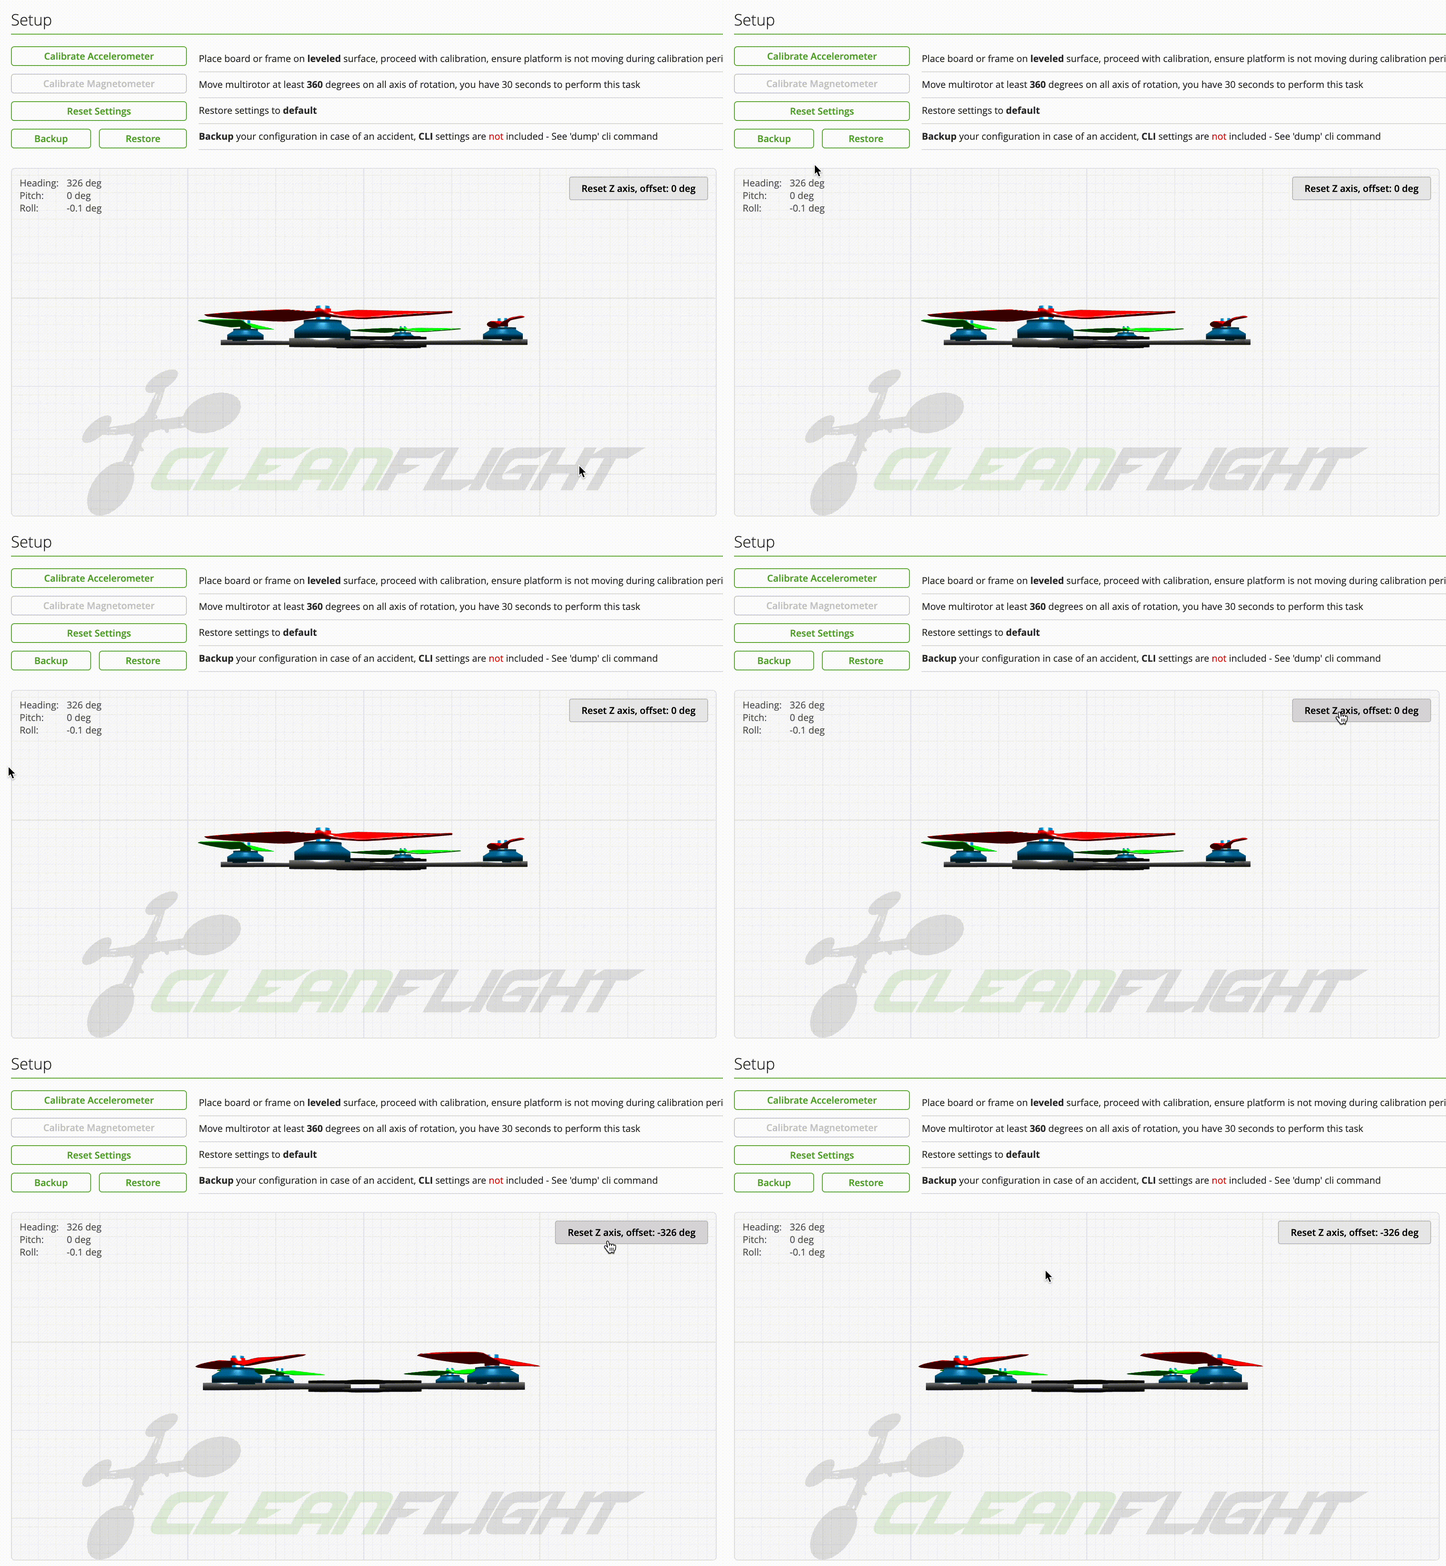
Fig. 121 Drone yaw calibration procedure#
