Assembly - (Legacy) Traffic Light DT18-TL
Contents
Assembly - (Legacy) Traffic Light DT18-TL#
What you will need
You have the components of a
DT18-TLmodel traffic light. If not, you can get one from the Duckietown project store: Get Duckietown Traffic Light DT18-TL section.
What you will get
An assembled traffic light.
Assembly of the Traffic Light Parts#
This section provides step-by-step instructions for assembling the components of the laser-cut traffic light parts.
Warning
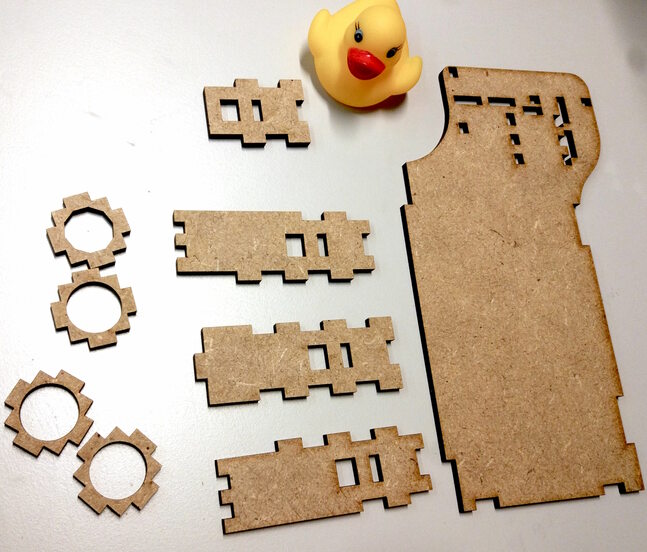
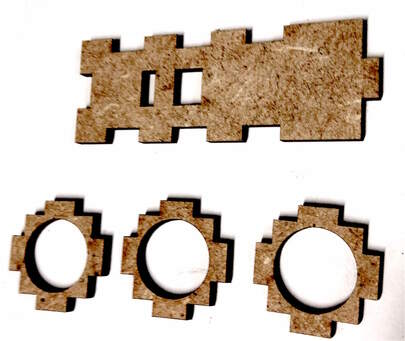
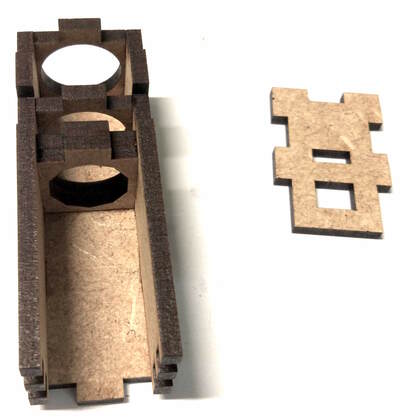
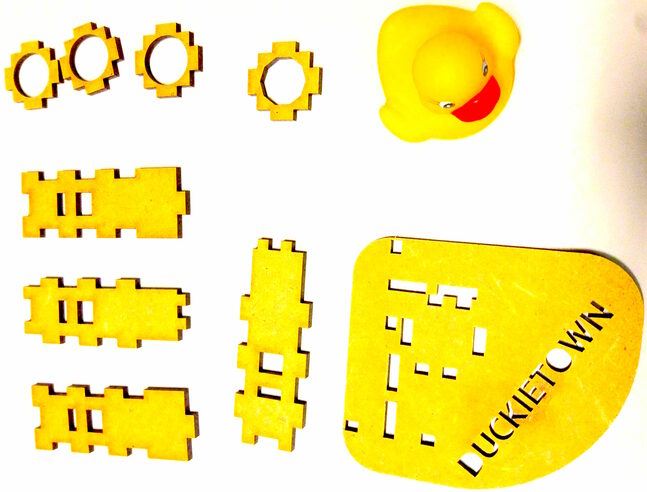
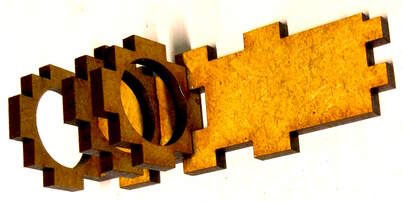
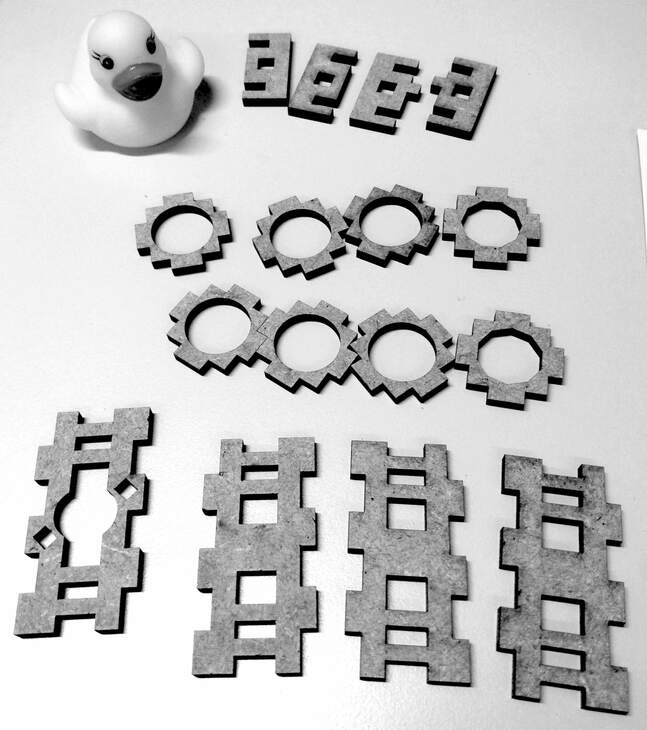
The small parts with holes in the middle, as shown on the left of Fig. 47, are not identical. Some have round holes, while others have polygonal holes. Double-check to ensure you are using the correct parts during assembly (compare with the pictures).
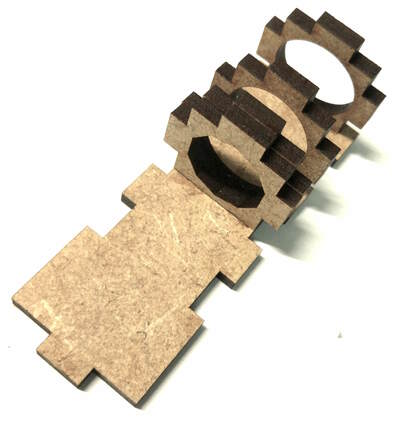
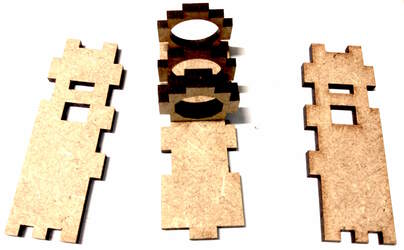
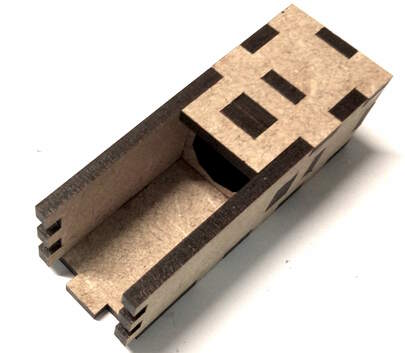
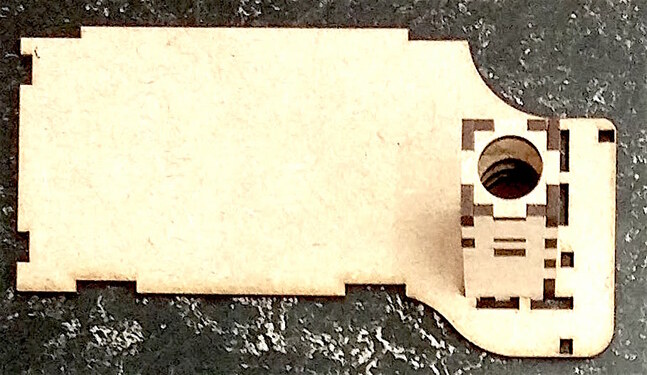
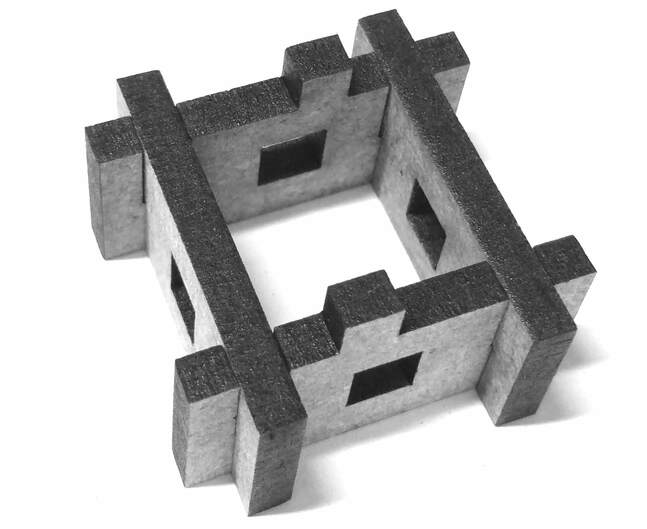
For enhanced structural stability, all parts should be glued together as shown in the images.
Components of the Traffic Light#
After assembling the traffic light chassis, you can proceed to add the electronics.
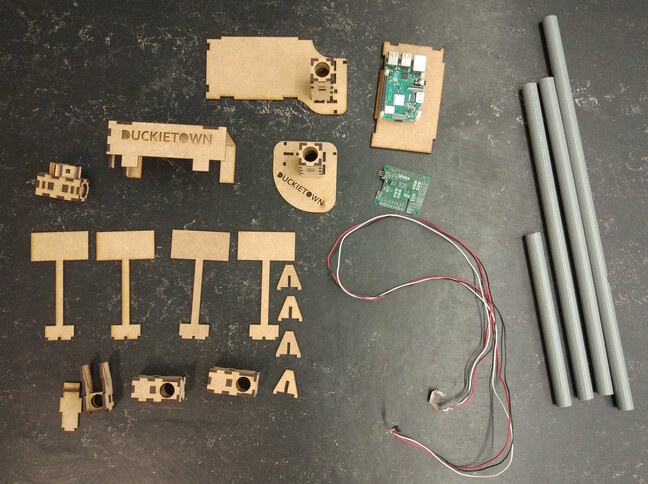
Fig. 48 Parts needed to complete these instructions.#
Required components for one traffic light:
Tube holder with big ground plate
Tube holder with small ground plate (Duckietown)
Cable with soldered LED strip
Joint module (2x)
Traffic light LED housing
Raspberry Pi base plate
Ground module cover (Duckietown)
Camera mount and cover
Tubes (short, medium, long with side hole)
Raspberry Pi and shield
M2.5x10 MF Nylon spacers (8x)
M2.5x8 Nylon screws (4x)
SD card with Duckietown software
USB and Ethernet cables
Additional optional components:
Traffic sign stands (4x)
Traffic sign stand supports (4x)
Fully Assembled Traffic Light#
Once fully assembled, position the traffic light at an intersection. Ensure:
LEDs face each incoming lane perpendicularly.
Duckiebots at red stop lines see only one light blinking, with no reflections of other LEDs.
Use double-sided tape pads to securely attach the traffic light to the tiles.

