Layer - Traffic Signs
Contents
Layer - Traffic Signs#
The signals layer is made of traffic signs.
Traffic signs sit on the road layer, outside the lanes, and can serve multiple purposes.
See also
The full set of currently existing signs is available here.
Functional purposes#
Some examples of uses of traffic signs that have a function (these functions are encoded in some Duckietown legacy behaviors):
Note
Traffic signs:
identify the type of intersection (3- or 4-way);
identify the position of the Duckiebot at the intersection;
inform the Duckiebot of the coordination mechanism for this specific intersection (centralized or decentralized).
Non-functional purposes#
Traffic signs can be used for other purposes (these functions are not encoded in any Duckietown out-of-the-box behavior):
Note
Traffic signs can moreover be used for:
naming roads (and making the department head proud);
identifying pedestrian traffic areas;
identifying parking lots.
Traffic signage in Duckietown is obtained through the union of traffic signs and
AprilTag visual markers, as shown in Fig. 14.
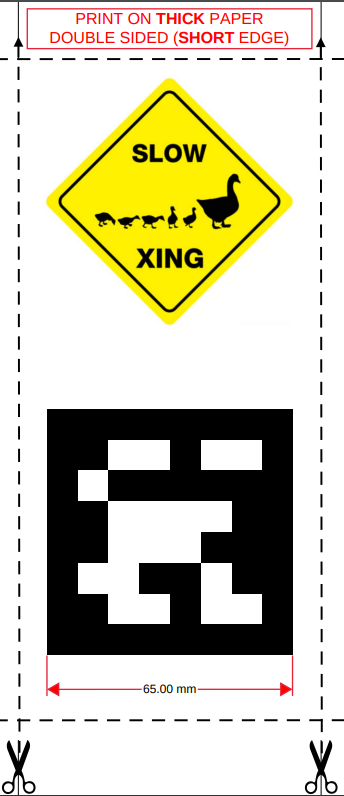
Fig. 14 A traffic sign in Duckietown (do not print this one out!)#
We call the symbol above traffic sign, while the code below is an AprilTag.
Note
To print and assemble the signs refer to Assembly - Traffic Signs.
Specifications#
For traffic signage to be compliant:
The center of the traffic signs is 13 cm height from the floor layer;
The AprilTag is 6.5 cm sq.;
There is a white border of roughly 0.8 cm around them;
The signage stands perpendicular to the ground, and the angle of the sign with the road is \(90^ \circ\).
The signal is flat (no deformation / folding) and without wrinkles. This can be obtained, e.g., by printing the signs on thick paper.
Types#
The allowable traffic signs are as in Table 2.
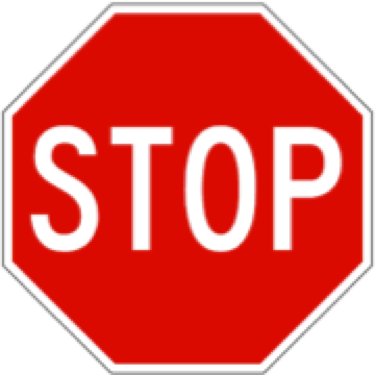
Fig. 15 stop# |
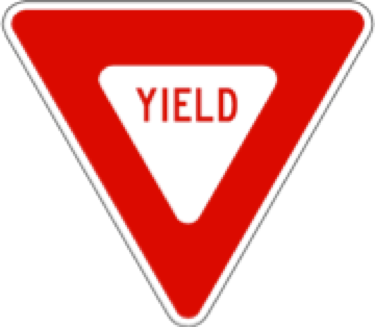
Fig. 16 yield# |
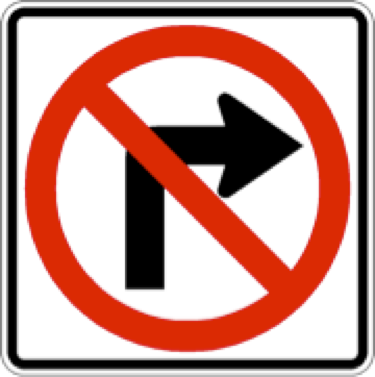
Fig. 17 no-right-turn# |
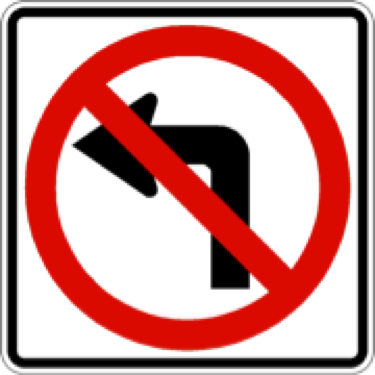
Fig. 18 no-left-turn# |
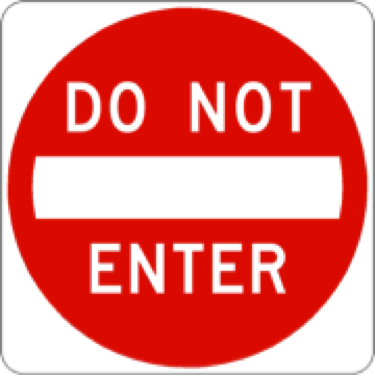
Fig. 19 do-not-enter# |
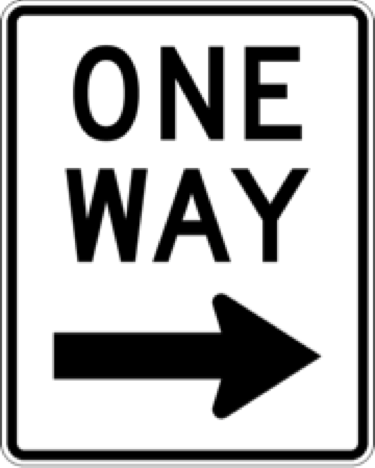
Fig. 20 one-way-right# |
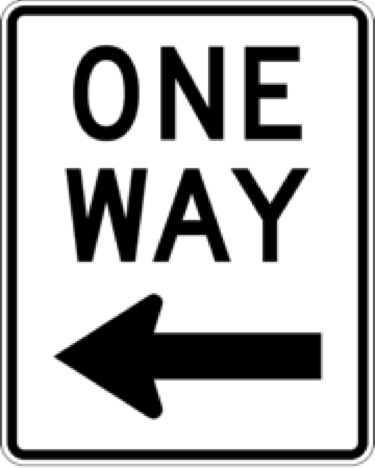
Fig. 21 one-way-left# |
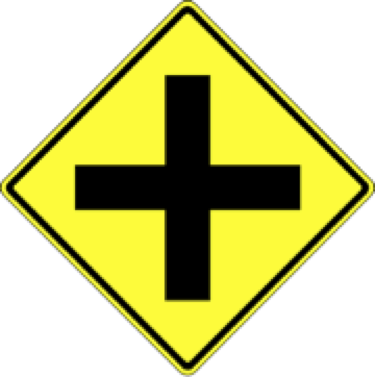
Fig. 22 4-way-intersect# |
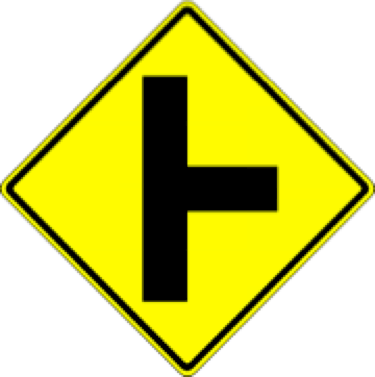
Fig. 23 right-T-intersect# |
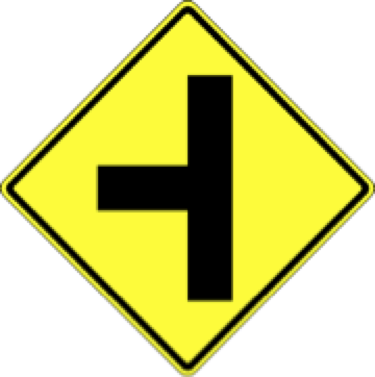
Fig. 24 left-T-intersect# |
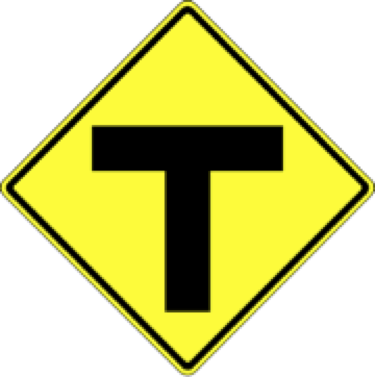
Fig. 25 t-intersection# |
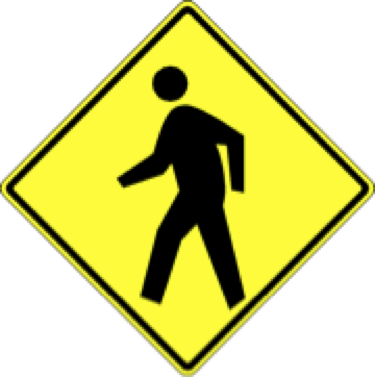
Fig. 26 pedestrian# |
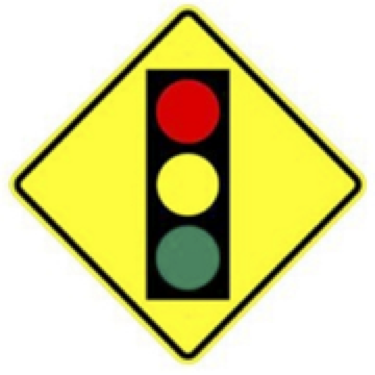
Fig. 27 t-light-ahead# |
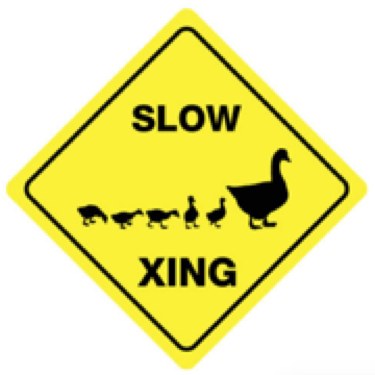
Fig. 28 duck-crossing# |
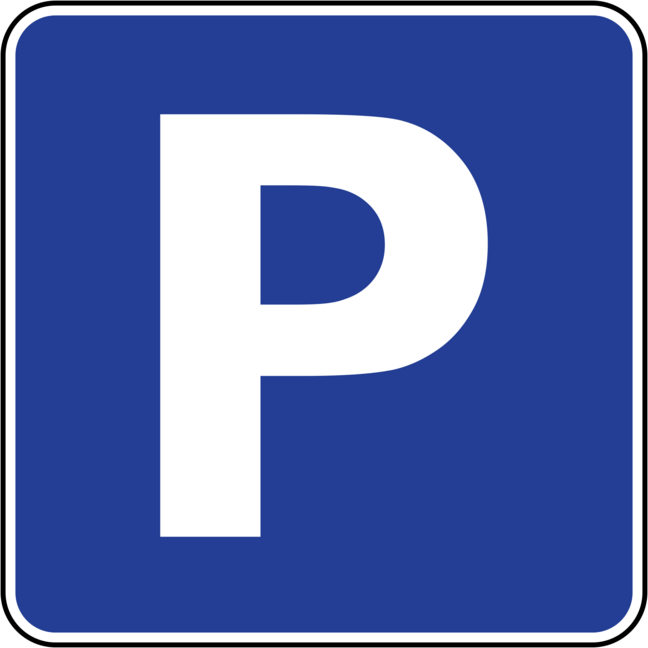
Fig. 29 parking# |
Placement#
Signs may appear on the opposite side and at the corner of the adjacent tile from which they are viewed. In the absence of any signs, it is assumed that all network flows are allowed so a sign MUST be placed and visible whenever this is not the case.
Signs must only be placed on empty tiles, or next to one of the other tile types if on the border of a map. As mentioned, it is important to not overlap the base of the sign stand with any road marking.
The sign placements for four different cases are shown in Table 3. At intersections, from each stop line 2 signs should be clearly visible:
the intersection type (traffic light or stop sign)
the intersection topology (3-way with correct orientation, or 4-way).
 Fig. 30 4-way intersection# |
 Fig. 31 3-way intersection# |
 Fig. 32 straight road# |
 Fig. 33 curved road# |
On straight and curved roads, additional signs can be added as desired. Their placement is indicated in Fig. 32 and Fig. 33. The signs should be placed at the border between two tiles and should face towards oncoming traffic as indicated.
In these figures the arrow is the direction of the sign.