How to Use Multimeters
Contents
How to Use Multimeters#
This guide explains how to use multimeters for performing continuity and voltage checks.
A multimeter, also known as a VOM (volt-ohm-milliammeter), is an electronic measuring instrument that combines several functions, such as measuring voltage, current, and resistance.
See also
This tutorial provides a general overview of multimeters.
Attention
Always turn off the multimeter by setting the dial to OFF after completing your checks.
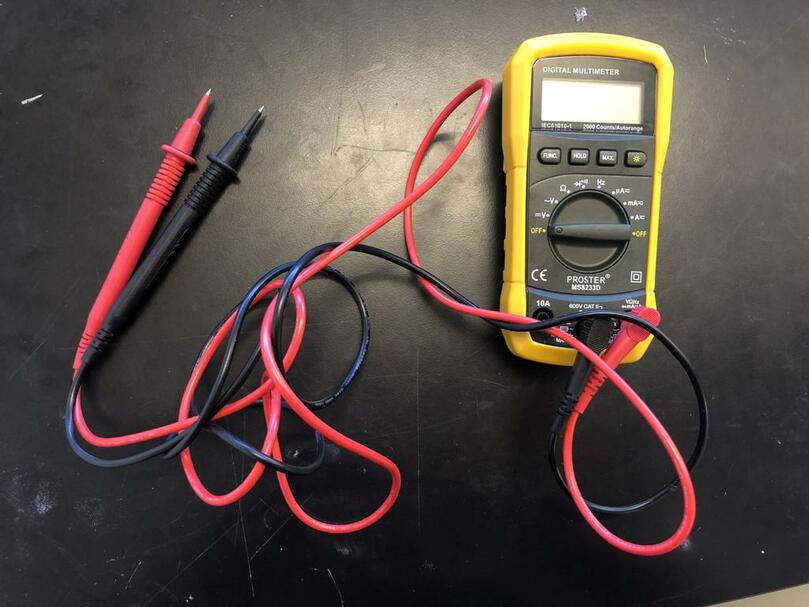
Fig. 2 A multimeter used for electronics measurements#
Continuity Check#
In electronics, a continuity check tests whether two points in a circuit are electrically connected. Zero resistance between two points indicates a short, which can be hazardous as it may cause excessive current flow, potentially damaging the circuit.
Note
Multimeter models may differ slightly, but the general instructions are similar.
Performing a continuity check is a safe method for identifying shorts without requiring a power source connected to the circuit.
Steps for a Continuity Check#
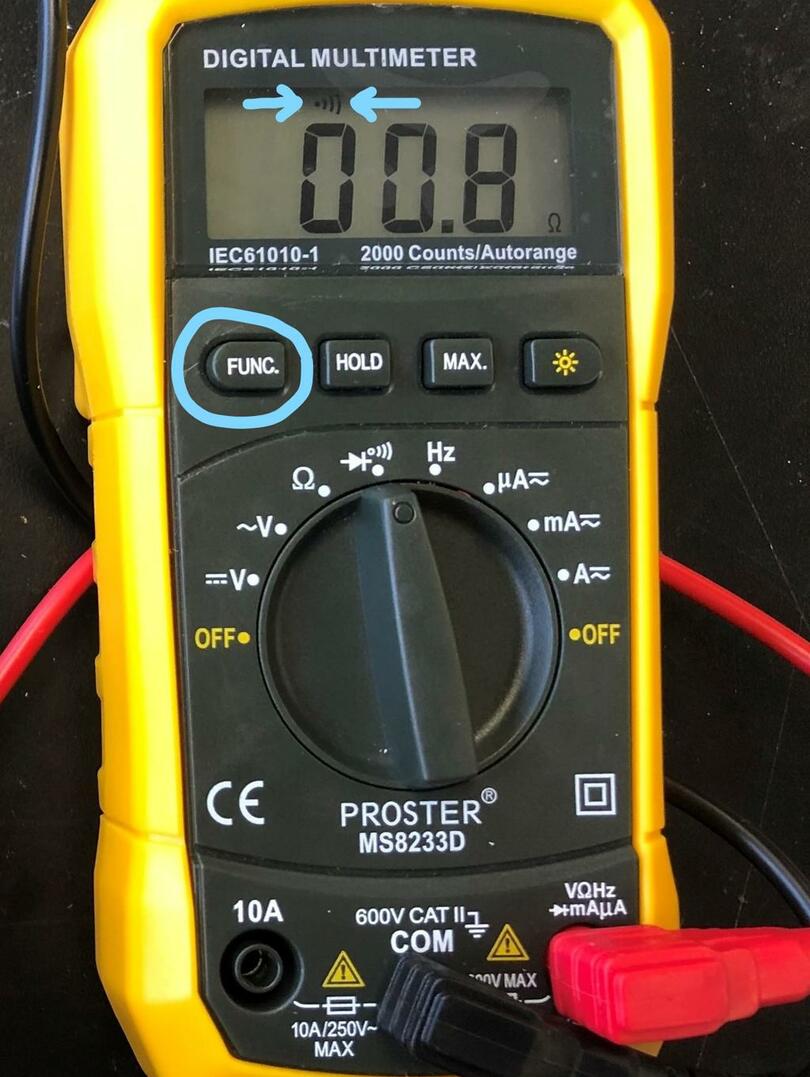
Select the Continuity Function
Turn the multimeter dial to the continuity test position. Press the
"FUNC."button to enable continuity test mode (indicated by a sound wave icon).
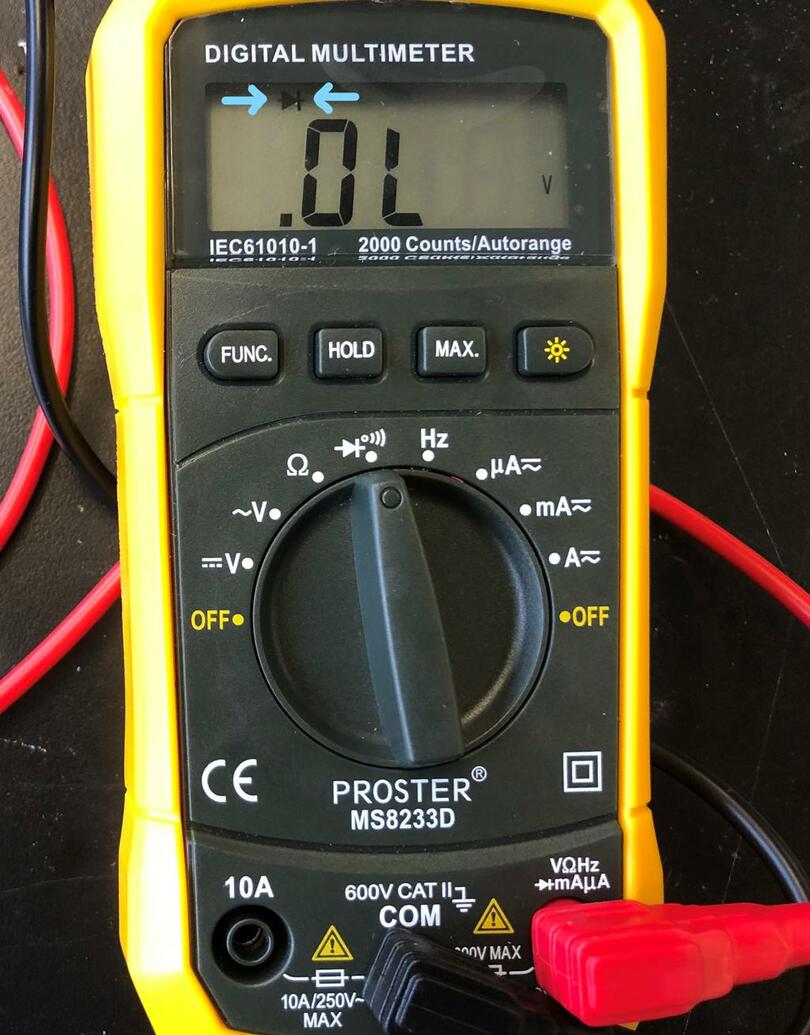
Continuity test dial position
Continuity test mode
Test the mode by touching the multimeter leads together. A continuous beep confirms the mode is active.
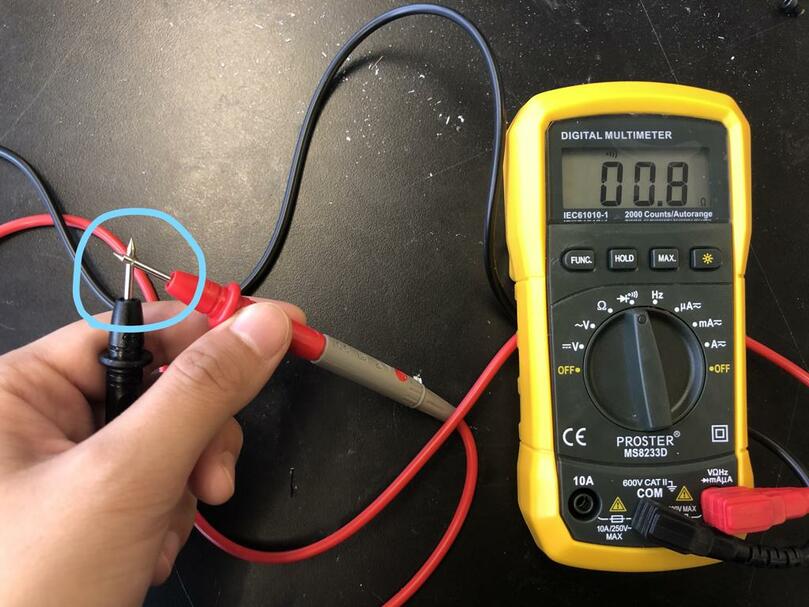
Fig. 3 Multimeter leads touching together to test continuity mode#
Perform the Continuity Check
Place the leads on two points of the circuit to test.
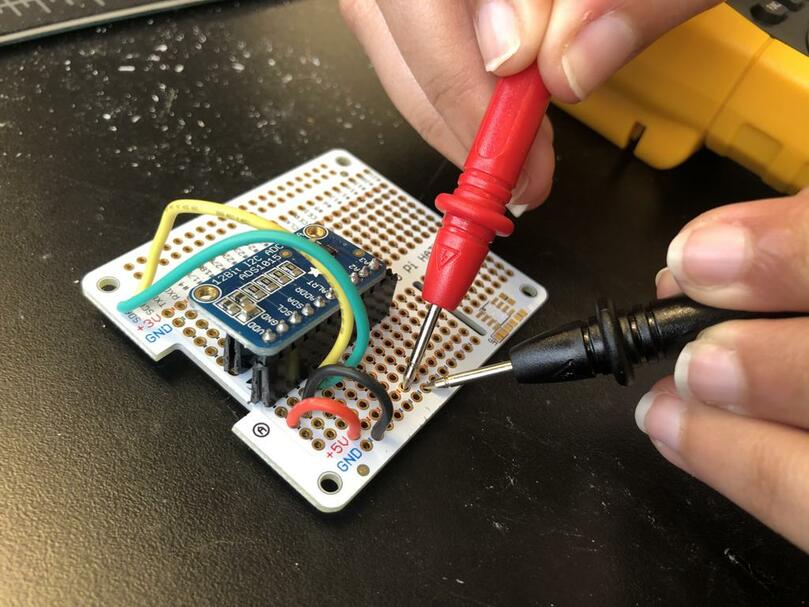
Fig. 4 Multimeter leads testing a circuit on a breadboard#
If the path is continuous, the screen will display a near-zero value, and the multimeter will emit a continuous beep.
Note
Ignore short beeps followed by silence; they are not indicative of a short.
General Continuity Check Strategy
Check all positive (
+) terminals to ensure continuity between pairs.Check all negative (
-) terminals for continuity between pairs.Verify that positive (
+) terminals are not continuous with negative (-) terminals.
See also
Watch this continuity check tutorial for a visual guide.
DC Voltage Check#
Select the DC Voltage Mode
Set the multimeter dial to DC voltage mode (indicated byVwith a straight line-Vor the symbol⎓).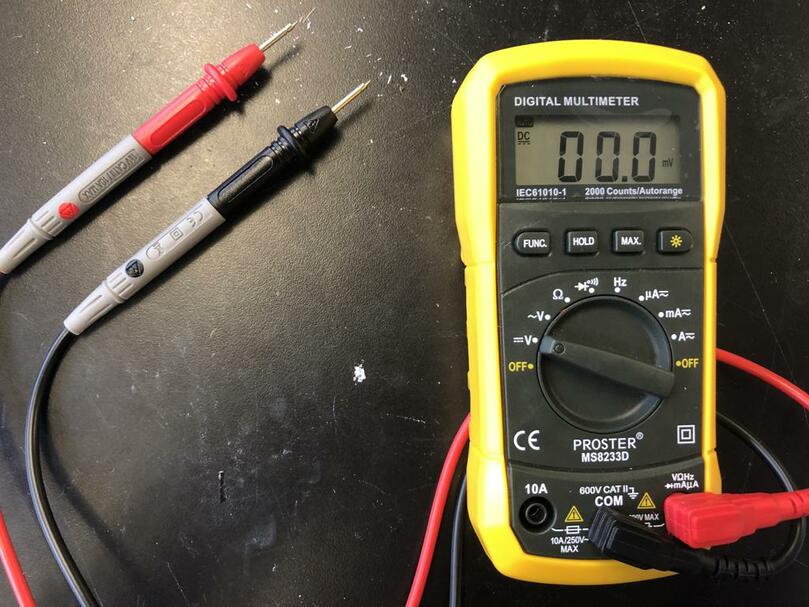
Fig. 5 Multimeter dial set to DC voltage mode#
Perform the Voltage Check
Place the positive (red) lead on a positive (
+) terminal and the negative (black) lead on a negative (-) terminal.Observe the voltage measurement displayed on the screen.
Note
Reversing the leads (red on - and black on +) will result in a negative reading but will not cause harm.
See also
For a review of circuit basics and Ohm’s Law (\(V = IR\)), check out this SparkFun article.