LX Features and Activities
Contents
LX Features and Activities#
Let’s start by understanding each of the learning experience activities available and how they might be used.
The duckietown-lx repository on GitHub contains the learning experiences developed by the Duckietown team - we’ll
break down the Object Detection LX as the main example here.
Note
Learning Experiences are run using the dts code workflow as described in How To - Progress Through an LX. This command set gives students a streamlined environment and powerful tools to complete activities.
The following activity types can be implemented with the Duckietown Learning Experience infrastructure:
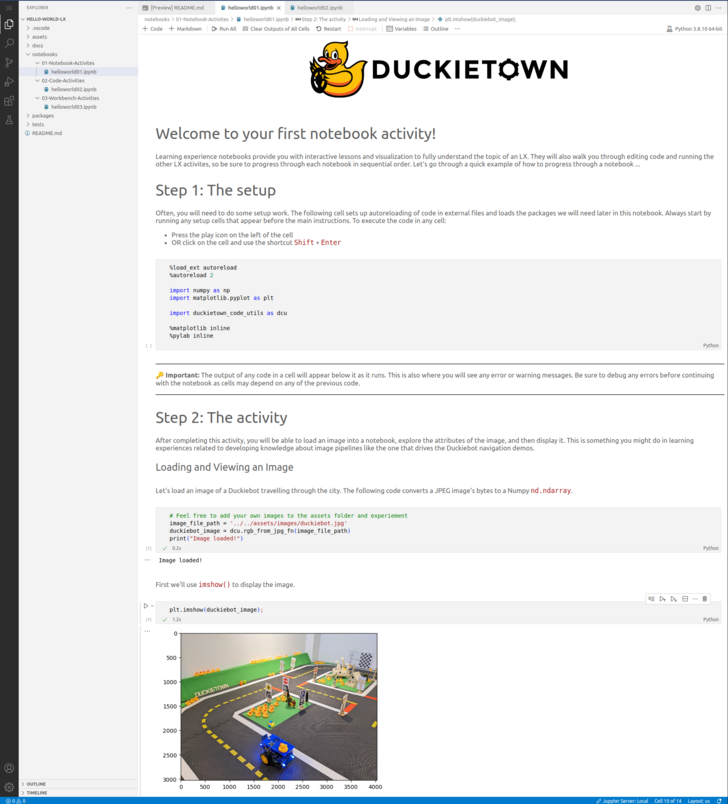
Activity: Notebooks#
Learners are immediately presented with the goals and workflow instructions for a learning experience when they use dts code editor to spin up the preconfigured VSCode editor. Installing a local editor is not necessary, and everyone begins with a uniform environment to complete the learning experience. The notebooks directory will always contain the first activity.
A Notebook Activity introduces key concepts within a Jupyter notebook that learners can work through to cement, visualize, and implement their understanding. Tab through the gallery of notebooks below for a few examples of notebook features.
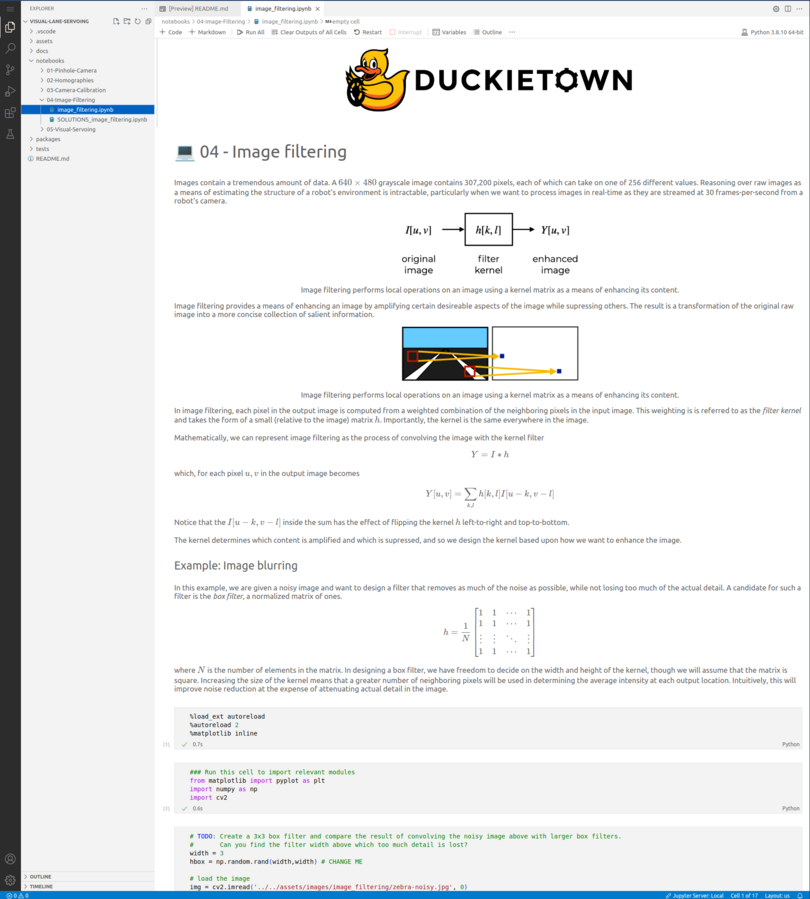
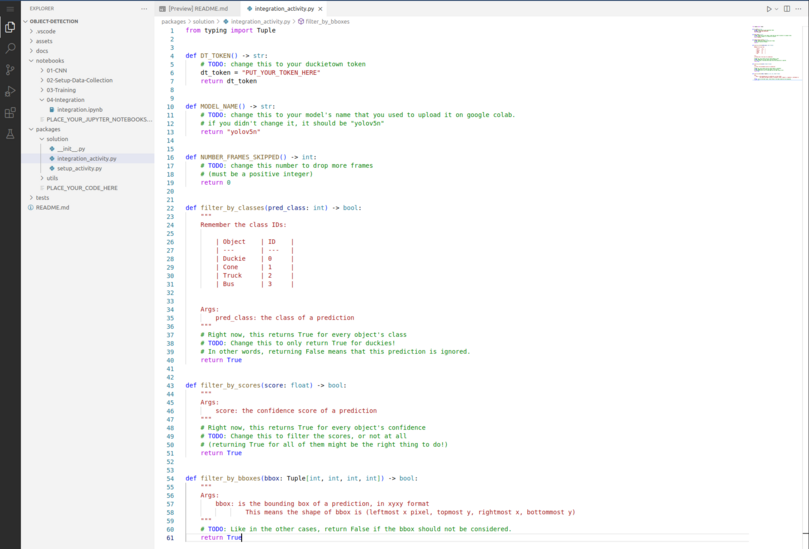
Learners may also be directed to implement long-form solutions in the provided solution package. This code can be imported to notebooks for visualization and testing or used by an agent node on the Duckiebot.
Providing Guidance#
Students should be given instruction within the notebooks on how to progress through the LX activities in order.
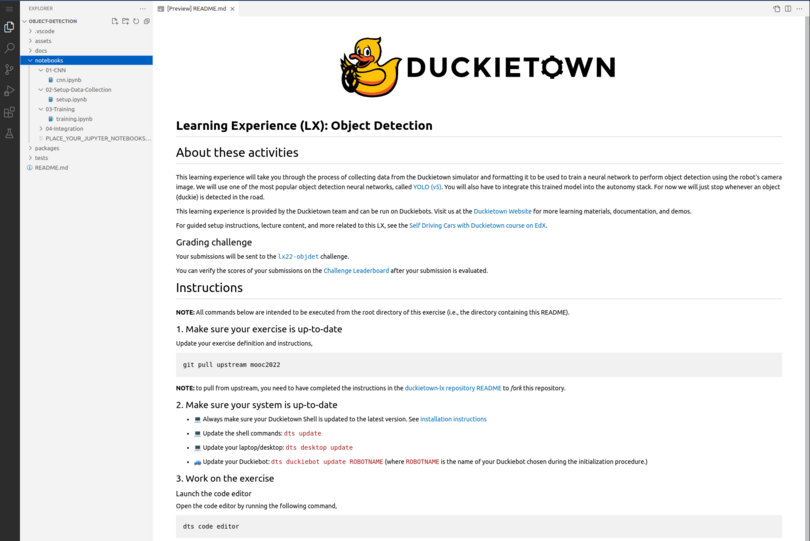
Every learning experience should also revolve around a main Learning Goal (or set of learning goals), documented at the beginning of the
README file.
Example Learning Goal
The Object Detection learning experience will take you through the process of collecting data from the Duckietown simulator and formatting it to be used to train a neural network to perform object detection using the robot’s camera image. We will use one of the most popular object detection neural networks, called YOLO (v5). Finally you will integrate this trained model into the autonomy stack to create a Duckiebot agent that stops whenever an object (duckie) is detected in the road.
Activity: Workbench Tool#
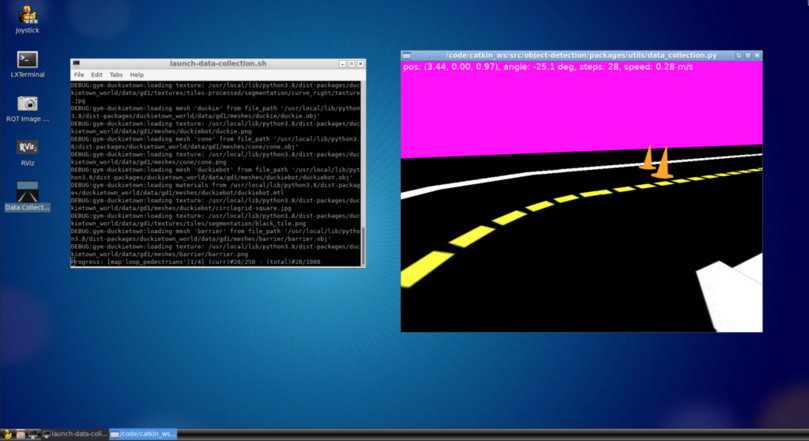
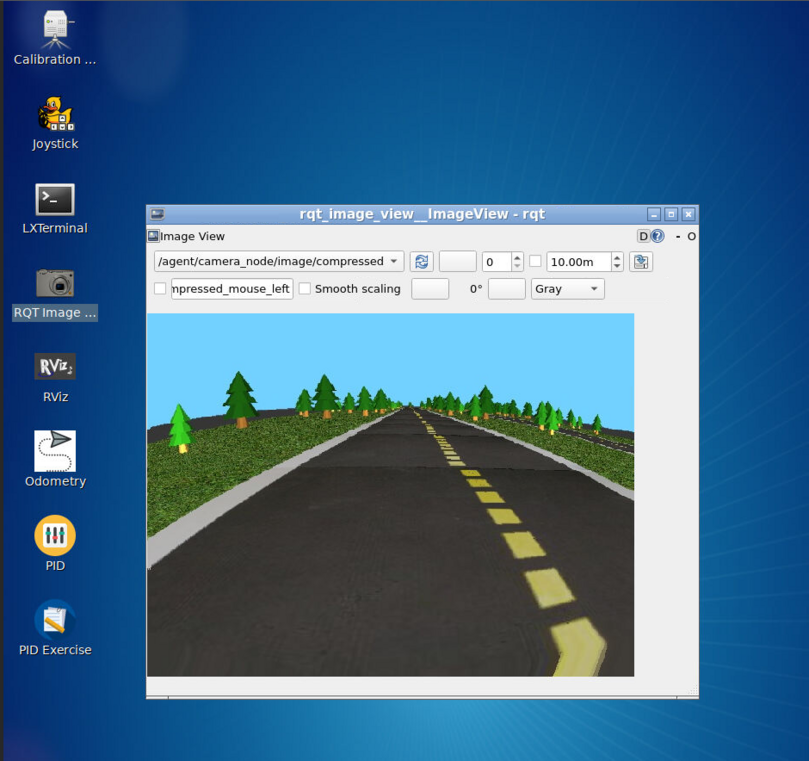
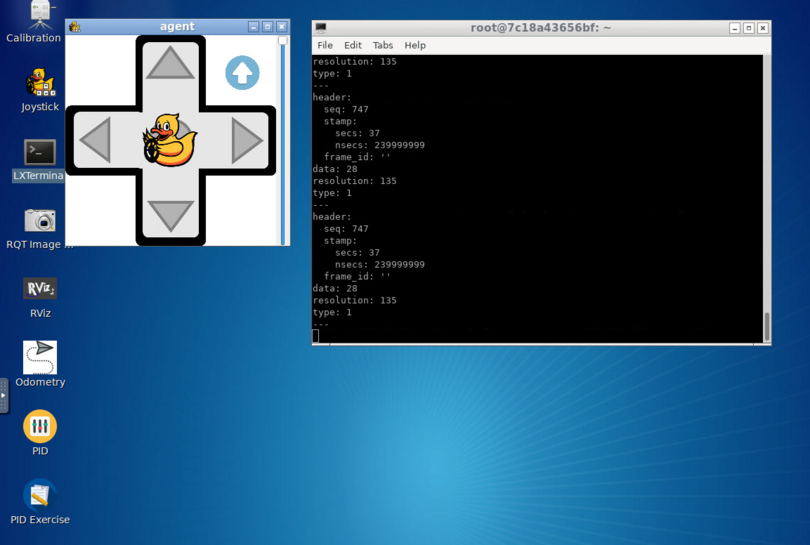
A Workbench Activity provides a VNC that is used for running tool, simulation, and agent based activities. This is a fully functional Desktop environment with the Duckietown and ROS dependencies installed and can be started by simply running dts code workbench. Instructors can develop custom tools or incorporate any standard ROS tool into the LX activity.
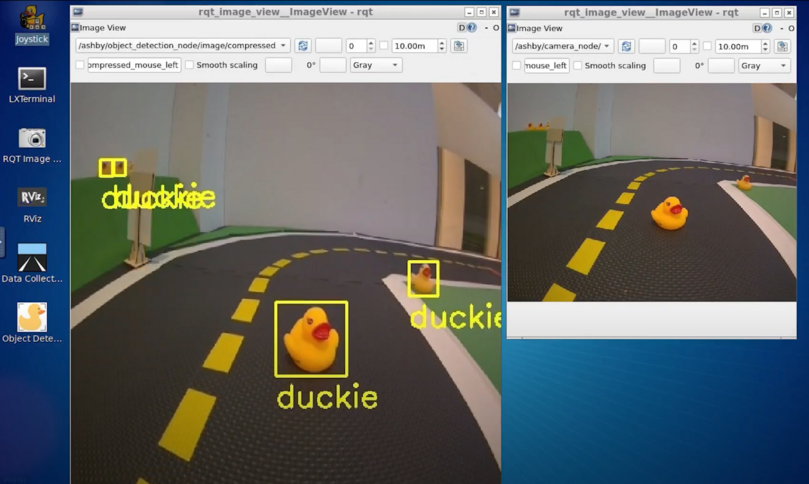
The Object Detection LX uses the workbench environment to run a dataset augmentation tool for learners.
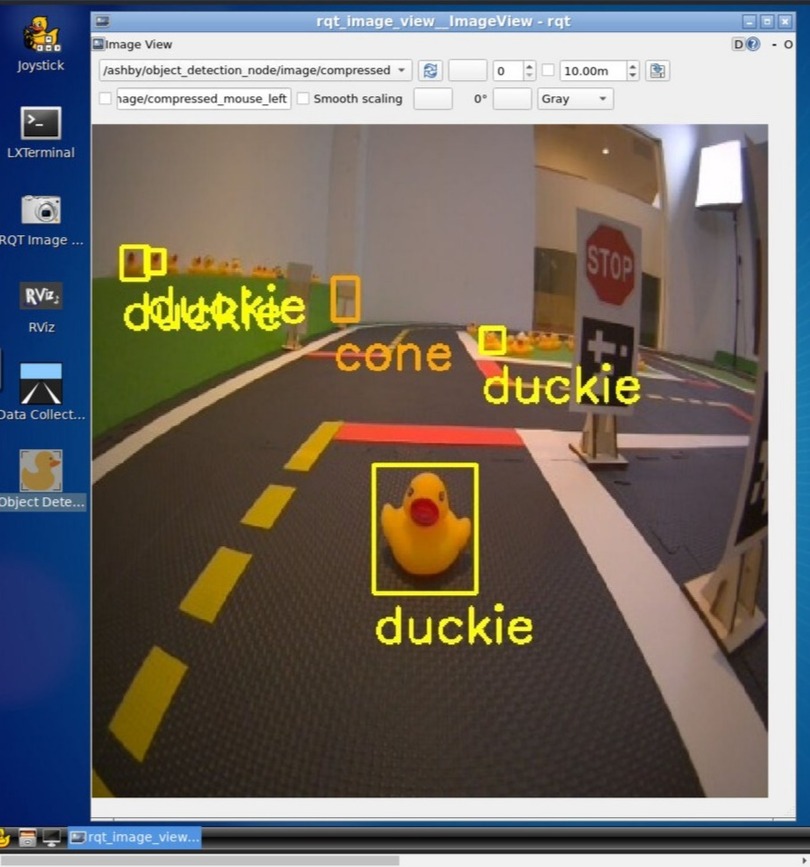
It can also be used to display the Object Detection model results as applied to an image stream from the Duckiebot for visual analysis.
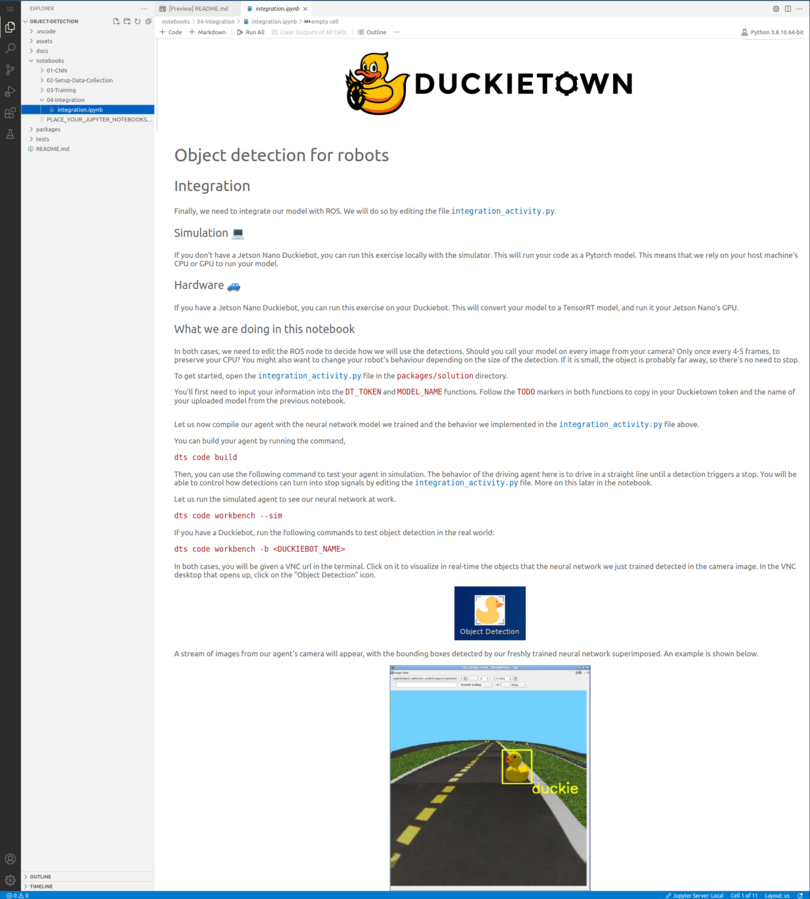
Activity: Simulated Agent#
The Workbench can also run simulated Duckiebot agents, allowing learners to test their robot behaviors in a virtual environment.
Activity: Duckiebot Agent#
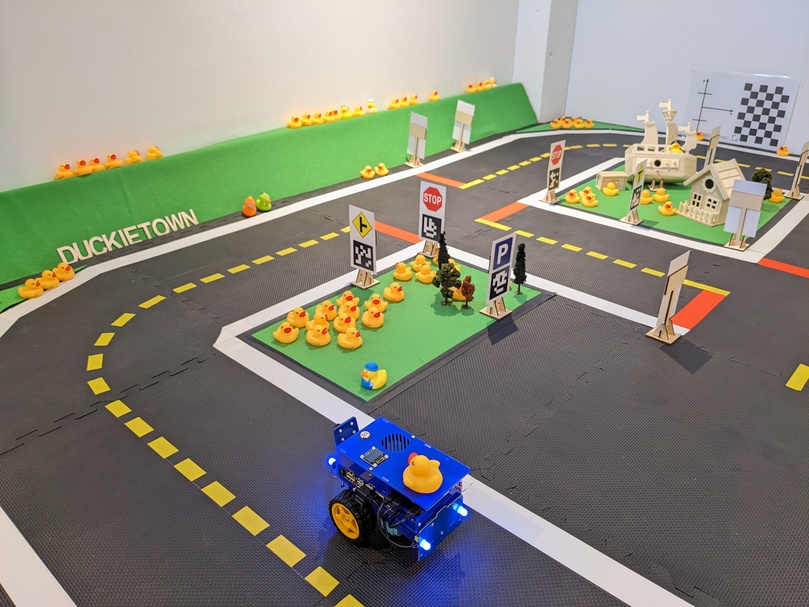
Once their solution works in simulation, learners may wish to run their solution on a real-world Duckiebot in a Duckietown environment like the one shown below.
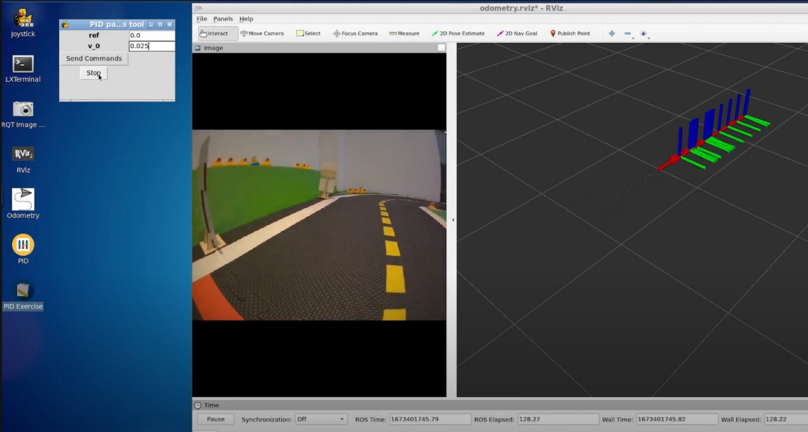
The Workbench can interface with the Duckiebot using the ROS network and run connected tools such as keyboard control or rviz. Tab through the gallery below to see examples of a variety of tools for interacting with Duckiebot agents.
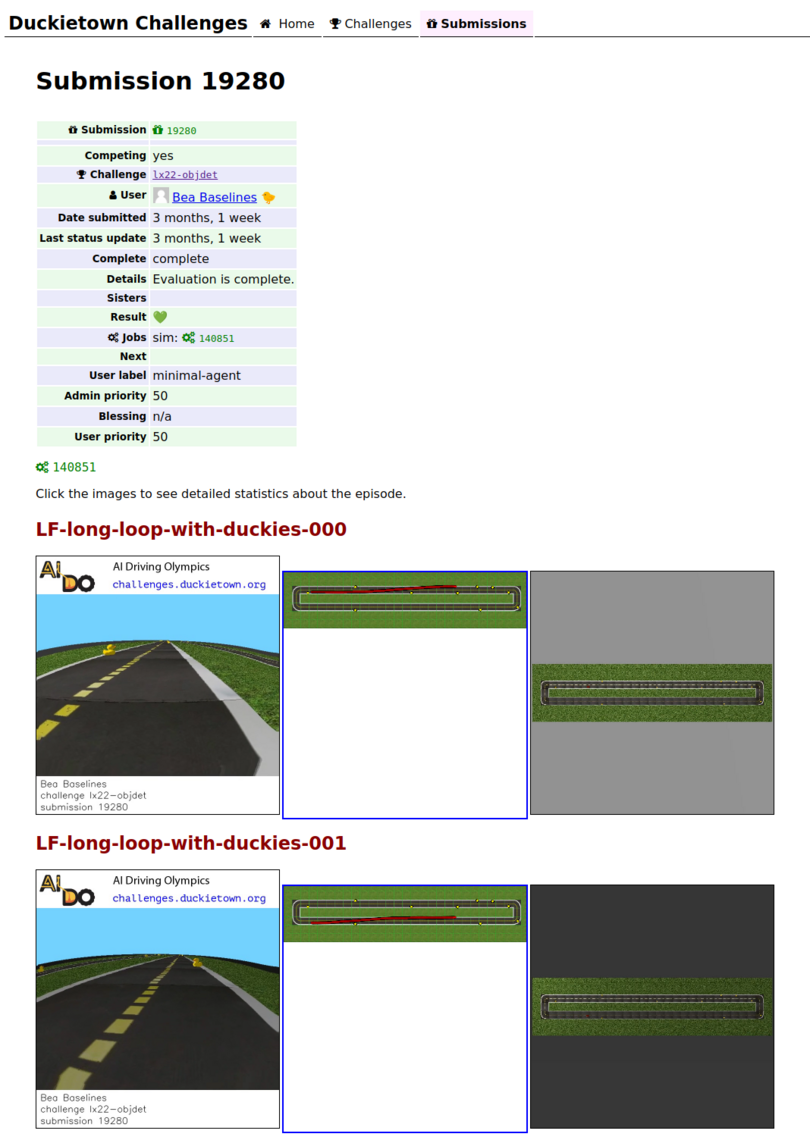
Activity: Evaluation#
Learners can evaluate their solutions to Learning Experience challenges locally and submit them to the uploads your agent to the Duckietown Challenges Server for evaluation on the cloud.