Extrinsics Calibration
Contents
Extrinsics Calibration#
Introduction#
In this tutorial, we will discuss how to perform an extrinsics calibration for a Duckiebot’s camera inside the Duckiematrix.
This demo is designed to work with the map loop_0, which can be found in the duckiematrix-examples repository.
For this demo, using a vehicle with different intrinsic camera parameters from those of map_0/vehicle_0 in loop_0 will affect the result.
Step 1: Run the camera demo#
Before proceeding, run the I/O: Camera demo.
Step 2: Go to the laboratory#
In the Duckiematrix window:
select Mayor’s View (top-right corner of the window)
walk up to the Duckiebot you see on the road
press the E key to hop onto the Duckiebot
use the W, A, S and D keys to drive the Duckiebot
drive to the laboratory’s driveway and then press the F key to enter the building
select the Extrinsics Calibration tool (bottom-center of the window)
Step 3: Wait for a good detection#
The matplotlib window opened during Step 1: Run the camera demo will show the corners detected on the patterned board, as shown in the following image:
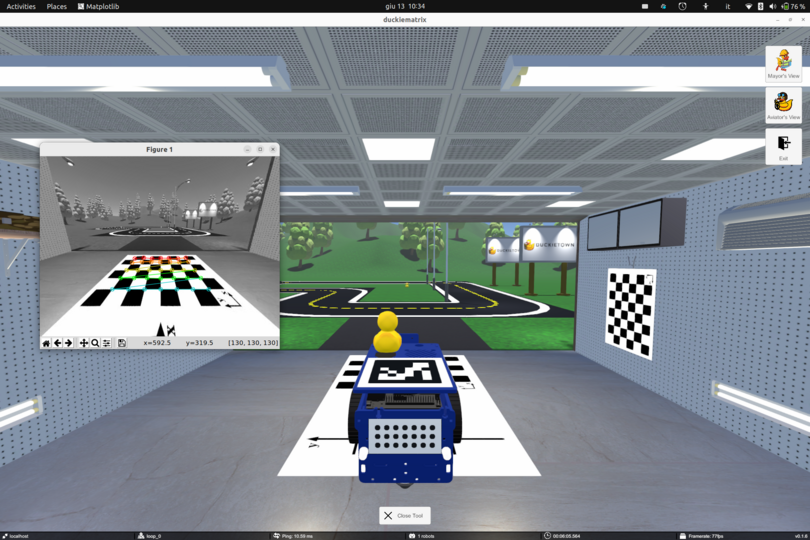
Once you see a clear and correct detection of all of the corners, press the ENTER key in the first terminal and the estimated homography will be printed to screen.