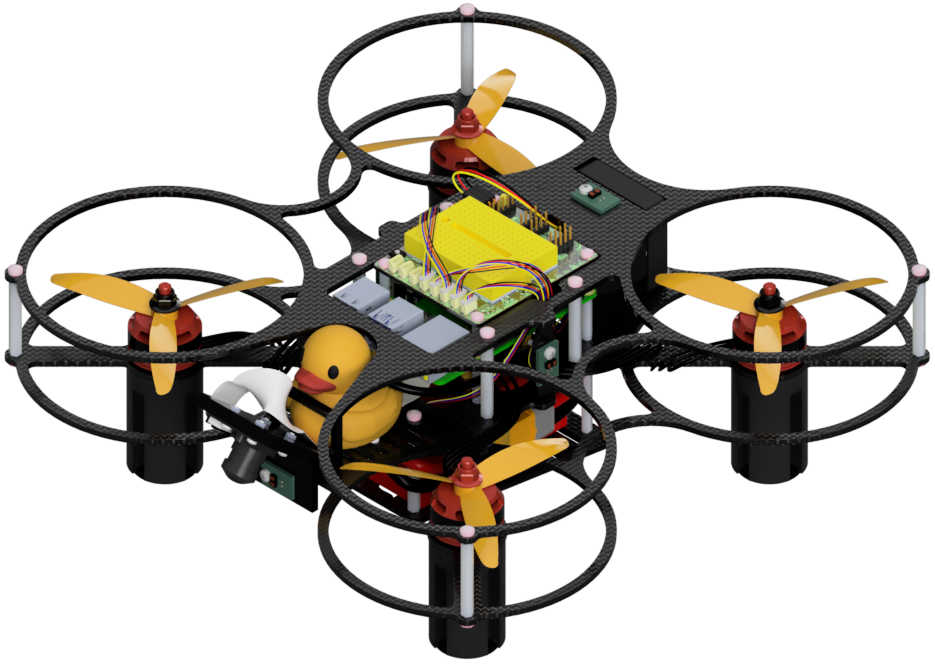
The Complete Way
Contents
What you will need
A computer (the “base station”) with an internet connection
A working Duckietown Shell (
dts) installation: Install the Duckietown ShellA microSD card (64 GB, U3, Class 10 recommended), e.g., the one from your Duckiedrone box
A microSD card reader, e.g., the one from your Duckiedrone box
10-20 minutes, depending on the internet connection
What you will get
An initialized Duckiedrone, ready for first boot
The Complete Way#
Connect the SD card to the base station#
Insert the micro SD card into your base station. Use the USB adapter from the Duckiedrone box if your base station does not have a microSD slot.
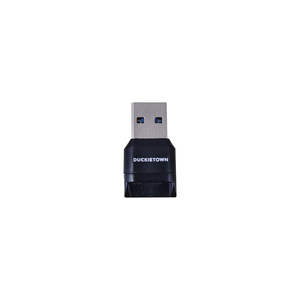
Fig. 49 Micro SD Card adapter#
Create the image#
Run dts init_sd_card with the duckiedrone type and the DD24 configuration:
dts init_sd_card \
    --hostname MY_ROBOT_NAME \
    --type duckiedrone \
    --configuration DD24 \
    --country US \
    --wifi mywifissid1:mypassword1[,mywifissid2:mypassword2,...]
Where:
--hostname— the robot name. Follow the naming rules in the box below.--type duckiedrone --configuration DD24— picks the DD24 base image.--country— two-letter country code where the drone will fly. A full list of codes can be found, e.g., on Wikipedia: ISO 3166-1 alpha-2 codes.--wifi— one or more networks in the formssid:psw. Separate multiple networks with commas.
Additional options are detailed on the Duckietown Manual.
Attention
The hostname must start with a lower-case letter and may contain only lower-case Latin letters and digits. Using special characters will break things and require re-flashing.
✅
argo✅
mydrone01❌
mydrone_01❌
My Drone❌
Argo
The hostname cannot be changed after the first boot.
Attention
If other Duckiedrones operate in the same environment, make sure your hostname is unique.
Flashing the image#
After downloading the base image, dts init_sd_card will prompt you to select the target drive to flash the image to.
On Ubuntu, or native macOS, insert the nominal SD card size (e.g., 64 for 64GB), and a list of available devices will appear. Select your SD card, and confirm your choice.
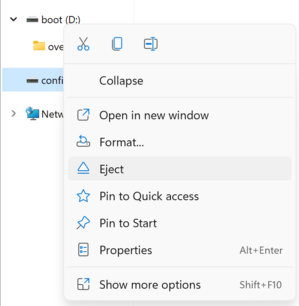
Once the flashing is complete, eject the SD card safely from the base station.
Eject your SD card safely.
Do not just unplug the SD card from the base station.
Inside a Duckietown Workspace the system will not be able to detect your SD card. Therefore, you will flash the image to file, and then burn it to an SD card by using Balena Etcher through the host OS, similarly to the fast way initialization procedure.
When prompted to insert the SD card size, write any number, e.g., 64. When prompted to list all possibilities say y, and then write the complete path to the image file name, e.g., /image-file-name.img.
The dts init_sd_card process with proceed to create the image file.
Once complete, switch to the host machine, open Balena Etcher, and flash the image-file-name-img to your SD card.
You are now ready for the first boot.
Troubleshooting#
Troubleshooting
SYMPTOM
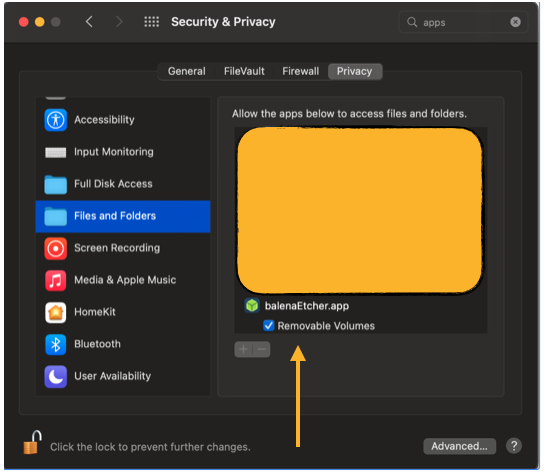
I am using a Mac and the flashing step fails for lack of permissions.
RESOLUTION
Go to your computer’s System Preferences > Security & Privacy > Files and Folders and enable access to Removable Volumes.
Troubleshooting
SYMPTOM
dts init_sd_card fails with “unknown robot type duckiedrone”.
RESOLUTION
Your Duckietown Shell is out of date or the wrong profile is active. Run:
dts profile list # ‘ente’ must be the active profile pipx upgrade duckietown-shell dts update
then rerun the dts init_sd_card command.
Troubleshooting
SYMPTOM
The drone does not join my Wi-Fi after the first boot.
RESOLUTION
Double-check the
--countryflag you passed todts init_sd_card. Wi-Fi is disabled by default if the regulatory domain is unset.Double check your network credentials
If you are still stuck, flash again with the correct flags (see First connection).