
How to Use Multimeters
Contents
How to Use Multimeters#
This guide explains how to use multimeters for performing continuity and voltage checks.
A multimeter, also known as a VOM (volt-ohm-milliammeter), is an electronic measuring instrument that combines several functions, such as measuring voltage, current, and resistance.
See also
SparkFun’s multimeter guide provides a general overview of multimeters.
Attention
Always turn off the multimeter by setting the dial to OFF after completing your checks.
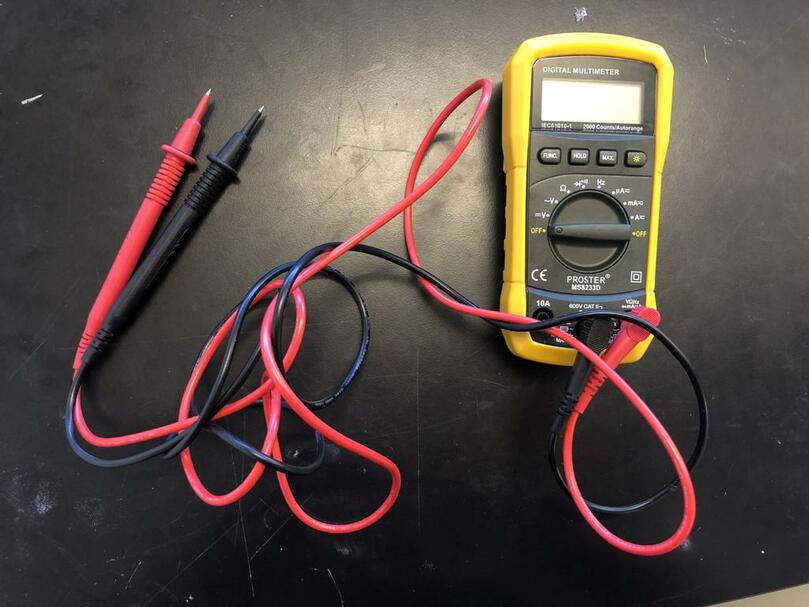
Fig. 4 A multimeter used for electronics measurements.#
Continuity Check#
In electronics, a continuity check tests whether two points in a circuit are electrically connected. A near-zero resistance reading indicates continuity; it indicates a short only when the tested points are not intended to be connected. An unintended short can cause excessive current flow and damage the circuit.
Note
Multimeter models may differ slightly, but the general instructions are similar.
Perform continuity checks only with the circuit unpowered; they safely identify unexpected shorts without a connected power source.
Steps for a Continuity Check#
Select the Continuity Function
Turn the multimeter dial to the continuity test position. If your multimeter has a
FUNC.button, press it to select continuity mode, indicated by a sound wave icon.
Continuity test dial position
Continuity test mode
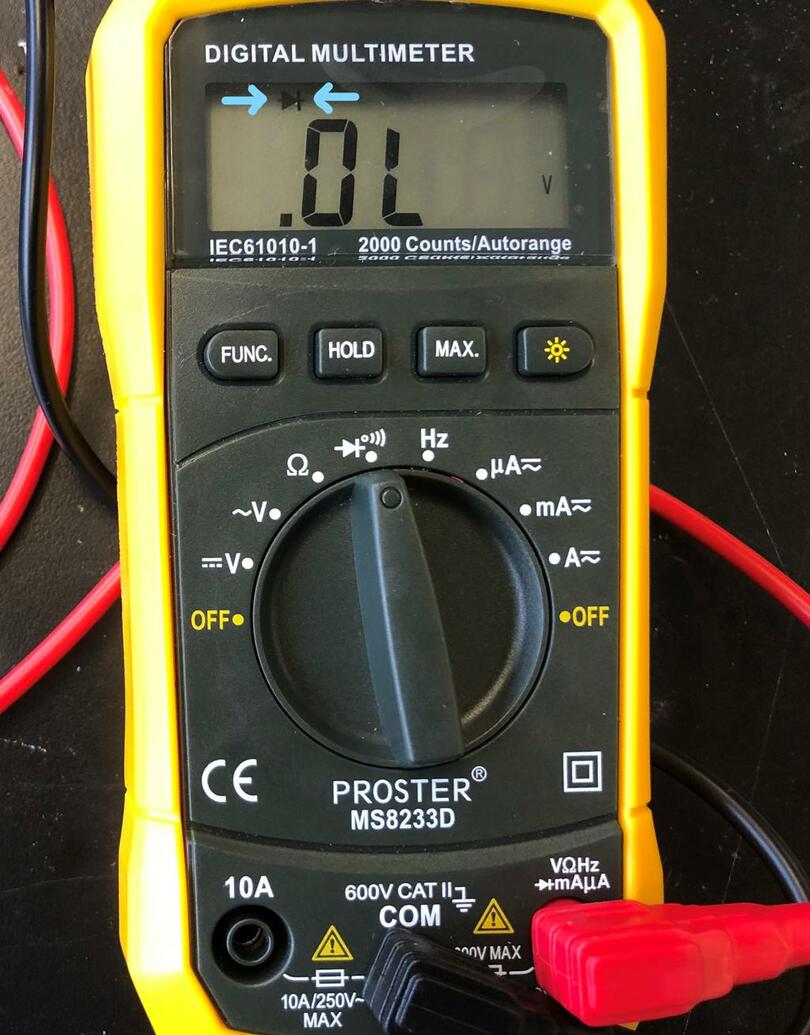
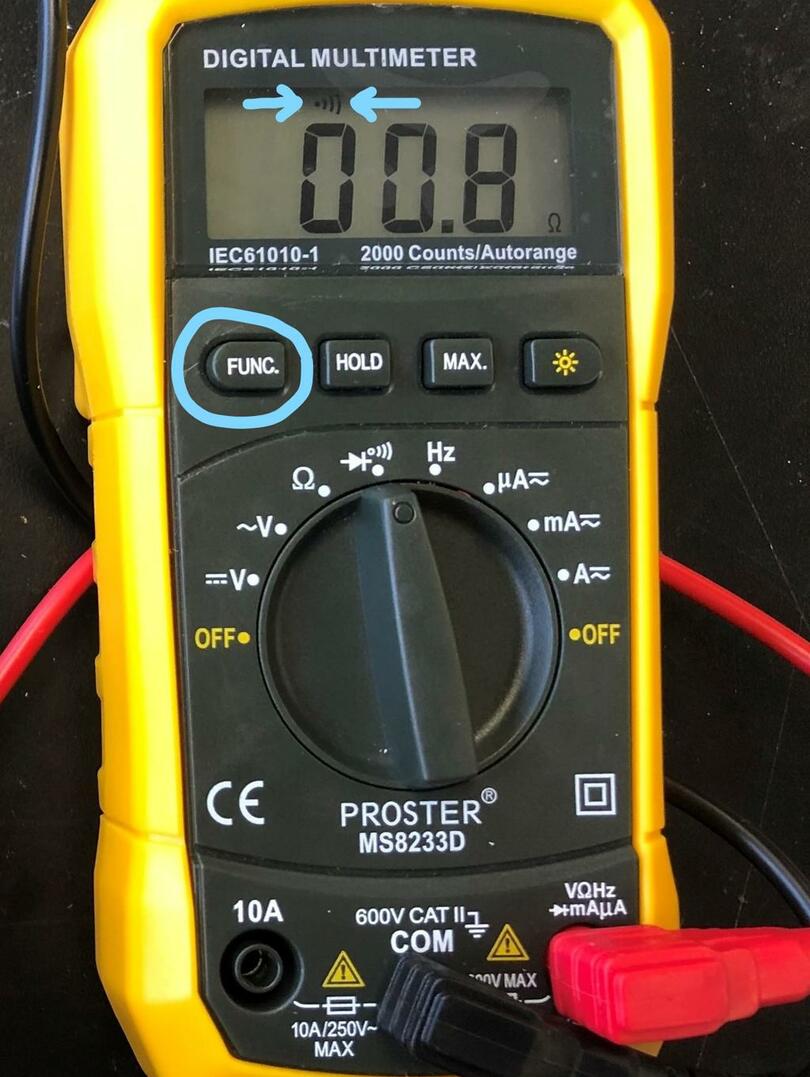
Test the mode by touching the multimeter leads together. A continuous beep confirms the mode is active.
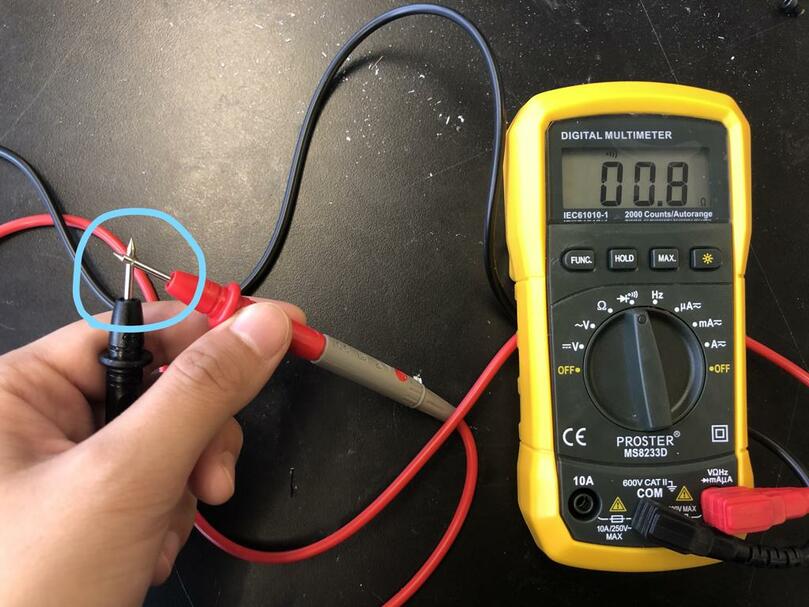
Fig. 5 Multimeter leads touching together to test continuity mode.#
Perform the Continuity Check
Place the leads on two points of the circuit to test.
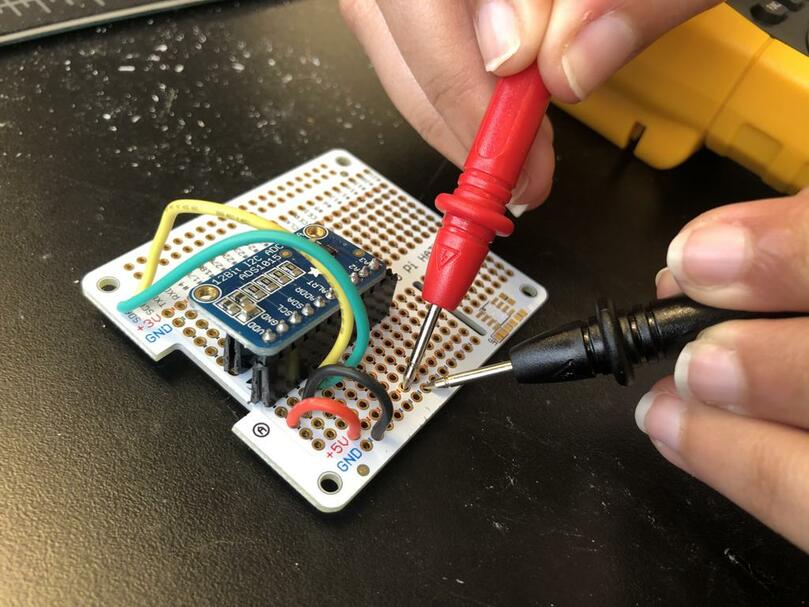
Fig. 6 Multimeter leads testing a circuit on a breadboard.#
If the path is continuous, the screen will display a near-zero value, and the multimeter will emit a continuous beep.
Note
Ignore short beeps followed by silence; they are not indicative of a short.
General Continuity Check Strategy
Check all positive (
+) terminals to ensure continuity between pairs.Check all negative (
-) terminals for continuity between pairs.Verify that positive (
+) terminals are not continuous with negative (-) terminals.
See also
Watch this continuity check tutorial on YouTube for a visual guide.
DC Voltage Check#
Select the DC Voltage Mode Set the multimeter dial to DC voltage mode, indicated by
Vwith a solid line above a dashed line (⎓).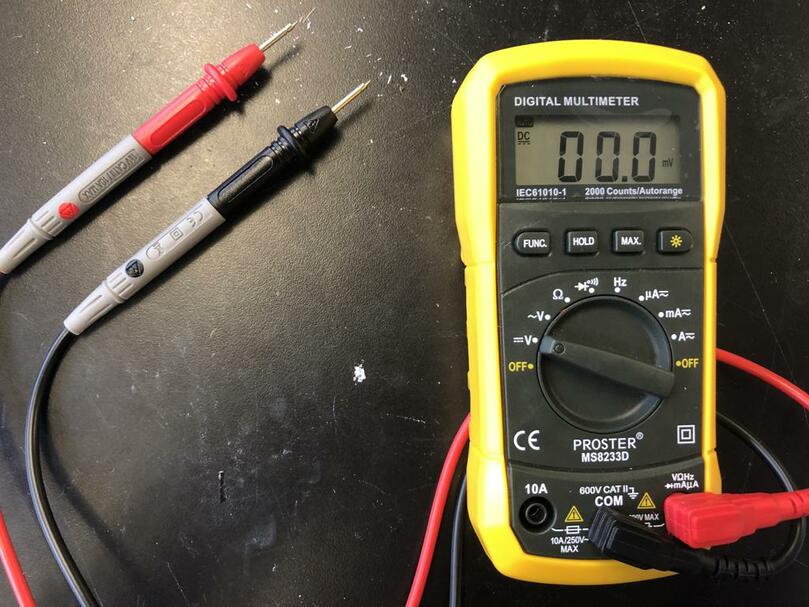
Fig. 7 Multimeter dial set to DC voltage mode.#
Perform the Voltage Check
Place the positive (red) lead on a positive (
+) terminal and the negative (black) lead on a negative (-) terminal.Observe the voltage measurement displayed on the screen.
Note
Reversing the leads (red on - and black on +) will result in a negative reading but will not cause harm.
See also
See SparkFun’s guide to voltage, current, resistance, and Ohm’s Law for a review of circuit basics.