Debug - Duckiebot Update
Contents
Debug - Duckiebot Update#
What you will need
A Duckiebot that has been initialized
A computer with an Ubuntu OS,
Duckietown Shell, Docker, etc., as configured in Setup - Laptop.
Duckietown Token set up as in Setup - Accounts.
An internet connection to the Duckiebot, configured as in Operation - Networking.
What you will get
*An up-to-date Duckiebot!
Understand what is the difference between OTA update and Release Update#
The update method described in this page will allow you to receive an Over The Air (OTA) update within the distribution you so choose (e.g., daffy), and it can improve your Duckiebot performance. Note that this is different from using the init_sd_card tool: Using the init_sd_card tool will only provide the latest release version, not the latest Duckiebot software version.
Update Duckiebot container using dts command#
If your Duckiebot has not been used for a while and a new image has been released, you don’t necessarily need to re-flash the Duckiebot image as described in the initialization procedure. Instead, you can use dts duckiebot update command to update your Duckiebot.
$ dts duckiebot update ![DUCKIEBOT_NAME]
You will see a prompt similar to this:
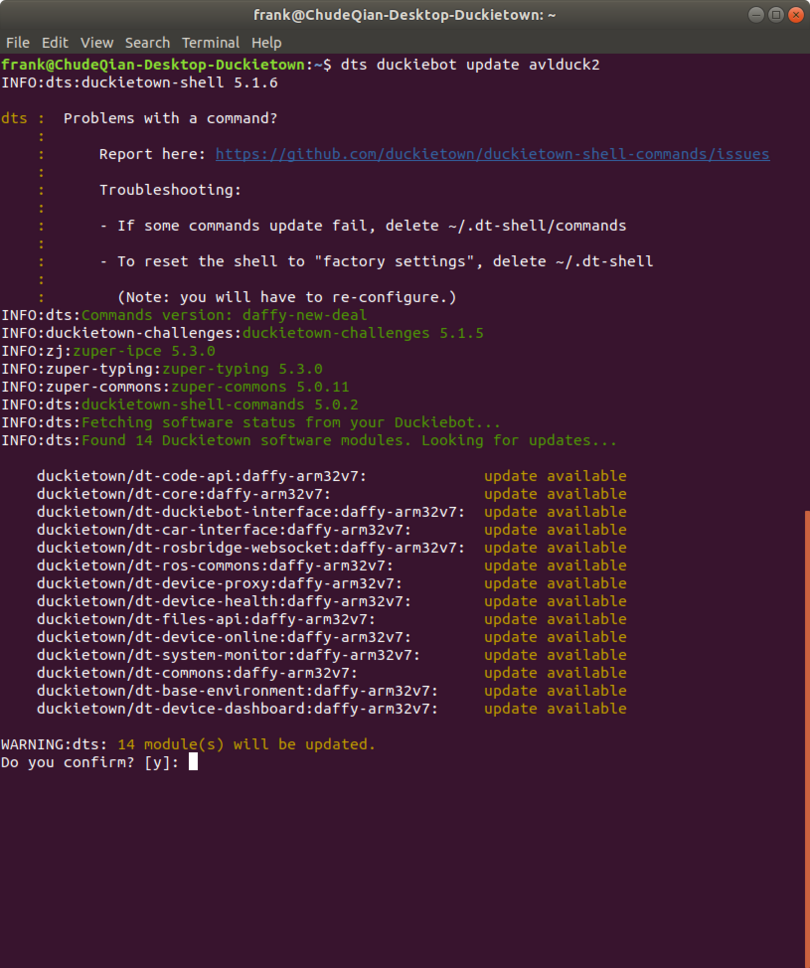
Fig. 72 Auto Update Duckiebot Container#
Type in y for yes to continue updating. If you would like to abort, you can use Ctrl-C to stop the update.
Note: This process is expected to take a while to complete.
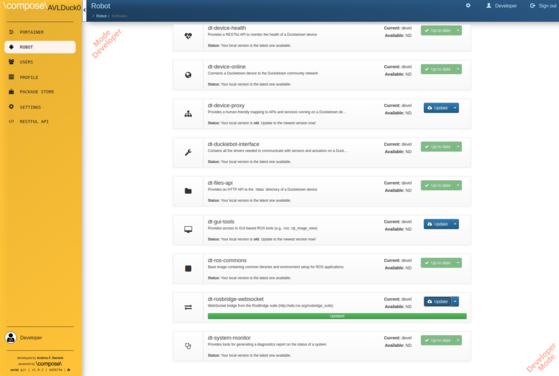
Update Duckiebot container using Dashboard#
To use the Dashboard for updating the Duckiebot container, first navigate to the Dashboard software page. If you are not sure how to do that, refer to the Setup - Duckiebot Dashboard page. If you have containers that need to be updated, you will see the update button next to the container:
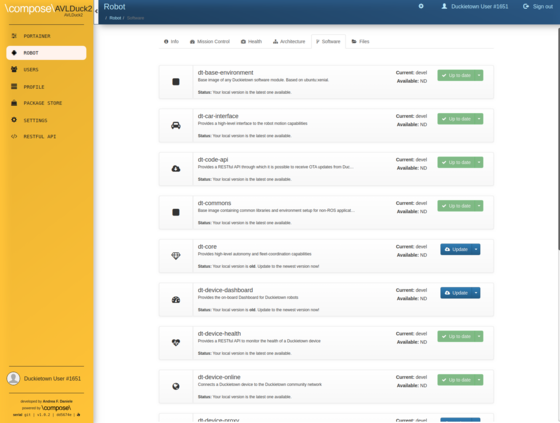
The update will proceed upon click. If update is successful, you will see the image below: