Overview
Contents
Overview#
In this section of the build, you will attach the camera, and finalize the drone assembly.
What you will need
Raspberry Pi Camera
Frame nylon standoffs
CW Propellers
CCW Propellers
Nylon M2.5 bolts
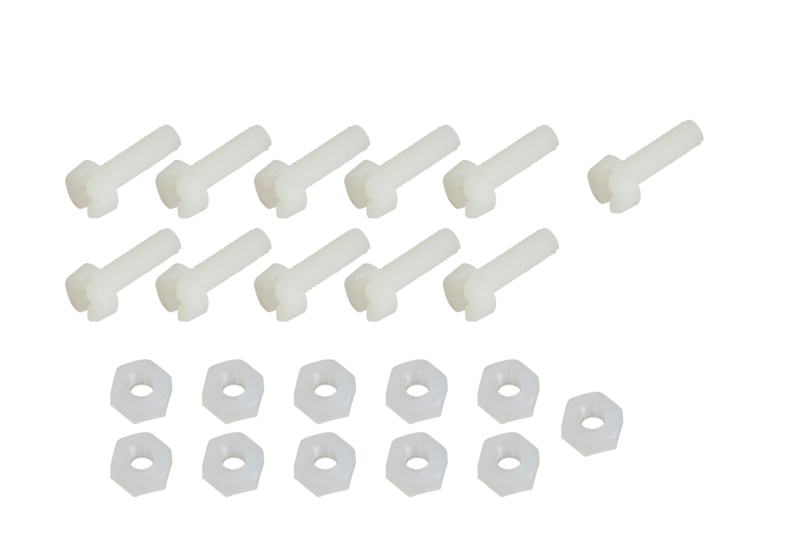
Nylon M3 bolts and nuts
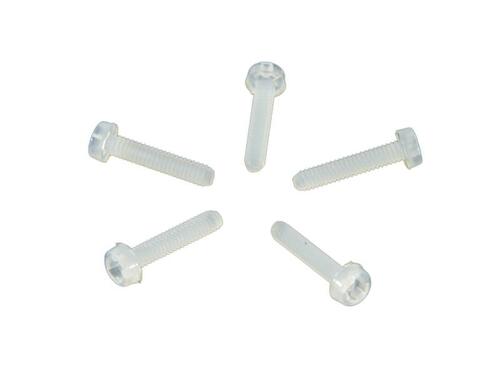
Steel M2 bolts
Nylon M2 bolts and nuts
8mm Wrench
Zip Ties
Double sided tape
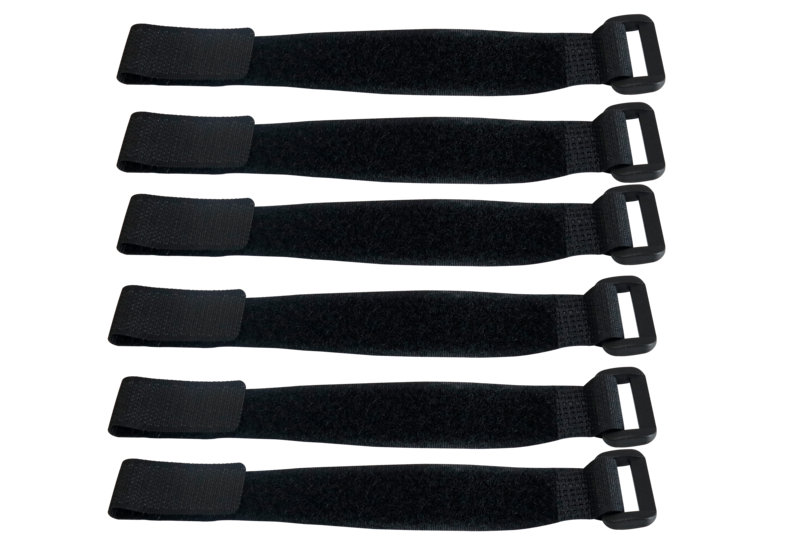
Velcro strap
What you will get
Fully assembled Duckiedrone
Hardware overview#
Camera#
The camera is used to measure the planar position and velocity of the drone; by planar, we mean that the camera provides position and velocities in the x and y-axis but not z (left and right, forward and back, but not up and down).
The planar velocity of the drone is found using optical flow, which is a technique that computes the change in position between two “features” over time. A feature is a distinct group of pixels in an image. The position of the drone is found by computing the change in position between two subsequent camera frames.
The drone is also able to localize the drone in a known map. This means that if you upload to the drone a photo of the surface that the drone will be flying over, the drone will be able to know where it is within this photo, or “map”.
Finally, the drone is able to Simultaneously Localize And Map (SLAM) which means that it can build its own map of what it is flying over, and then localize within the map that it creates. SLAM is used on all robot vacuums that clean your house for you. Without knowing what your house looks like, the robot bumps around and remembers where it’s been, creating a map.
See also
For more information about the camera, watch these lectures (you will need to create a free EdX account to view the material)
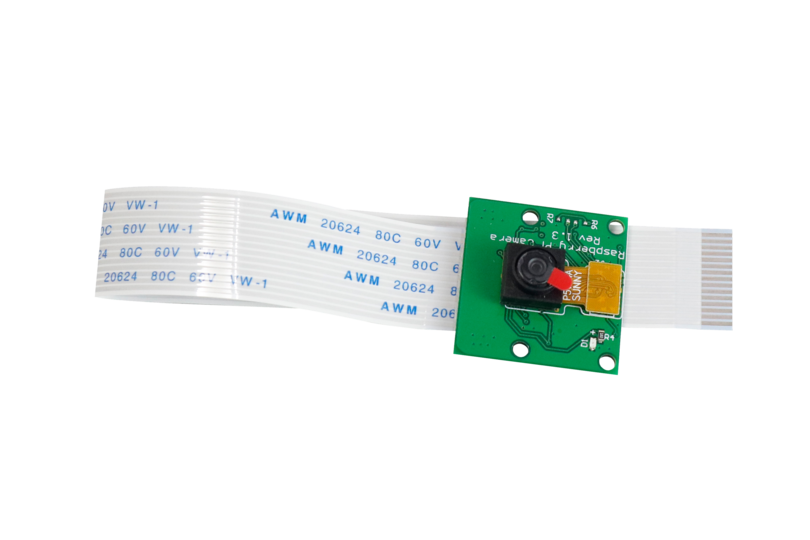
Fig. 90 Raspberry Pi Camera#
Attention
Before attaching the camera, make sure that:
The plastic film on the lens is removed
The black lens assembly is attached to the PCB with the double sided tape on the back
The orange camera optics flex cable is connected to the connector on the PCB
Propellers#
The propellers are what provide lift for the drone and allow it to fly. When the propeller spins, it creates a pressure difference between the air above and below it. The pressure below the propeller is greater than the pressure above, generating lift. Another way to think about how a drone prop works is that it pushes air down and the opposite reaction is the thrust lifting the drone up.
The drone propeller is specified by three numbers. The propellers on your drone are 5 x 5 x 3.
The first number,
5, is the size, and it indicates the length of the blades; measured from the center to the tip.The second number,
5, is the pitch, and it is a theoretical measurement of how far the propeller would travel through the air in one revolution. A larger pitch means more air is moved, so the propeller travels further, while a smaller pitch would move less air and therefore move less.The last number,
3, is the number of blades.
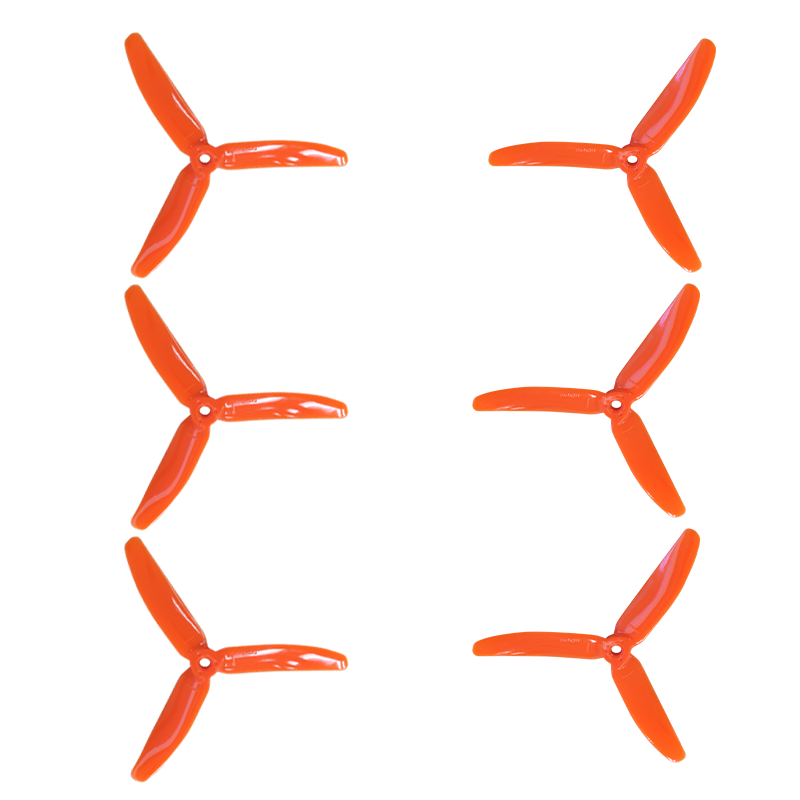
Fig. 91 Propellers#
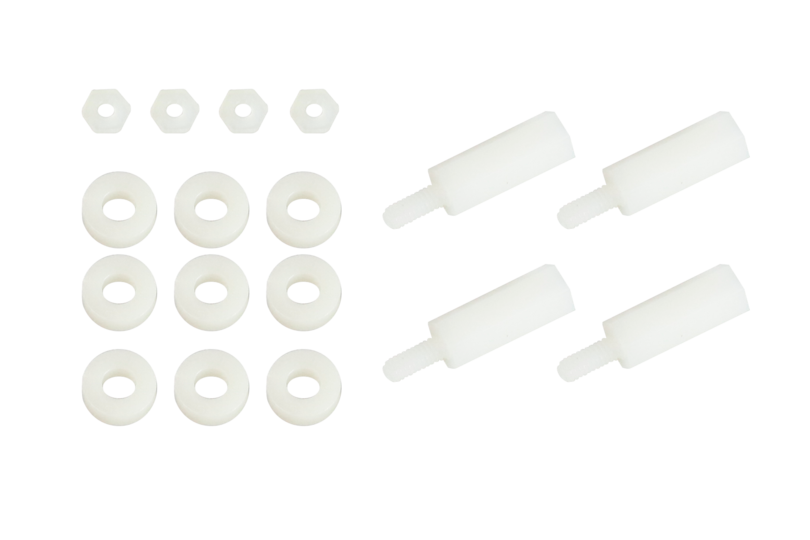
Frame nylon standoffs#
These long (30 mm) nylon standoffs are used to mount the top part of the Duckiedrone frame (the smaller rectangular piece of the frame) to the bottom part.
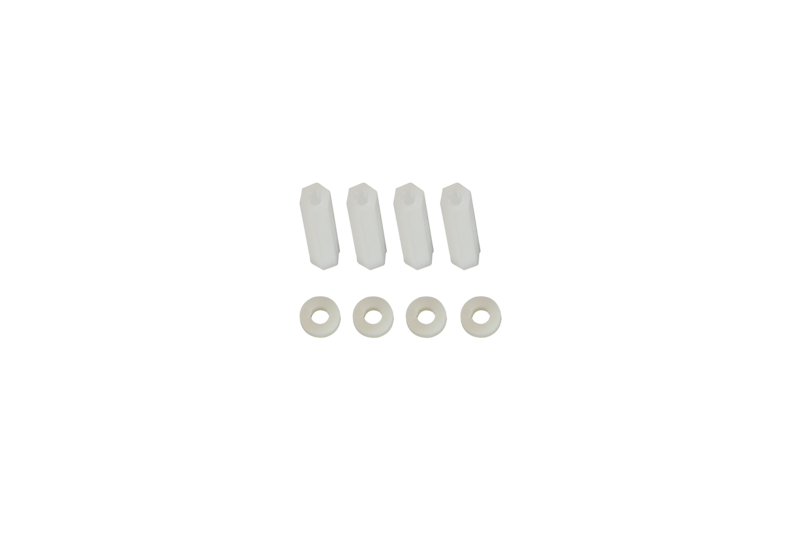
Fig. 92 Frame M2 nylon standoffs#
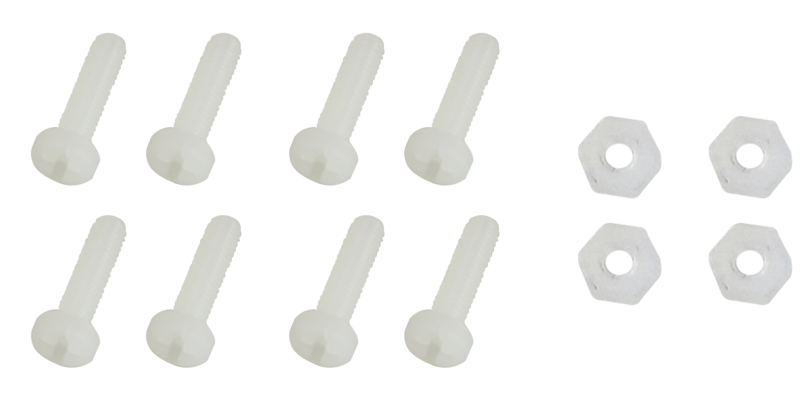
Nylon M2 bolts and nuts#
These will secure the camera to the frame.
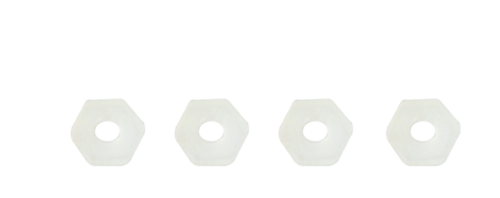
Note
Old hardware revisions of the Duckiedrone only had metal M2 bolts. In this case screw the M2 nylon nuts on the metal bolts.
Sometimes if screwed too tight they can short the camera and make the Raspberry Pi misbehave; if this is the case mount the camera with tape.
Wrench#
This little 8-10 mm wrench will be helpful in tightening the propellers on the motor’s shaft.
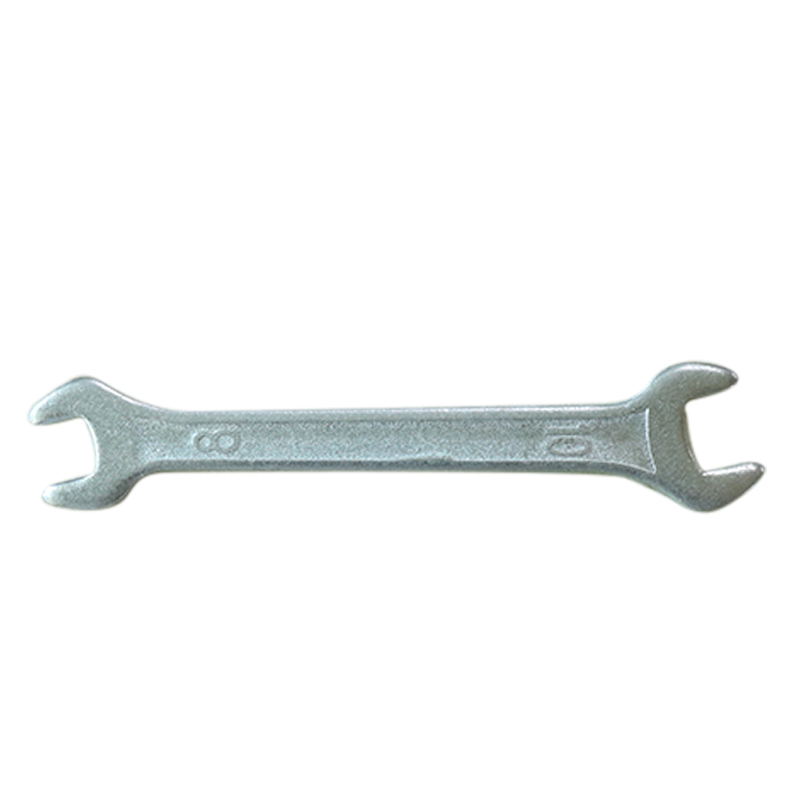
Fig. 93 8mm wrench#
Battery Monitor#
Note
Using the Battery Monitor is optional.
The Battery Monitor is a safety device that connects to the battery and monitors its voltage, emitting a very loud sound when it goes below a certain threshold voltage.
This warns you to disconnect the LiPo battery from the PDB to avoid draining it too low, thus damaging its cells.
It also displays the voltage of each cell and the cumulative voltage of the battery on the 7-segments displays on the front, just like the battery charger does.
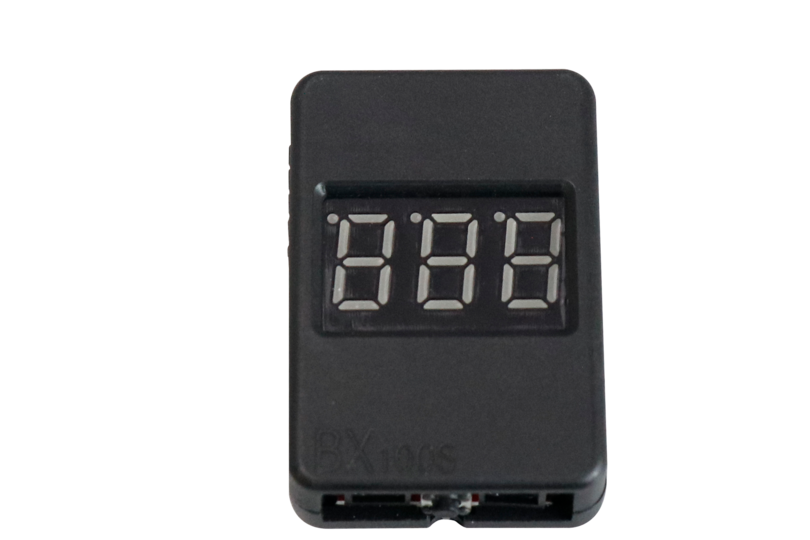
Fig. 94 Battery Monitor#
See also
To learn how to setup the Battery Monitor watch this short video.