Overview
Contents
Overview#
Preface#
In this phase of the build, you’ll be adding the essential elements of every drone– the motors, ESCs, and the Flight Controller.
Required Materials#
What you will need
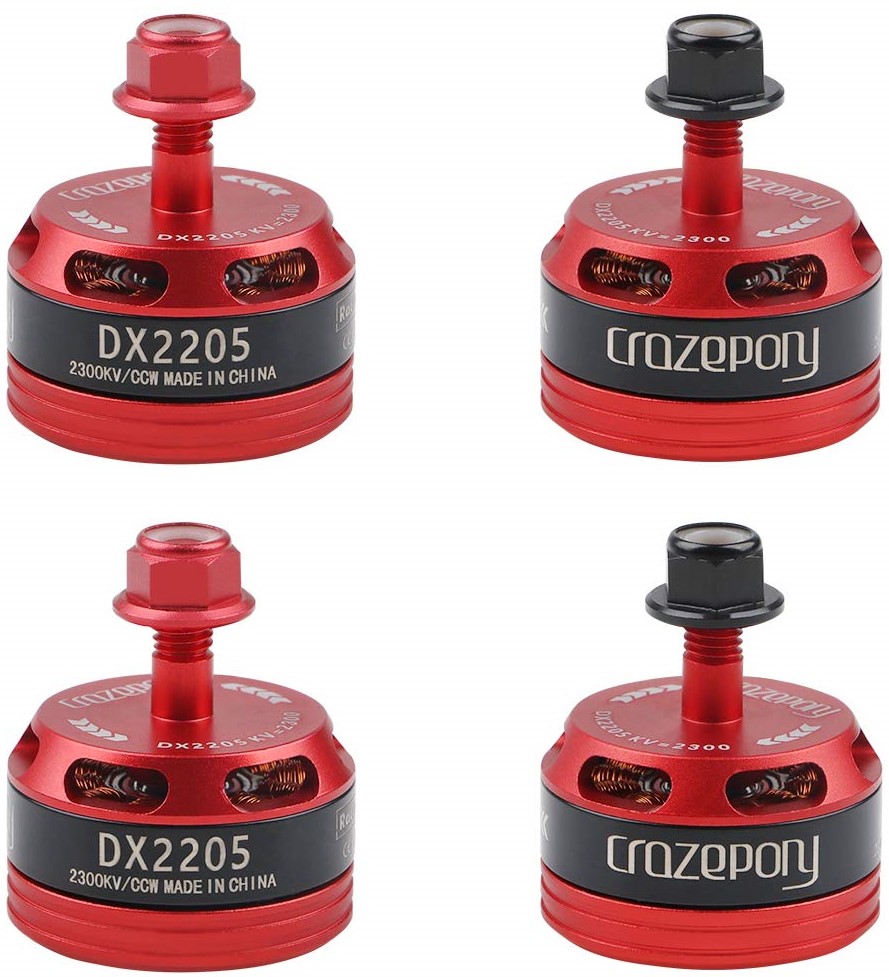
Counter-clockwise Motors
Clockwise Motors
Long gray metal M3 Bolts
Nylon M3 Bolts and nuts
Electronic Speed Controllers (ESCs)
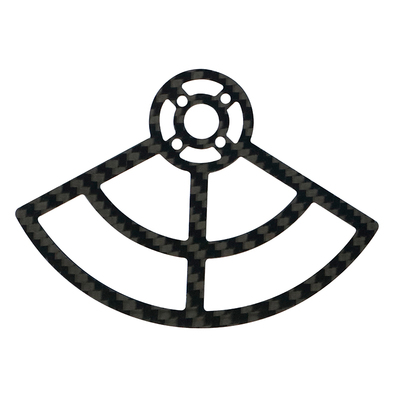
Propeller guards
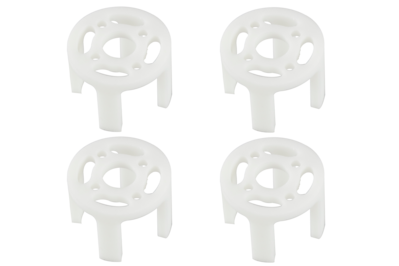
Plastic standoffs
Battery leads Wire
Soldering Tools
Zip ties
What you will get
Motors connected to power
Detailed Hardware Descriptions#
Motors#
The motors used are Brushless Direct Current (BLDC) motors. They are a particular type of electric motor commonly used in drones for their high reliability and low wear during usage.
Electronic Speed Controller (ESC)#
An Electronic Speed Controller (ESC) is used to regulate the speed of a motor according to a signal from the Flight Controller. A brushless motor would not be able to spin without an ESC, as they are responsible for changing the magnetic fields that generate a moment to make the motor spin.
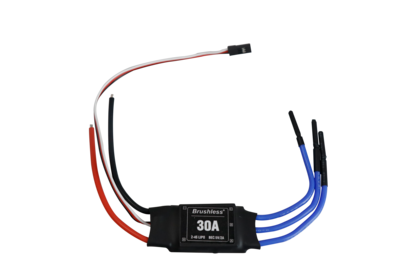
Fig. 55 Electronic Speed Controller#
Battery Monitoring Leads#
The battery monitor wires allow the Flight Controller to monitor the power traversing the PDB. This is useful because the Flight Controller can inform the Raspberry Pi of the battery voltage. The benefit of this is that the software will prevent the battery from draining too low and permanently damaging it.
You will be using the extra red and black wire that came with the kit to make the battery monitor leads.
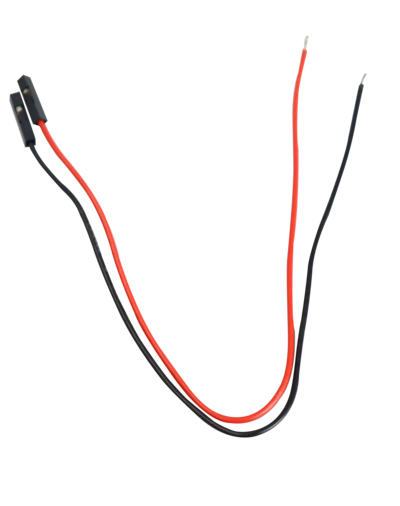
Fig. 56 Battery monitoring leads#
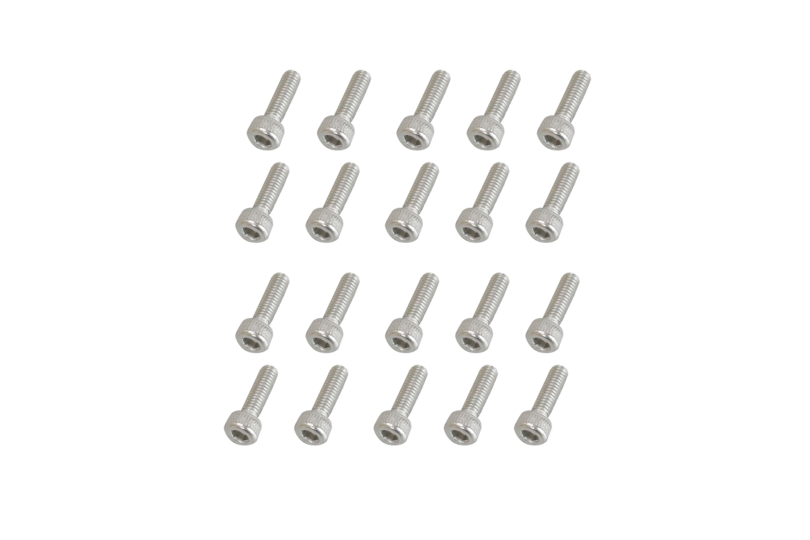
Long M3 screws#
These long gray screws are used to attach the motors to the frame together with the propellers guards (prop guards) and the plastic standoffs used as landing legs.
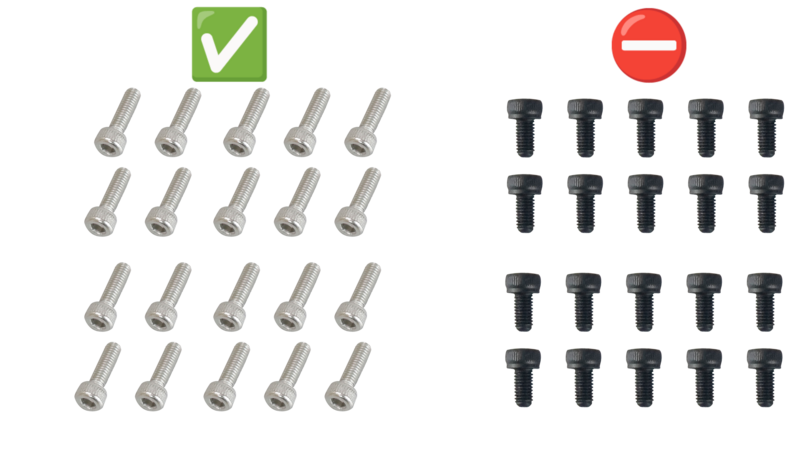
Danger
The motors include short black M3 screws. You must not use these as they are too short to attach to the motors when the landing standoffs and prop guards are attached.
You MUST use the long gray M3 screws.
Nylon M3 bolts and nuts#
These plastic bolts are used to attach the PDB to the frame of the Duckiedrone.
Warning
You will find both M3 and M2 bolts and nuts in your Duckiebox, pay attention to use the M3 in this section.
You can distinguish them by:
comparing the two; the M3 bolts will be slightly thicker
the M2 bolts only have 4 corresponding nuts
the M3 bolts have 11 corresponding nuts
The M3 bolts will fit firmly in the PDB mounting holes, whereas the M2 bolts would wobble and be loose.
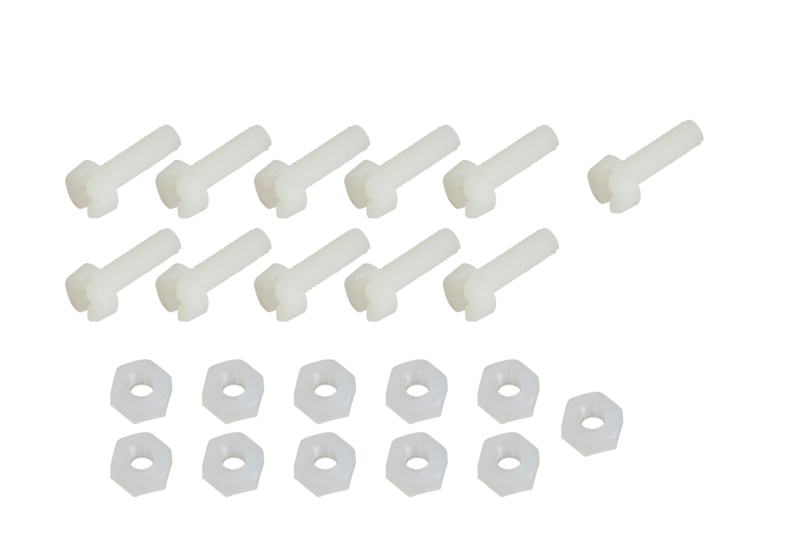
Fig. 58 Nylon M3 bolts (8) and nuts (11)#
Zip Ties#
Zip Ties will help you tie up your Duckiedrone together and manage its cabling (Duckiecaptain wants its ship to be tidy!).
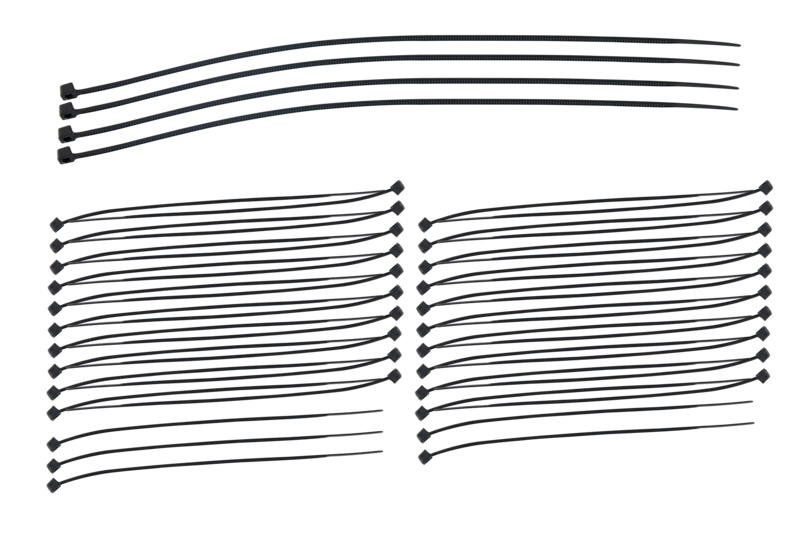
Fig. 59 Zip Ties (Large on top, small on bottom)#