Overview
Contents
Overview#
Preface#
At a high level, a sensor is a device that observes something about the world and reports its observations on an electrical wire. For example, a camera can be a sensor.
In contrast, an actuator is a device that does something when provided power via an electrical wire. For example, a motor can be an actuator.
The simplest possible robot is one that has only actuators. However, a robot with any amount of autonomy would also require sensors. This is because such a robot would need observations about its world in order to decide what to do with its actuators.
In this part of the build, you will be adding your first sensor to the drone: the time of flight (ToF) sensor. The ToF sensor is used to measure distance. We’ll provide more details about the hardware used in this portion of the build, and then get into the instructions.
Attention
You will need to have completed the Raspberry Pi and PDB section before you can begin this build section.
Required Materials#
What you will need
ToF Sensor
ToF Sensor wire
Soldering tools
What you will get
Connection to ToF Sensor
ToF Sensor#
The ToF (Light detection and ranging - Lidar) sensor is used to measure distance. On the drone, we use this sensor to measure the height of the drone above the ground. Lidar enables autonomous vehicles to “see” by generating and measuring millions of data points in real time, creating a precise map of its ever-changing surroundings for safe navigation.

Fig. 49 ToF sensor#
ToF Sensor cable#
This cable allows you to connect the ToF sensor to the Raspberry Pi Hat. One end has a 4-pin connector that is attached to the sensor, while the other has 4 wires that will be soldered to the breadboard.
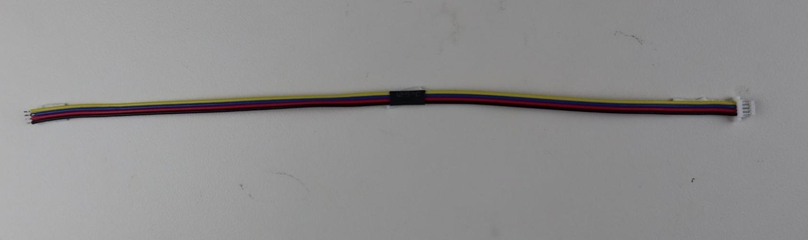
Fig. 50 ToF sensor cable#
Build progress#
After completing this section, you will have the Raspberry Pi Hat connected to the Raspberry Pi, and the former will have soldered on:
A 2-pins connector to connect the UBEC, soldered to the
+5VandGNDrails.A 2-pins connector to select the WiFi mode of the Raspberry
The ToF cable
See the following figure:
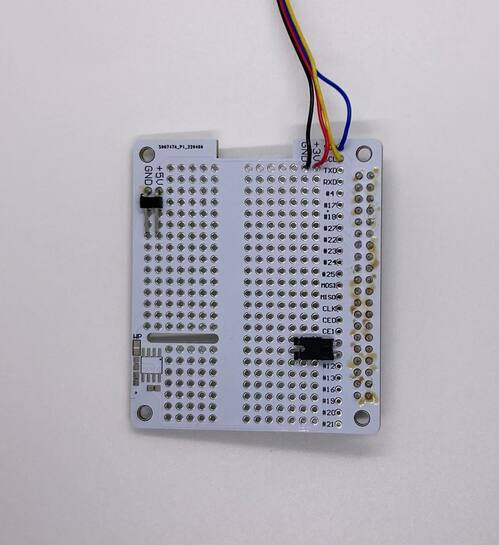
Fig. 51 Raspberry Pi Hat progress#
The ToF sensor receives power from the Raspberry Pi Hat, and the sensor output signal is received by the Raspberry Pi, using the SCL and SDA inputs (the sensor uses a protocol called I2C).