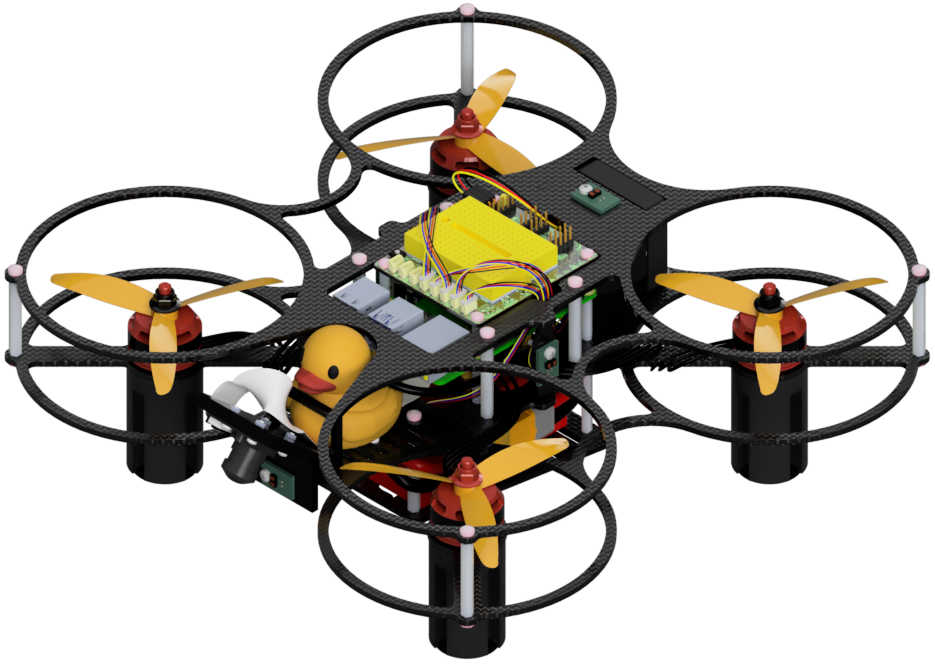
Flying your Duckiedrone
Contents
Flying your Duckiedrone#
What you will need
Fully assembled Duckiedrone with flight controller initialized
Charged battery
Base station with the Duckietown Dashboard reachable (see Preparing the software stack)
Safety goggles
Flat, matte, non-reflective takeoff surface
What you will get
Your Duckiedrone airborne
A delighted duckie captain
Environment checks#
Warning
Flying your Duckiedrone is safe only when done in an appropriate environment. Make sure:
You are in an open space that is free of obstructions.
You have alerted those around you that you are going to fly and have told them to clear the area.
You are wearing safety goggles.
The surface you are flying over is matte and non-reflective. Use a highly textured poster or patterned carpet so the Duckiedrone’s motion is easy to observe.
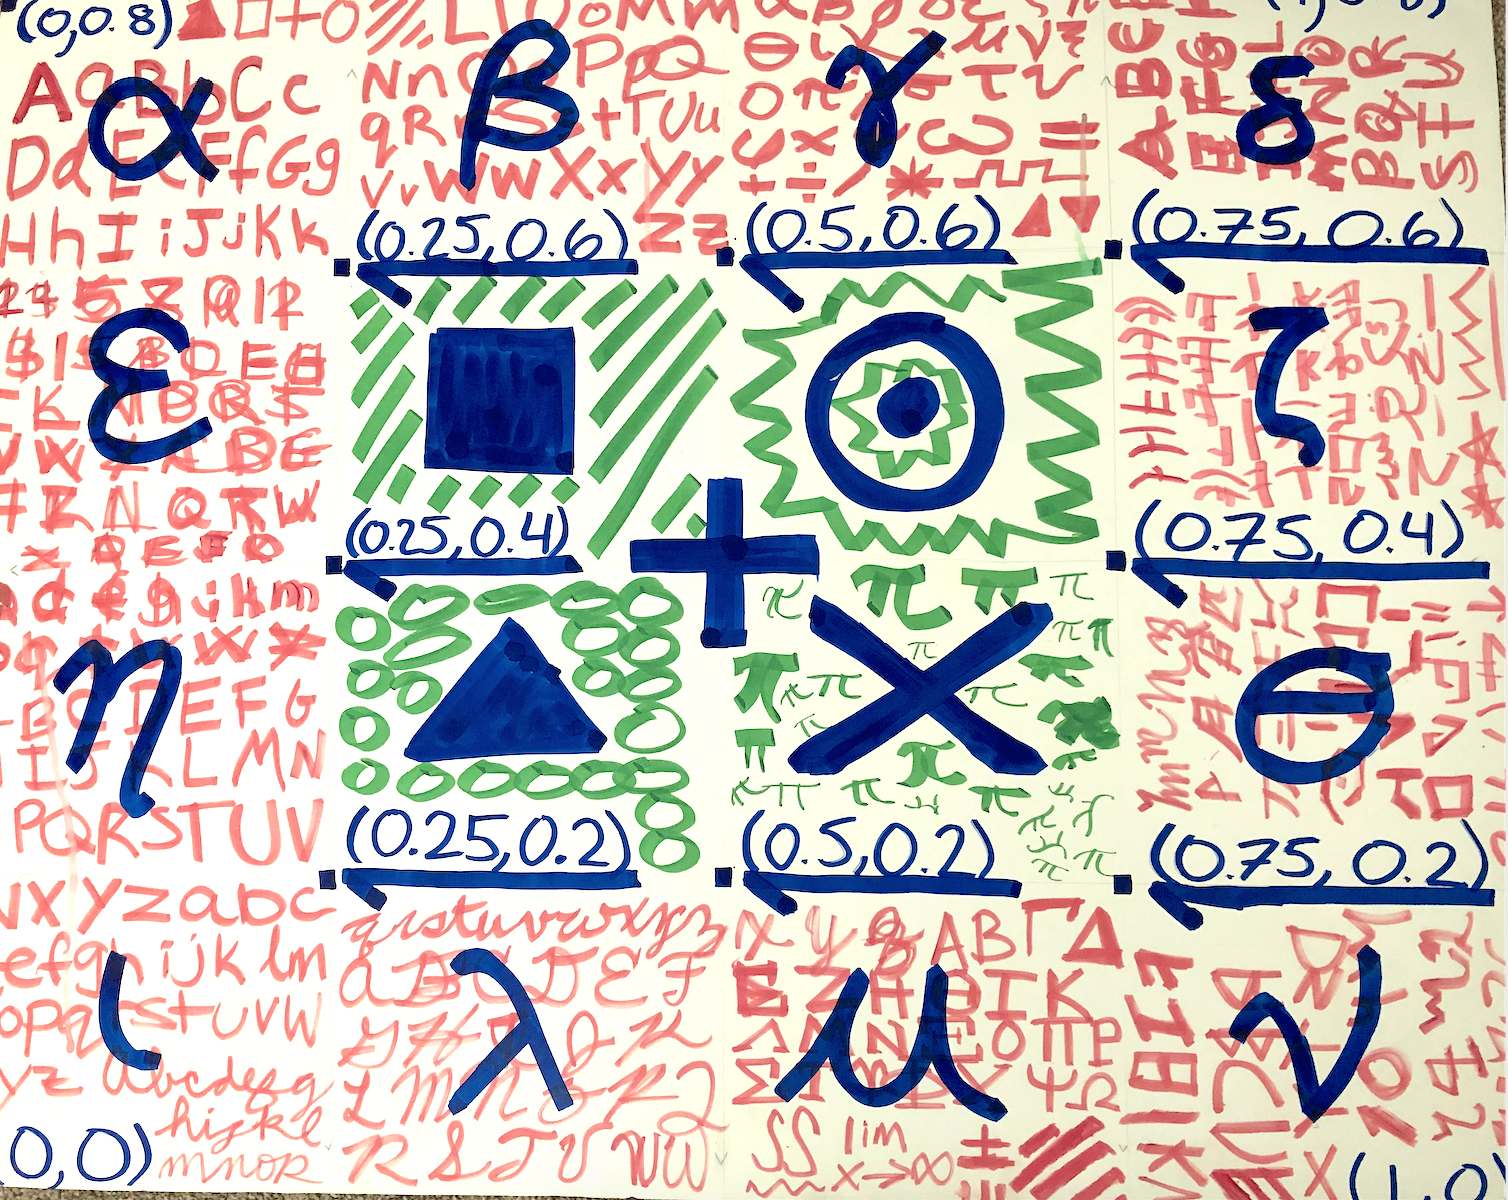
Fig. 71 Example of a highly textured planar surface.#
Hardware checks#
If the battery is still connected, unplug it before the following checks.
Wire management#
Spin the props with your finger and make sure there are no wires in the way. If wires get close, use a zip tie to fasten them to the frame, away from the props.
USB connections#
Make sure that the Flight Controller USB cable is plugged into the Raspberry Pi (any of the USB ports is fine). Make sure the camera flat cable is fully seated on both the Pi and the camera side.
Power up and open the Dashboard#
Plug the battery into your Duckiedrone. The Raspberry Pi will boot up.
Open
http://ROBOT_NAME.local/in your browser and click Mission Control.Wait for the widgets in the default mission to populate.
Confirm that every widget in the default mission is healthy — see Preparing the software stack for the checklist.
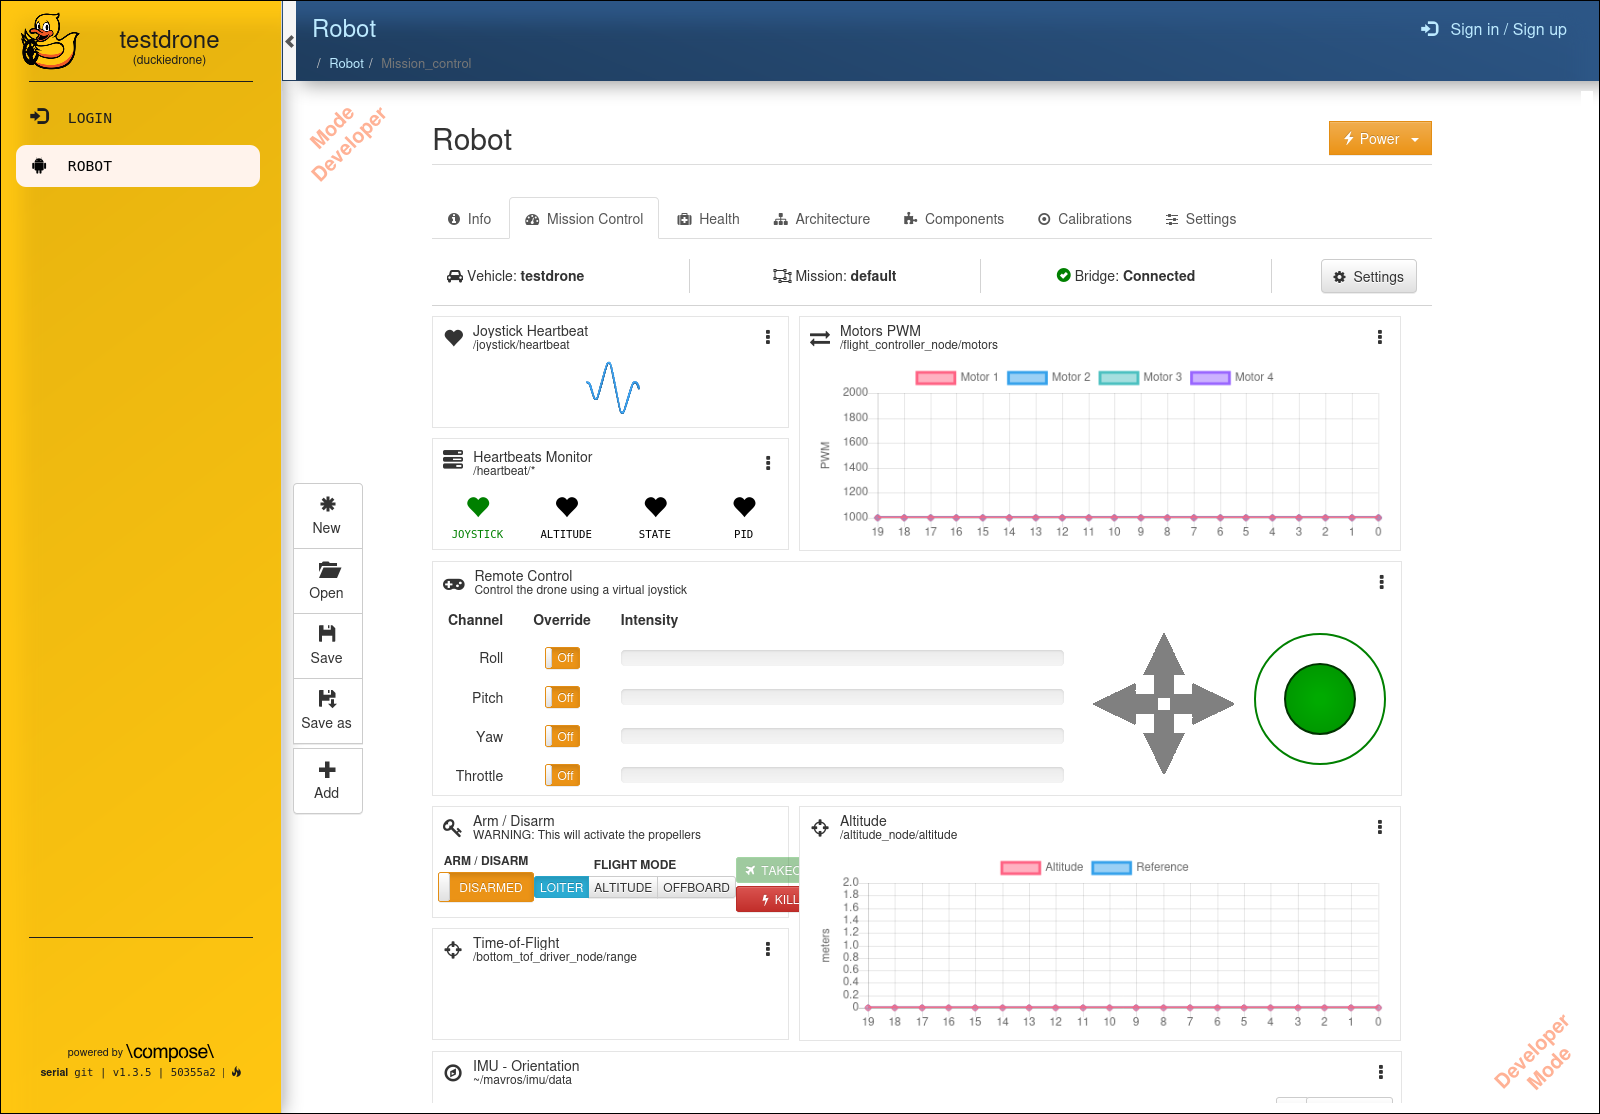
Fig. 72 The Duckiedrone default mission, before arming.#
Understanding the Arming widget#
The Arm / Disarm widget is the primary flight control. It has three elements:
An ARM / DISARM toggle at the top-left of the widget.
A four-button FLIGHT MODE selector:
STABILIZED,LOITER,ALTITUDE,OFFBOARD.A red KILL switch that stops motor outputs immediately when clicked.
The widget reflects the live state — it polls /mavros/state and refreshes its ARM and FLIGHT MODE indicators whenever the flight controller state changes. If the toggle flips on its own, that reflects a real transition on the flight controller (for example, an auto-disarm).
Flight modes#
PX4 runs on the Duckiedrone’s flight controller, and ros2-mavros bridges it to ROS 2. The Dashboard exposes four of PX4’s flight modes:
Mode |
PX4 name |
When to use |
|---|---|---|
|
|
PX4 keeps the Duckiedrone level when roll and pitch are neutral, but throttle is controlled directly, with no altitude or position hold. Use this for the first manual flight: it needs only the IMU attitude estimate, so it arms reliably on a GPS-less Duckiedrone. |
|
|
Dashboard’s disarmed default selection. PX4 cannot arm this automatic mode without a valid position estimate, which the standard Duckiedrone DD24-B configuration does not provide. Use |
|
|
PX4 holds altitude when the throttle is centered. Roll and pitch come from the keyboard ( |
|
|
PX4 tracks setpoints published by an external node on |
Important
PX4 only accepts an OFFBOARD request after it has received a supported external-control stream at >2 Hz for more than one second. If no setpoints are being published, PX4 will not enter OFFBOARD and will stay in its previous mode. Start your setpoint publisher before clicking OFFBOARD.
The standard Duckiedrone DD24-B configuration does not provide a horizontal position estimate. Do not command local position setpoints until you have configured a valid position source; select a setpoint type compatible with the estimates available to your controller.
STABILIZED and ALTITUDE require a manual-control input source, such as the Dashboard’s Remote Control widget.
Warning
In STABILIZED the throttle is fully manual. PX4 does not hold height for you, so lowering the throttle makes the Duckiedrone descend. Manage throttle throughout the flight and be ready to hit KILL.
The Remote Control (virtual joystick) widget#
Next to the arming widget, the Remote Control widget publishes stick values to /mavros/manual_control/send:
On-screen gimbal (right side of the widget, mouse- or touch-draggable): yaw (left/right) and throttle (up/down). Throttle rests at the bottom (
0) and holds wherever released; yaw springs back to center.Roll / Pitch indicator (left side of the widget): shows roll and pitch as arrows, but is keyboard-only. There is no draggable stick for these two axes. Drive them with
W/A/S/D, see Keyboard control below.
In STABILIZED and ALTITUDE modes these fly the Duckiedrone; in OFFBOARD mode they are ignored (your setpoint publisher takes over).
Keyboard control#
The Remote Control widget also accepts keyboard input. Keyboard and mouse drive the same joystick state and publish to the same /mavros/manual_control/send topic, so either can be used at any time, even mid-flight.
Keys |
Axis |
Behavior |
|---|---|---|
|
Pitch |
Moves fully forward or back while held; returns to center on release. |
|
Roll |
Moves fully left or right while held; returns to center on release. |
|
Yaw |
Turns left or right while held; returns to center on release. |
|
Throttle |
Rises or falls gradually while held, and stays at that level once released, the same as the on-screen gimbal. |
|
None |
Disarms immediately, from anywhere on the page. |
The legend printed at the bottom of the widget repeats these bindings, and hovering over any bar shows the matching tooltip.
Throttle ramp: hover threshold and thrust cap#
Because the throttle keys ramp rather than jump straight to a value, the widget shows a vertical throttle gauge next to the bars with two calibration fields:
Hover: the throttle value at which this specific Duckiedrone leaves the ground. Below it,
↑/↓step throttle in coarse increments for a quick climb; at or above it, steps become fine for gentle hover trim. Marked as the blue line on the gauge.Thrust Cap: a hard ceiling on throttle. The published throttle value can never exceed it, whatever the keyboard ramp or the joystick asks for. Marked as the red line on the gauge.
Both fields are saved in the browser and persist across page reloads, but not across different browsers or devices. Recalibrate when flying from a new machine.
Warning
Thrust Cap defaults to half throttle, a conservative safety limit. Raise it only after the hover threshold is confirmed, and only as much as the airframe actually needs.
To calibrate on a new Duckiedrone:
Arm in
STABILIZED(see below) withThrust Capat its default.Hold
↑in short bursts and watch the throttle gauge and bar. Note the value at which the Duckiedrone just leaves the ground.Enter that value into Hover. The gauge’s blue line and the coarse/fine ramp switchover now match this airframe.
Raise Thrust Cap only if the Duckiedrone needs more than half throttle to fly, and disarm and retest after every change.
First flight#
Danger
Be prepared to hit the KILL switch at any moment. It stops the motor outputs immediately; a flying Duckiedrone will fall, so use it only in an emergency.
Place the Duckiedrone on the takeoff surface, camera forward.
Verify on the Mission Control page that:
The
FLIGHT MODEindicator showsLOITER.The altitude trace is updating and stable while the Duckiedrone is still.
The IMU orientation indicator is level.
Click STABILIZED in the arming widget. Confirm that the
FLIGHT MODEindicator changes toSTABILIZED.Click the ARM toggle. The motors will start spinning at idle RPM.
If the motors spin fast, or you hear strange noises, immediately click the KILL switch.
If the motors do not spin at all, see Common issues.
Click the toggle again to disarm. The motors should stop almost immediately. Repeat arming and disarming once or twice to verify responsiveness.
Arm the Duckiedrone again.
Choose a flight mode:
In the Remote Control widget, make sure the gimbal (throttle) is at the bottom (
THR: 0) and centered on yaw.Confirm that the
FLIGHT MODElabel showsSTABILIZED. If it does not, click STABILIZED and check that the Remote Control widget is actively publishing.Slowly raise the throttle (push the gimbal up, or hold
↑) until the Duckiedrone lifts off. PX4 keeps it level while you hold the throttle.Steer roll and pitch with
W/A/S/Dand rotate with yaw (gimbal left/right, or←/→).There is no altitude hold. Manage height with the throttle throughout the flight. The keyboard’s hover-threshold ramp (see above) makes fine trim easier once airborne.
To land, ease the throttle down until the Duckiedrone touches down, then click DISARM.
In the Remote Control widget, center the controls.
In the arming widget, click ALTITUDE.
The
FLIGHT MODElabel should update toALTITUDE. If it does not, check that the Remote Control widget is actively publishing.
Raise the throttle above the takeoff threshold to lift off. Once airborne, return it near the center to hold altitude.
Use
W/A/S/Dfor roll/pitch to move horizontally. Yaw (gimbal left/right, or←/→) rotates the Duckiedrone.To land, decrease the throttle gradually. Once the Duckiedrone has touched down, click DISARM.
Start your setpoint publisher on the Duckiedrone before clicking
OFFBOARD. Publish a supported stream at more than2 Hzfor more than one second. Use a higher rate, such as20 Hz, for a smooth control stream, and use only setpoint types compatible with the available estimates.Click OFFBOARD.
If the
FLIGHT MODElabel flips toOFFBOARD, PX4 has accepted external control.If it does not switch, the setpoint stream may not be running or the selected setpoint type may lack the estimate it requires.
Your controller now supplies the Duckiedrone’s setpoints. Monitor altitude and motor PWM from the Dashboard.
To land, command a descent from your controller and click DISARM once the Duckiedrone is grounded.
Always finish the flight by clicking DISARM. If anything goes wrong, click KILL.
Danger
Do not put your hands near the propellers while the Duckiedrone is armed. Always disarm before approaching.
Monitoring during flight#
Keep the Mission Control page visible while the Duckiedrone is in the air. Useful widgets:
Altitude — if the trace becomes unstable or stops updating while in
ALTITUDEmode, land and inspect the ToF sensor before flying again.Motors PWM — if all four bars remain near their maximum while the Duckiedrone is not responding as expected, land and inspect the flight-controller and altitude readings before trying again.
Heartbeats Monitor — if any heartbeat goes red during flight, the corresponding node stopped publishing.
Troubleshooting#
Troubleshooting
SYMPTOM
The ARM toggle snaps back to DISARM a second after I click it.
RESOLUTION
PX4 rejected the arming request because a preflight check failed. Typical causes on a Duckiedrone DD24-B:
The flight stack has not completed startup — wait until the Mission Control widgets are populated and healthy, then retry.
The accelerometer bias is out of range — recalibrate the IMU from QGroundControl.
The Duckiedrone is not level — place it on a flat surface and retry.
The ToF sensor is returning invalid distances — see Common issues.
If it still fails, inspect the ros2-mavros container logs in Portainer for connection errors.
Troubleshooting
SYMPTOM
Clicking OFFBOARD does nothing — the mode indicator does not change.
RESOLUTION
PX4 will not enter OFFBOARD when no external setpoint stream is running. Make sure your controller publishes on /mavros/setpoint_raw/local (or another valid setpoint topic) at >2 Hz for at least a second before you click the button. Once setpoints are flowing, retry the mode switch.
Troubleshooting
SYMPTOM
The Duckiedrone auto-disarms after arming even though I never clicked DISARM.
RESOLUTION
PX4 can automatically disarm a vehicle that remains on the ground after arming. The timeout is configured on the flight controller, so do not rely on a fixed duration. Before re-arming, make sure the Remote Control widget is publishing and the flight area is clear.
Troubleshooting
SYMPTOM
The Mission Control page shows the widgets but no data is updating.
RESOLUTION
The Dashboard communicates with ROS 2 through ros2-rosbridge-websocket. Make sure that container is healthy in Portainer, then restart the Duckiedrone containers.
Troubleshooting
SYMPTOM
The motors do not spin at all after arming.
RESOLUTION
Check the flight controller initialization (Initializing the Flight Controller). Verify that:
The Duckiedrone battery is connected; USB alone does not power the ESCs.
The USB cable between the Raspberry Pi and the flight controller is seated.
The ESC/Motor protocol matches what the supplied Duckiedrone parameter file expects.
With the propellers removed, each motor can be tested from the Actuators page in QGroundControl.
Congratulations on your first Duckiedrone flight.