The Fast Way
Contents
What you will need
A working Duckietown Shell (
dts) installation: Install the Duckietown ShellA microSD card (
64 GB, U3, Class 10 recommended), e.g., the one from your Duckiedrone boxA microSD card reader, e.g., the one from your Duckiedrone box
What you will get
An initialized Duckiedrone microSD card, ready for first boot
The Fast Way#
This procedure consists of downloading a preset image and burning it to the microSD card using Balena Etcher. The advantages of going the “fast” way are that:
it works on any operating system
most important configuration parameters are pre-set; set the
duckieaccount password before the first boot
The disadvantages of this procedure are:
the Duckiedrone has default parameters, listed in the “cheatsheet” below. The
robotnamecan be changed only on Ubuntu before the first boot.Since every robot on the network needs a unique
robotname, do not use this procedure for several Duckiedrones on the same network at the same time.
Cheatsheet
Default robot name: amelia02
Default ssh user name: duckie
ssh account password: set in step 3.1; there is no default account password
Default network configuration (robot will connect to this network after the first boot)
SSID:
duckietownPassword:
quackquack
1. Install Balena Etcher#
Balena Etcher is a program to flash disk images to drives.
Download and install the version appropriate for your operating system from Balena Etcher’s website.
2. Download the Duckietown image#
Legalities
By downloading this image you are accepting the Duckietown Software License, Terms and Conditions and Privacy Policy, as well as robot configuration-specific licenses due to the presence of third-party software on the microSD card.
Download the latest Duckiedrone ente image to your base station:
3. Flash the image to the microSD card#
Connect the microSD card to the base station. Use the microSD-to-USB card reader if the base station does not have a microSD slot.
Open Balena Etcher and select the downloaded Duckiedrone image, then select the microSD card as the drive to flash. Finally, click the Flash button.
Warning
Double-check that the “drive” is your microSD card.
You may be prompted to enter the base station password to proceed. This is normal: flashing a microSD card deletes everything that is on it, so Etcher asks you to confirm that you intend to erase its contents.
Note
Flashing will take 15-20 min.
3.1 Set the duckie account password#
Before the first boot, use dts sd_card update to set the password for the duckie account:
dts sd_card update --type duckiedrone --configuration DD24 --password
DTS prompts you to enter and confirm the password. It must contain at least eight characters and cannot contain colons or line breaks. The characters you enter are not displayed. The password update takes effect when the Duckiedrone next boots. There is no default account password.
3.2 (Ubuntu only) Country, Wi-Fi and hostname customization#
Attention
This option works only prior to the first boot.
If you are using Ubuntu, the microSD card will mount three partitions after flashing:
bootfs: this partition contains important system files. Do not touch it.rootfs: this partition contains important system files. Do not touch it at this stage.configfs: this partition contains configuration files you can edit to customize important features of your Duckiedrone.
The configfs partition includes:
hostname.txt: this is therobotname, which defaults toamelia. Keep in mind: (a) it cannot be changed after the first boot, and (b) there are constraints on the naming.country.txt: contains the two-letter country ISO 3166-1 alpha-2 code. The default isUS; change it to your country if needed.wififolder: contains several files that allow for Wi-Fi network customization. You can edit00-user.yamlto add a custom Wi-Fi network. Networks can also be edited at any time after the first boot. For more information, see Network management.
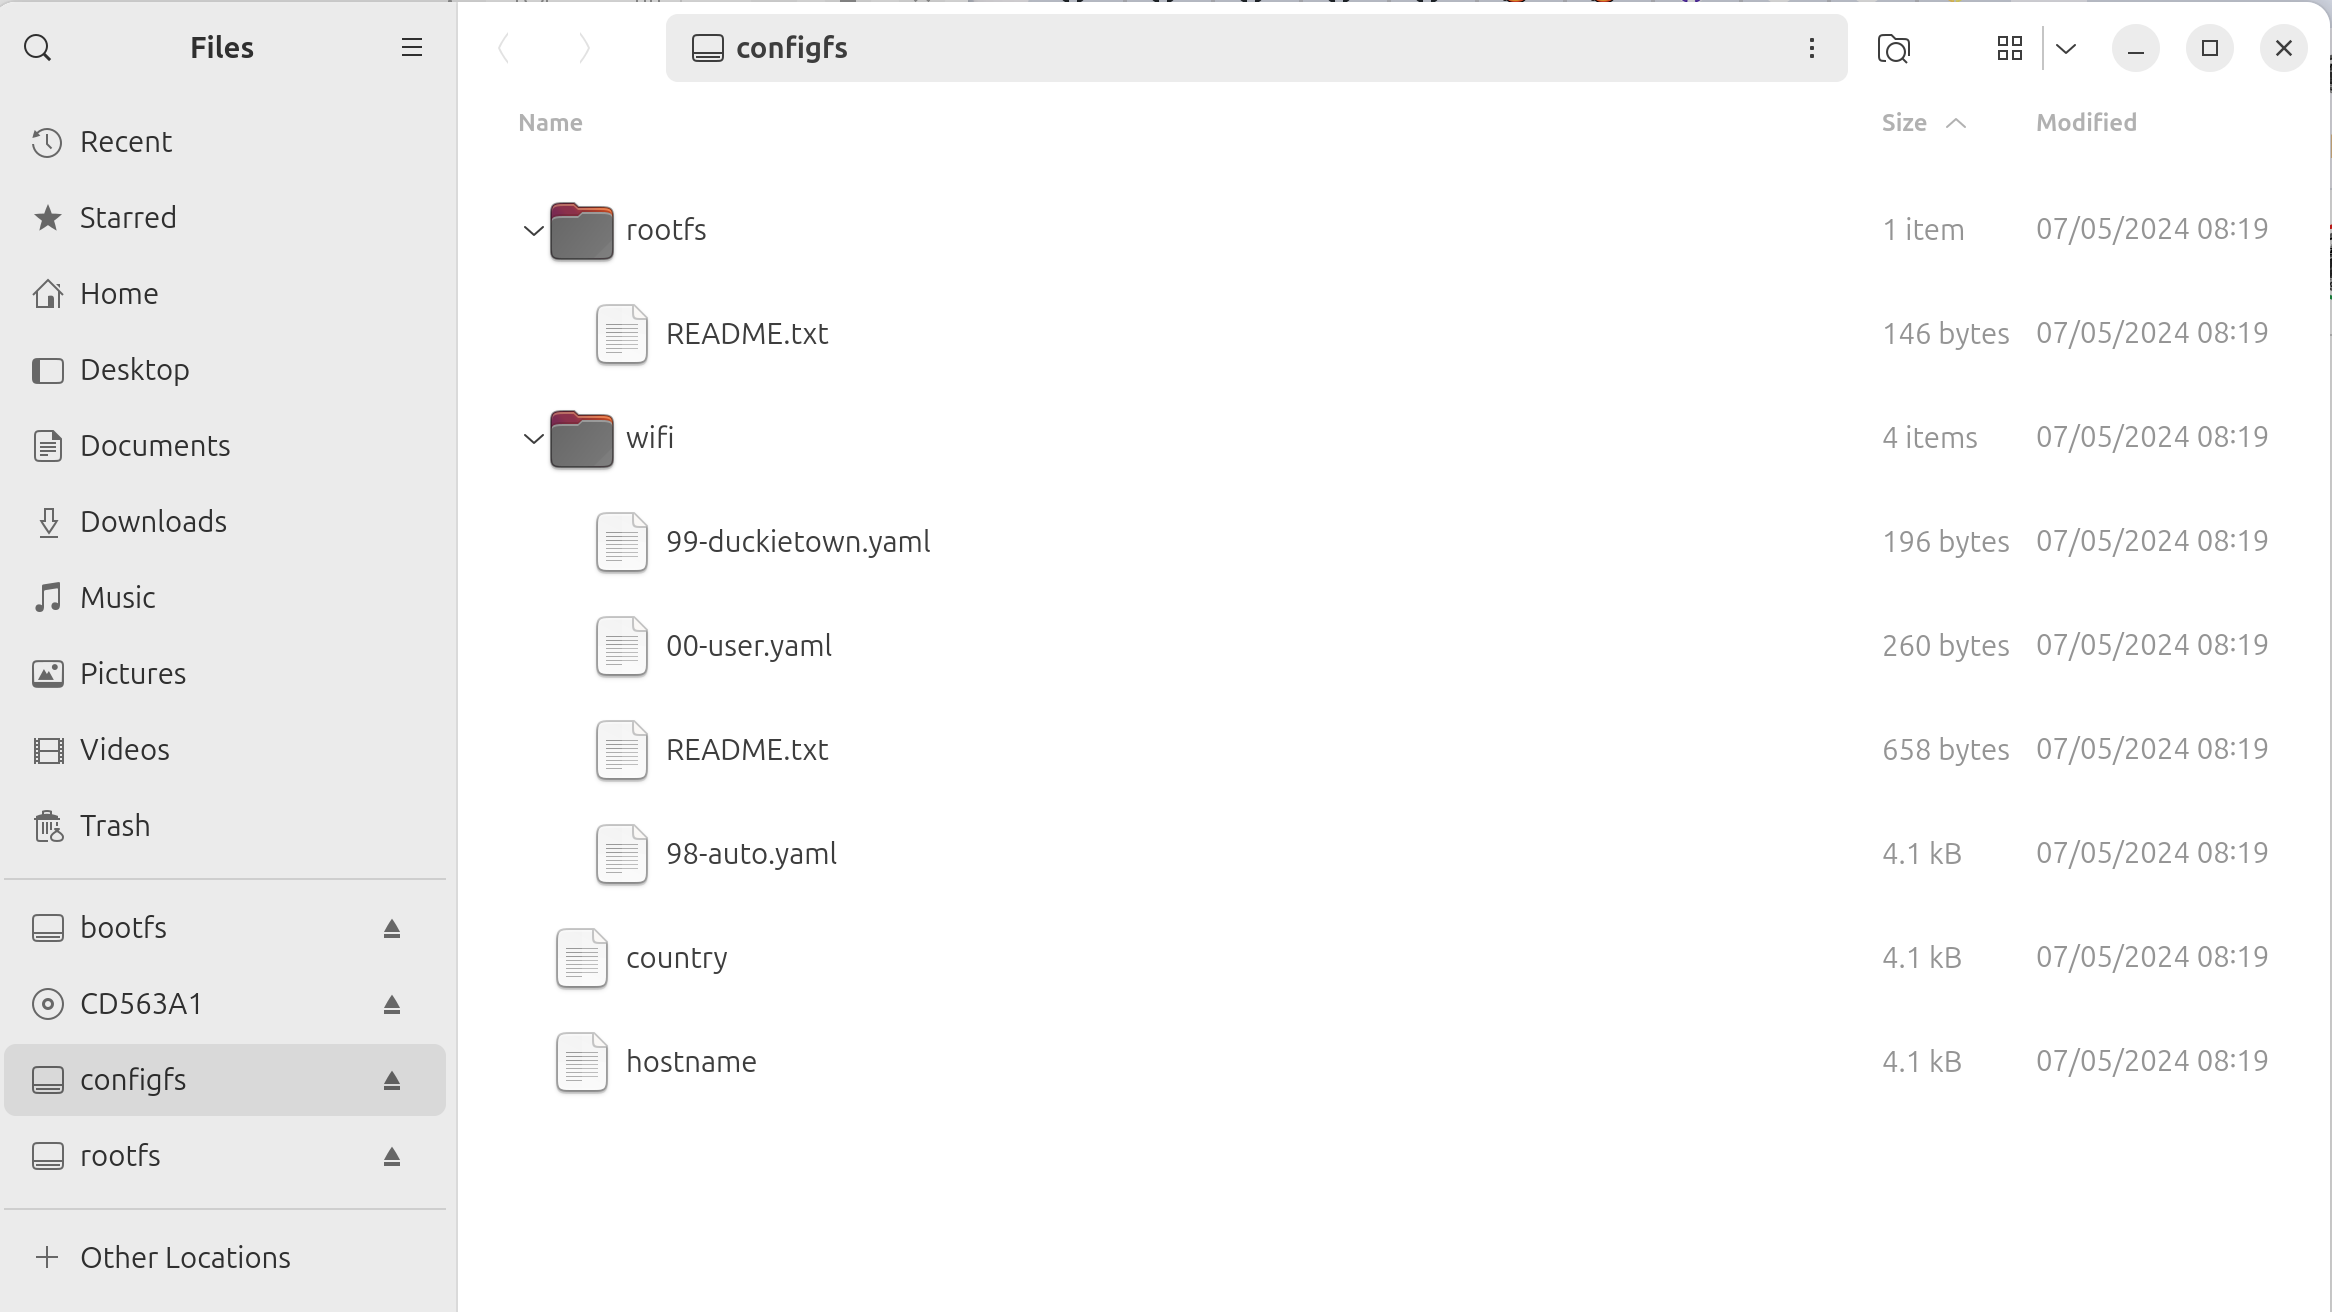
Fig. 48 Image configuration partition accessible through Ubuntu.#
4. Proceed to the first boot#
Safely eject the microSD card from your base station, then insert it into the Raspberry Pi’s microSD card slot.
You are now ready for the first boot.
Note
Through this approach, the Duckiedrone will boot and search for the default network. It is recommended to set up a duckietown:quackquack network before the first boot, or to connect the Duckiedrone to your router with an Ethernet cable. Once the first boot is complete, you can add or remove networks by following Network management.
Troubleshooting#
Troubleshooting
SYMPTOM
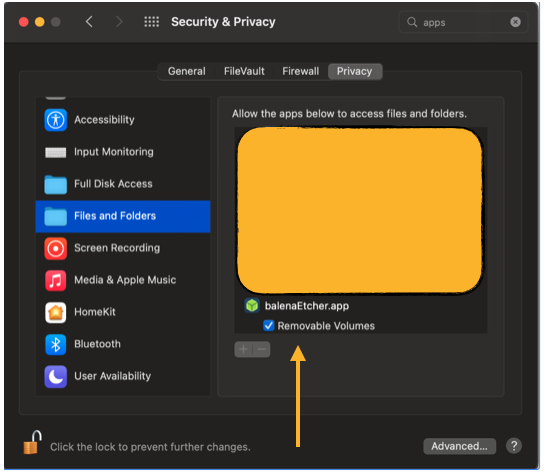
I am using a Mac and the flashing step fails for lack of permissions.
RESOLUTION
Go to Apple menu > System Settings > Privacy & Security > Files & Folders, then enable Balena Etcher’s access to Removable Volumes.
Troubleshooting
SYMPTOM
The Duckiedrone does not join my Wi-Fi after the first boot.
RESOLUTION
Re-insert the microSD card into your base station and open the
configfspartition.Check
country.txt. Wi-Fi is disabled when the regulatory domain is unset, so it must contain the correct two-letter country code.Inspect
wifi/00-user.yaml. Confirm that the network name and password are correct and that its YAML indentation uses spaces, not tabs.If you cannot access
configfsfrom Ubuntu or are still stuck, use The Complete Way to flash the card with your network credentials.