LX: PID - Altitude Control
Contents
LX: PID - Altitude Control#
What you will need
Computer setup
dts: Initial setup
What you will get
Running the PID - Altitude Control learning experience
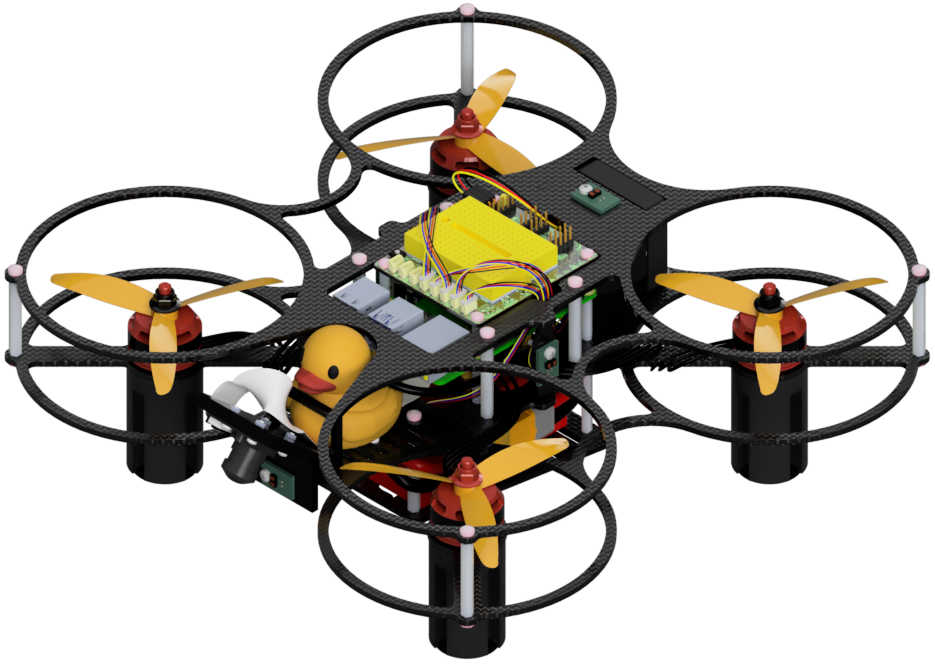
This Learning Experience details how to design, implement, and tune a PID altitude controller for a Duckiedrone DD24-B, which runs PX4 as its flight controller and communicates with ROS2 via MAVROS2.
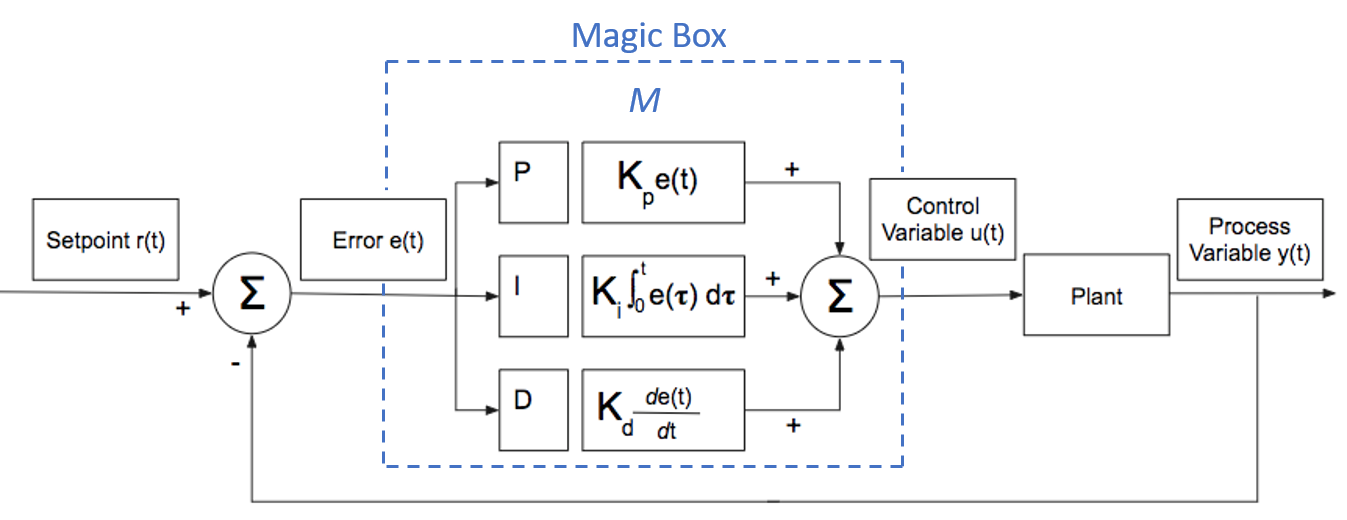
Fig. 75 Welcome to the PID - Altitude Control LX!#
Intended Learning Outcomes
After this learning experience, you will learn:
Discrete-time PID control theory (proportional, integral, derivative terms)
How PX4’s OFFBOARD mode works and why the heartbeat rate matters
How the setpoint_attitude MAVROS2 plugin lets a companion computer command normalized thrust and attitude
How to tune PID gains systematically using the Ziegler–Nichols method
How to transfer a simulation-tuned controller to real hardware
Warning
About these learning activities#
Note
This exercise can be run on a virtual Duckiebot in the Duckiematrix, and on a real Duckiebot with off-board agent workflow. On-board agent workflow is work in progress.
Forking the repository#
1. Create a fork#
Navigate to the lx-dd-altitude-pid-control repository.
Find and press the “Fork” button on the top right:
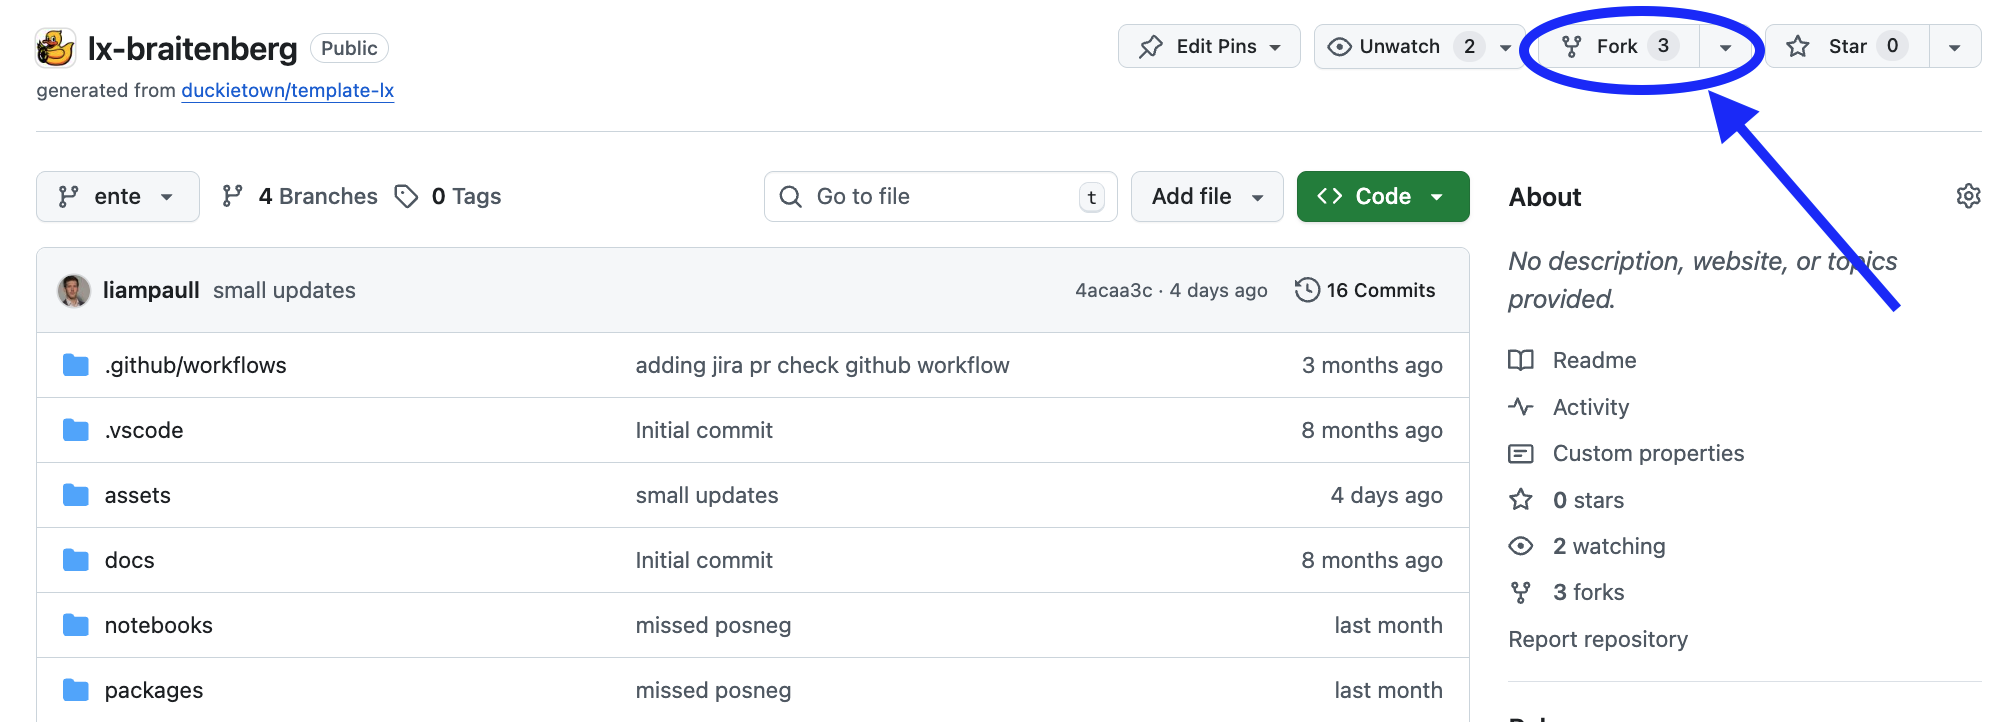
Fig. 76 Fork the LX to be able to make local changes while still being able to receive updates.#
This will create a new repository at: <your_github_username>/lx-dd-altitude-pid-control.
2. Clone the fork#
Clone the fork on your computer, replacing your GitHub username in the command below, and navigate to the new folder:
git clone [email protected]:<your_github_username>/lx-dd-altitude-pid-control
cd lx-dd-altitude-pid-control
3. Configure the upstream repository#
Configure the Duckietown version of this repository as the upstream repository to synchronize with your fork.
List the current remote repository for your fork,
git remote -v
Specify a new remote upstream repository,
git remote add upstream https://github.com/duckietown/lx-dd-altitude-pid-control
Confirm that the new upstream repository was added to the list,
git remote -v
You can now push your work to your own repository using the standard GitHub workflow, and the beginning of every exercise will prompt you to pull from the upstream repository, updating your exercises to the latest version (if available).
Keeping your System Up To Date#
💻 These instructions are for
entelearning experiences. Ensure your Duckietown Shell is set to anenteprofile (and not adaffyone). You can check your current profile with:dts profile list
To switch to an ente profile, follow the Duckietown Manual DTS installation instructions.
💻 Pull from the upstream remote to synch your fork with the upstream repo:
git pull upstream ente
💻 Make sure your Duckietown Shell is updated to the latest version:
pipx upgrade duckietown-shell
💻 Update the shell commands:
dts update
💻 Update your laptop/desktop:
dts desktop update
🚙 Update your Duckiebot (even if it is a virtual one):
dts duckiebot update ROBOTNAME
(where
ROBOTNAMEis the name of your Duckiebot: real or virtual.)
Launching the Code Editor#
Important
All dts code commands should be executed inside the root directory of the learning experience.
Making sure you are inside the path of this learning experience (cd ./path-to-lxs-in-your-workstation/lx-dd-altitude-pid-control), then open the code editor:
dts code editor
Wait for a URL to appear on the terminal, then click on it or copy-paste it in the address bar of your browser to access the code editor.
The first thing you will see in the code editor are a version of these instructions. At this point you can start following the LX-specific indications shown in your code editor.
Walkthrough of Notebooks#
Inside the code editor, use the navigator sidebar on the left-hand side to navigate to the
notebooks directory and open the first notebook.
Follow the instructions on the notebook and work through them in sequence.
In many cases the last notebook will instruct you to write some code inside the learning experience directory.
Once you have done that you will need to build your code before testing it.
Testing with the Duckiematrix#
To test your code in the Duckiematrix you will need a virtual robot attached to an ongoing session.
1. Creating and starting virtual Duckiebot#
If you have not done so already (e.g., for a different LX), you can create a virtual Duckiebot with the command:
dts duckiebot virtual create -t duckiedrone -c DD24 [VBOT]
When you run the command, DTS prompts you to enter and confirm the password for the virtual Duckiedrone’s duckie account. It must contain at least eight characters and cannot contain colons or line breaks; the characters you enter are not displayed. [VBOT] is the hostname. It can be anything you like, subject to the same naming constraints of physical Duckiedrone.
Then you can start your virtual robot with the command:
dts duckiebot virtual start [VBOT]
You should see it with a status Booting and finally Ready if you look at dts fleet discover:
     | Hardware |   Type    | Model |  Status  | Hostname
---  | -------- | --------- | ----- | -------- | ---------
[VBOT] |  virtual | duckiedrone | DD24 |  Ready   | [VBOT].local
Once you are done for the day, do not forget to stop your virtual robot:
dts duckiebot virtual stop [VBOT]
If in doubt if any of your virtual Duckiebots in running or not, you can check the status of your virtual scuderia at any time with:
dts duckiebot virtual list
2. Starting the Duckiematrix with the virtual Duckiebot#
Now that your virtual robot is ready, you can start the Duckiematrix. From this LX directory:
dts code start_matrix [--no-renderer]
Note
To run the WebGL (browser) version of the Duckiematrix, add the --browser flag.
You will see the Unity-based Duckiematrix simulator start up. The startup screen will look like:
Enable the window by clicking on it and press ENTER to make it become active, and then move the duckie towards the Duckidrone with the w, a, s, and d keys. Change the camera angle with the mouse or by using the other hotkeys available through the Duckiematrix settings.
If you are close enough to your Duckiedrone, you can board it with the E key.
Building the Code#
From inside the learning experience root directory, you can build your code with:
dts code build -R ROBOT_NAME
where ROBOT_NAME can be either a physical or virtual robot.
You should then continue reading the instructions inside the first notebook.
Testing on a Duckiebot or in the Duckiematrix#
🚙 In general, you can test your code on your real Duckiedrone with:
dts code workbench -R ROBOT_NAME
💻 To test your code on a virtual robot in the Duckiematrix:
dts code workbench -m -R VIRTUAL_ROBOT_NAME
(note the -m flag which means that we are running in the matrix.)
In another terminal, you can launch the noVNC viewer for this exercise and open RViz.
dts code vnc -R ROBOT_NAME
where ROBOT_NAME could be the real or the virtual robot (use whichever you ran the dts code workbench and dts code build command with).
Troubleshooting#
Troubleshooting
SYMPTOM
When running dts code editor I get an error: dts : No valid DTProject found at '/path/to/lx'
RESOLUTION
Make sure your are executing the commands from inside a learning experience folder (e.g., */lx-dd-altitude-pid-control/)
Troubleshooting
SYMPTOM
My virtual robot (named, e.g., VBOT) hangs indefinitely when trying to update it.
RESOLUTION
Try to restart it with: dts duckiebot virtual restart VBOT
Troubleshooting
SYMPTOM
My WebGL (browser) version of the Duckiematrix colors look desaturated.
RESOLUTION
Try a different browser.