Dashboard Setup
Contents
Dashboard Setup#
What you will need
A Duckietown account: Duckietown Account
A connected Duckiebot: Network Configuration in Duckietown
What you will get
A working Duckiebot Dashboard for hardware and software diagnostics
This section describes how to install and perform the first setup of the Duckietown Dashboard on the Duckiebot.
Setting up the Duckiebot Dashboard#
The Dashboard comes pre-installed on your Duckiebot, and gets activated on first boot. A one-time procedure is necessary to set it up before it being ready for use.
Once configured, you can connect to the Dashboard through any browser by going to http://DUCKIEBOT_NAME.local/.
Video Tutorial#
How to set up a Duckietown Duckiebot Dashboard
Dashboard setup tutorial.
Step-by-Step Instructions#
You can find your Duckietown Dashboard at:
http://DUCKIEBOT_NAME.local/
If .local does not resolve, use the Duckiebot’s reachable IP address (shown in the Address column of dts fleet discover when available):
http://DUCKIEBOT_IP/
If DUCKIEBOT_NAME resolves without .local, you can also use http://DUCKIEBOT_NAME/. An IP address does not require mDNS; a failed .local lookup does not necessarily mean the Duckiebot’s Dashboard is unreachable.
Note
Older Dashboard images may open by IP but fail to load live data. Full IP-based access requires a Dashboard image with IP-origin support.
You will be greeted by the Dashboard shown here. Read the steps below before continuing through the setup page.
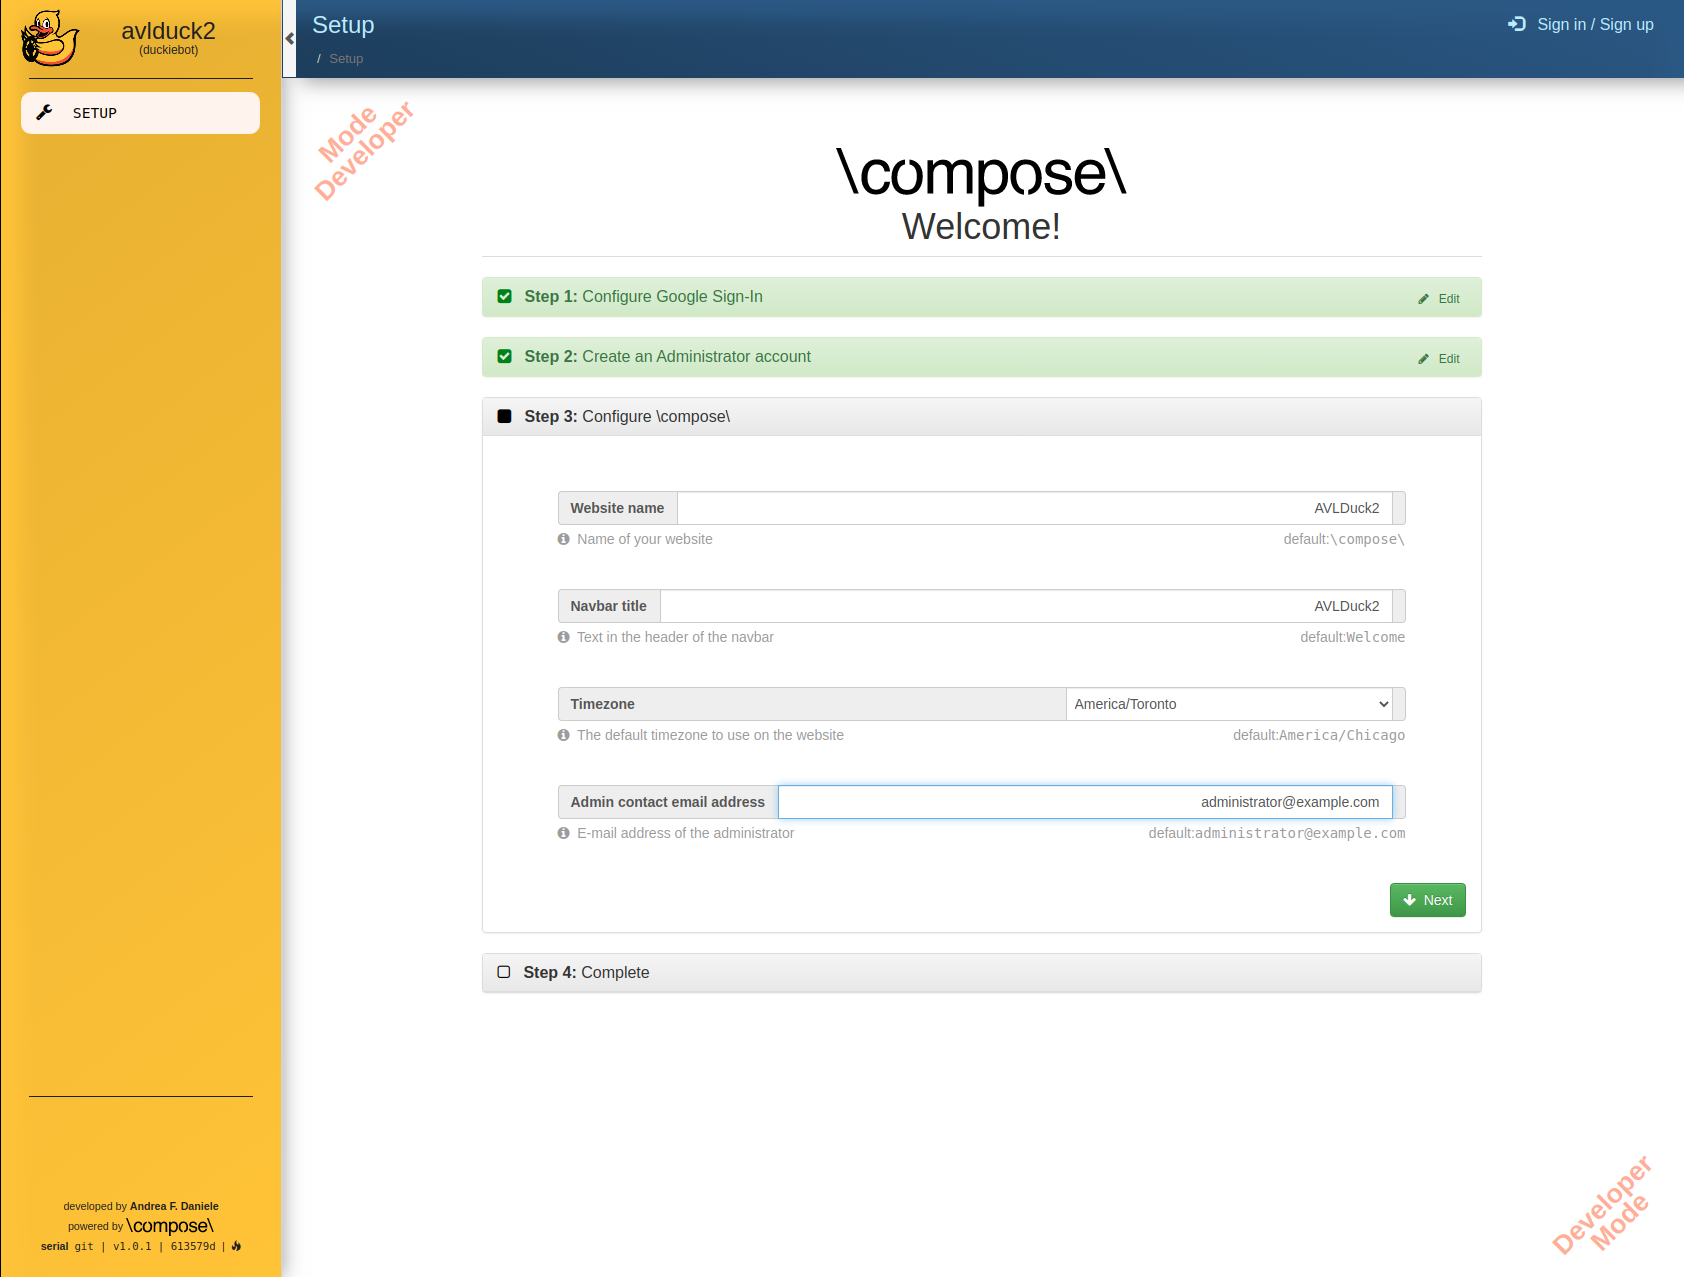
Fig. 44 Duckietown Dashboard welcome screen for initial configuration.#
Steps 1 and 2: Login and administrator account#
To authenticate your account on the Dashboard, use your personal Duckietown token.
You will notice that the first two steps in the Dashboard already appear to be completed.
Do not worry about configuring Google sign-in (Step 1) or creating an administrator account (Step 2) for now, a new administrator account will be automatically created.
Step 3: Configure your Dashboard#
Complete the Configure \compose\ fields and click on Next to continue.
Note
You can always update your choices through the Settings page after you finish the setup process.
Tip
If you are seeing an error due to permissions, take a look at the Booting FAQs.
Step 4: Complete the setup#
The Step 4: Complete tab should now be open, as shown below.
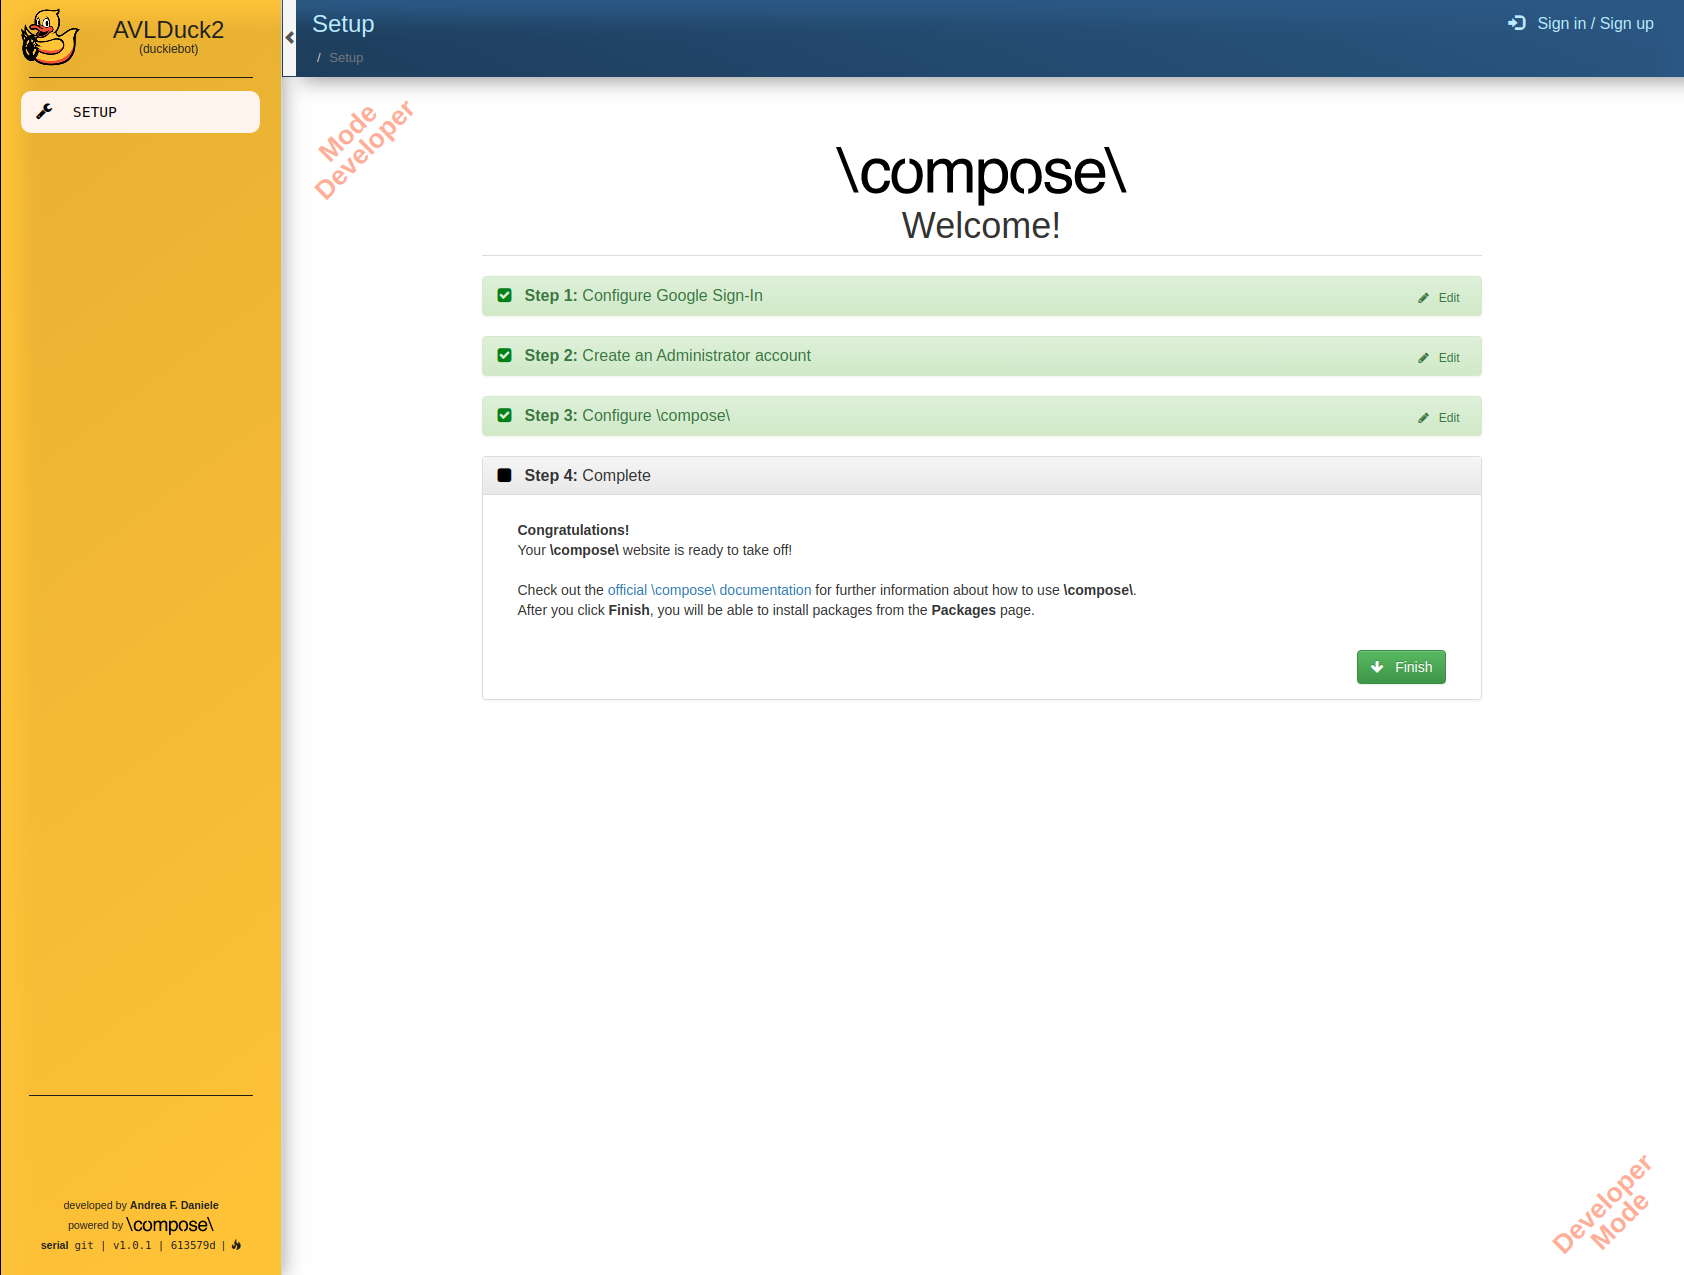
Fig. 45 Duckietown Dashboard setup completion screen.#
Press Finish to continue.
Dashboard First Login#
You should now see the login page:
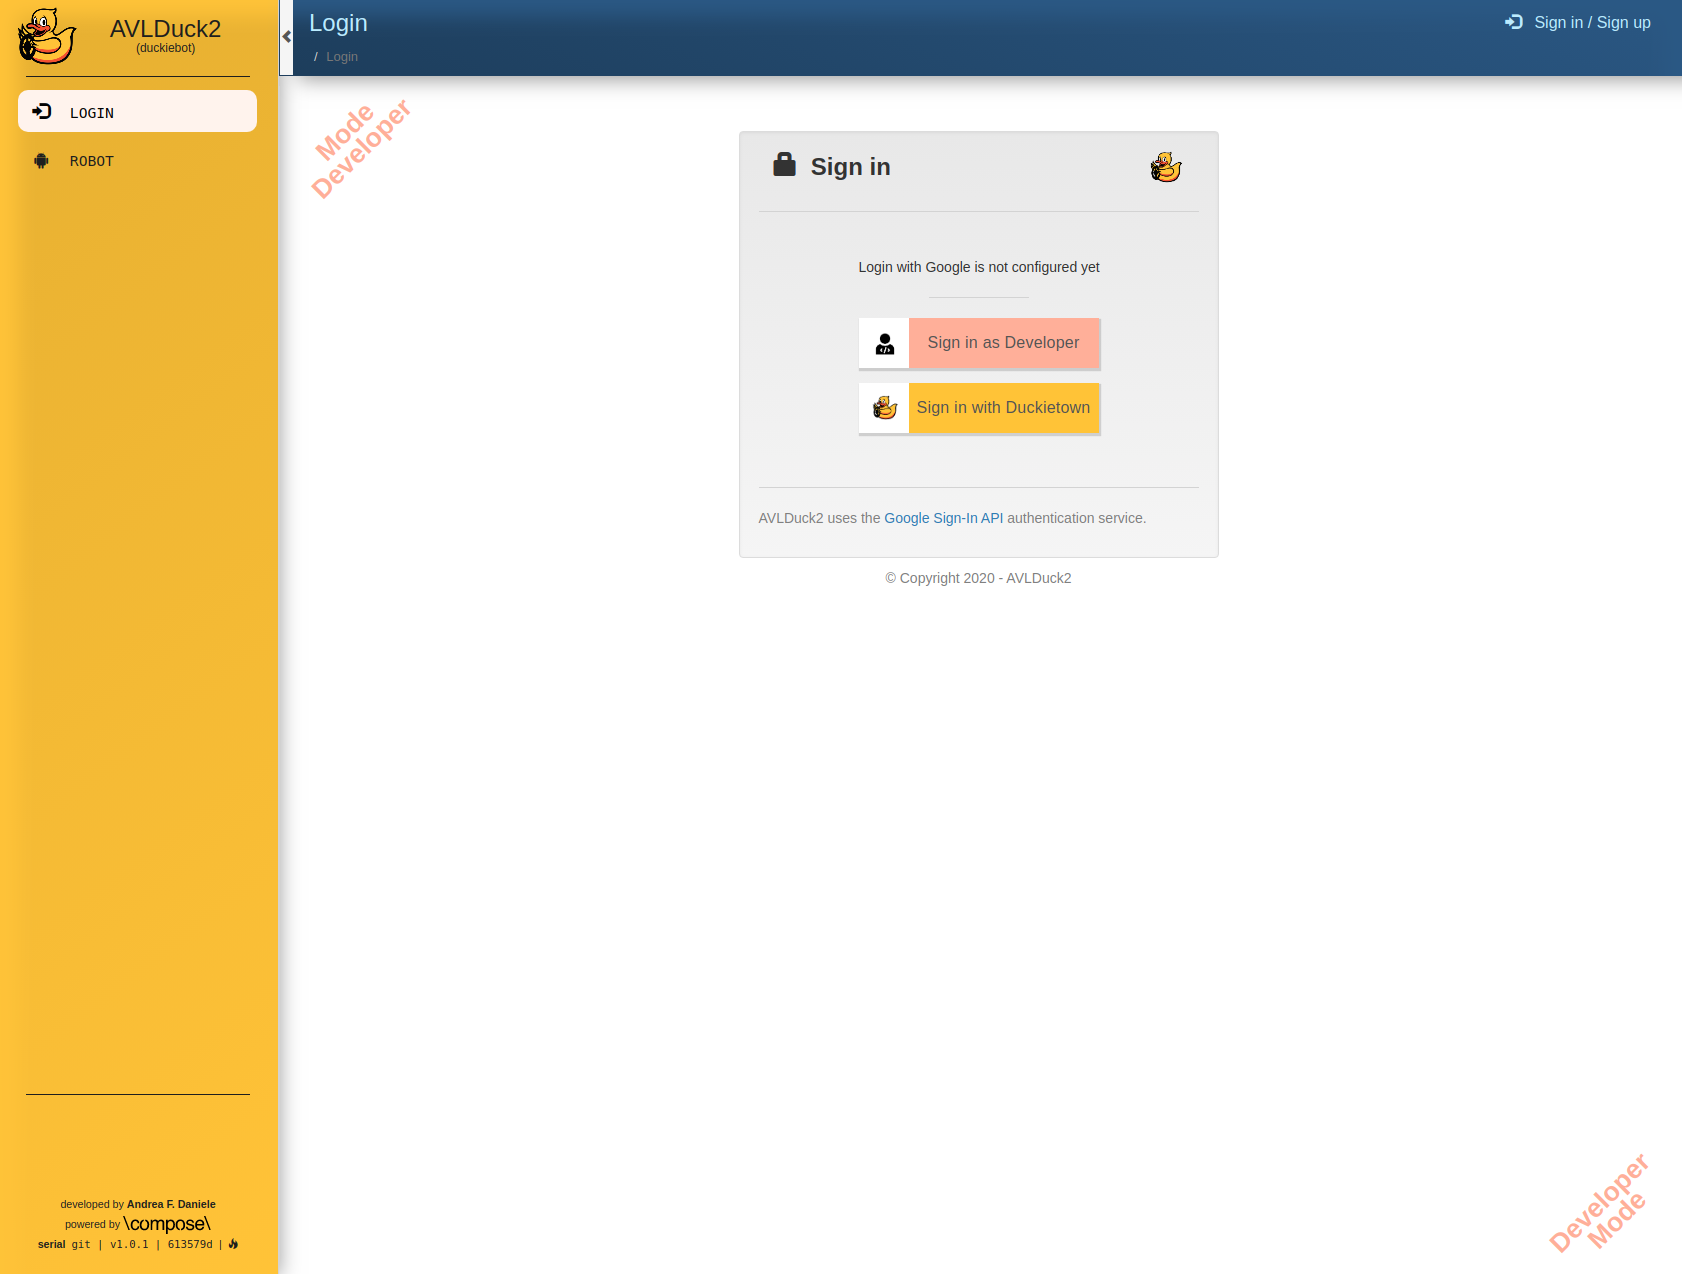
Fig. 46 Duckietown Dashboard login page.#
Note
Since your Dashboard does not have an administrator account yet, the first user to login will be automatically assigned the role of administrator. If you have multiple tokens, make sure to keep note of which one you used for the first login.
If you have not retrieved your personal Duckietown Token as described in Duckietown Token yet, it is now time to do so.
Once you have your token click on Sign in with Duckietown.
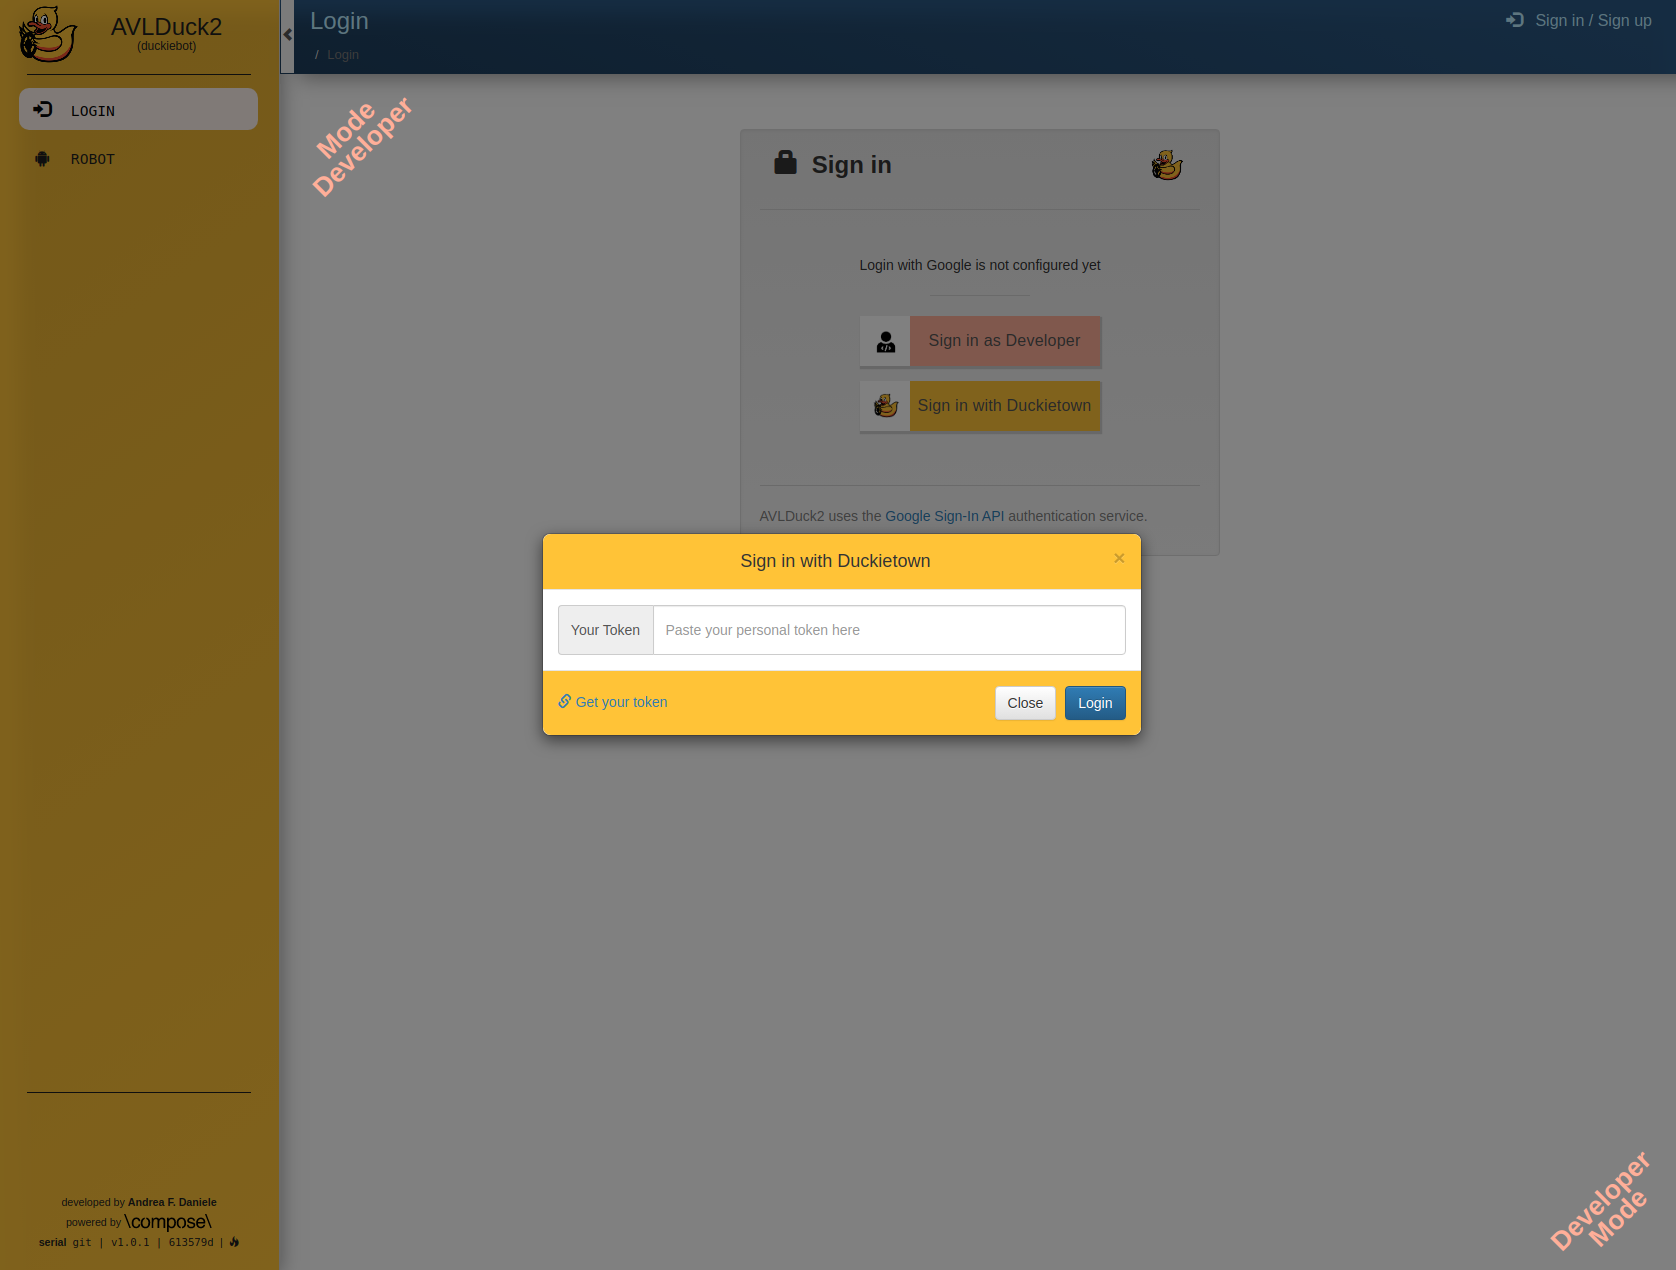
Fig. 47 Duckietown Dashboard sign-in dialog.#
If your token is active, you will be redirected to your profile page:
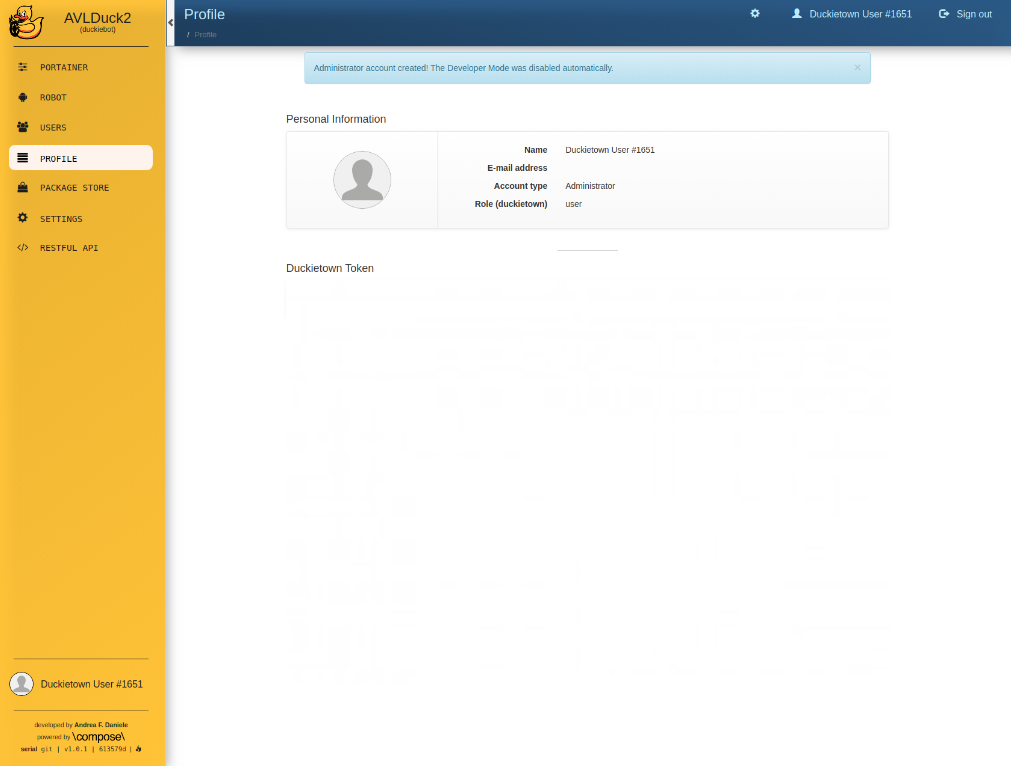
Fig. 48 Duckietown Dashboard user profile page.#
The left side bar shows many more pages, some immediately available, others under development. Some pages are accessible by all users (e.g., Robot), others only by administrators (e.g., Settings, Package Store).
Take your time to visit all the pages and get comfortable with the Duckiebot Dashboard. A deeper dive on each page is available at Duckiebot Dashboard.