LX: Planning - RRT
Contents
What you will need
Learning experience computer setup: General Procedure for Running Learning Experiences
(recommended) A successful Duckiematrix installation: Duckiematrix installation
(optional) A “Ready to Go” Duckiebot: Getting Started with your Duckiebot
What you will get
Running the Planning learning experience.
LX: Planning - RRT#
In this learning experience, you will build a robot planner designed to have a Duckiebot drive safely in a cluttered environment. We will represent the environment by a set of obstacles (in our simplified case they will be circular and rectangular). The first task will be to figure out how to tell if a robot configuration (pose) collides with an obstacle. From there, you can build a planner based on the Rapidly-exploring Random Tree (RRT) algorithm to find a path from a start configuration to a goal configuration without colliding with anything.
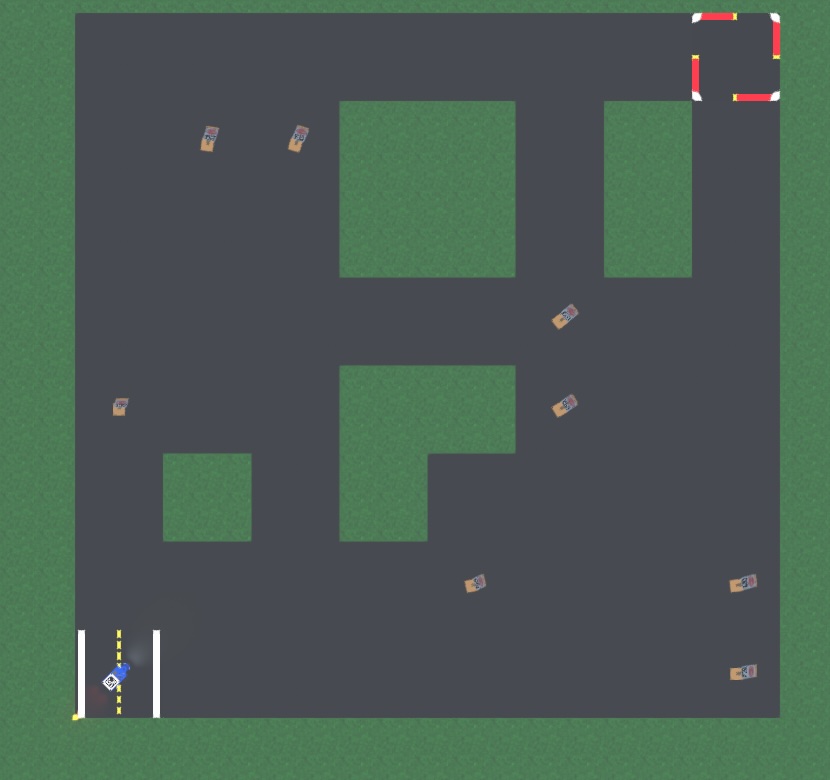
Fig. 188 Welcome to the Planning - RRT LX!#
Intended Learning Outcomes
After this learning experience, you will:
Understand and model configuration space (C-space) for a Duckiebot.
Build and implement a collision checker in C-space.
Review the Rapidly-exploring Random Tree (RRT) planning algorithm.
Create a differential drive steering function as a motion primitive for the RRT algorithm.
Implement the RRT algorithm and test it in the Duckiematrix.
Warning
If you are using a Duckietown Workspace, the WebGL (browser) versions of the Duckietown Viewer and
Duckiematrix can be run inside or outside the Duckietown Workspace. If
dts is installed on the host machine, commands that launch native
Duckietown Viewer apps or the Duckiematrix Renderer, such as dts matrix run, can also be run in either location. When one of these commands is
run inside the Duckietown Workspace, it is automatically delegated to the
host machine, where it launches the native UI. The --standalone flag
starts the Duckiematrix Engine in the environment where the command is run.
About these learning activities#
For guided setup instructions, lecture content, and more related to this LX, see our Self-Driving Cars with Duckietown MOOC on EdX.
Forking the repository#
The recommended way to use the repository for this LX is to make a fork and then clone that fork.
This can be done through the GitHub web interface. However, you are also free to simply clone this repository and get started.
1. Create a fork#
Navigate to the lx-planning repository.
Find and press the “Fork” button on the top right:
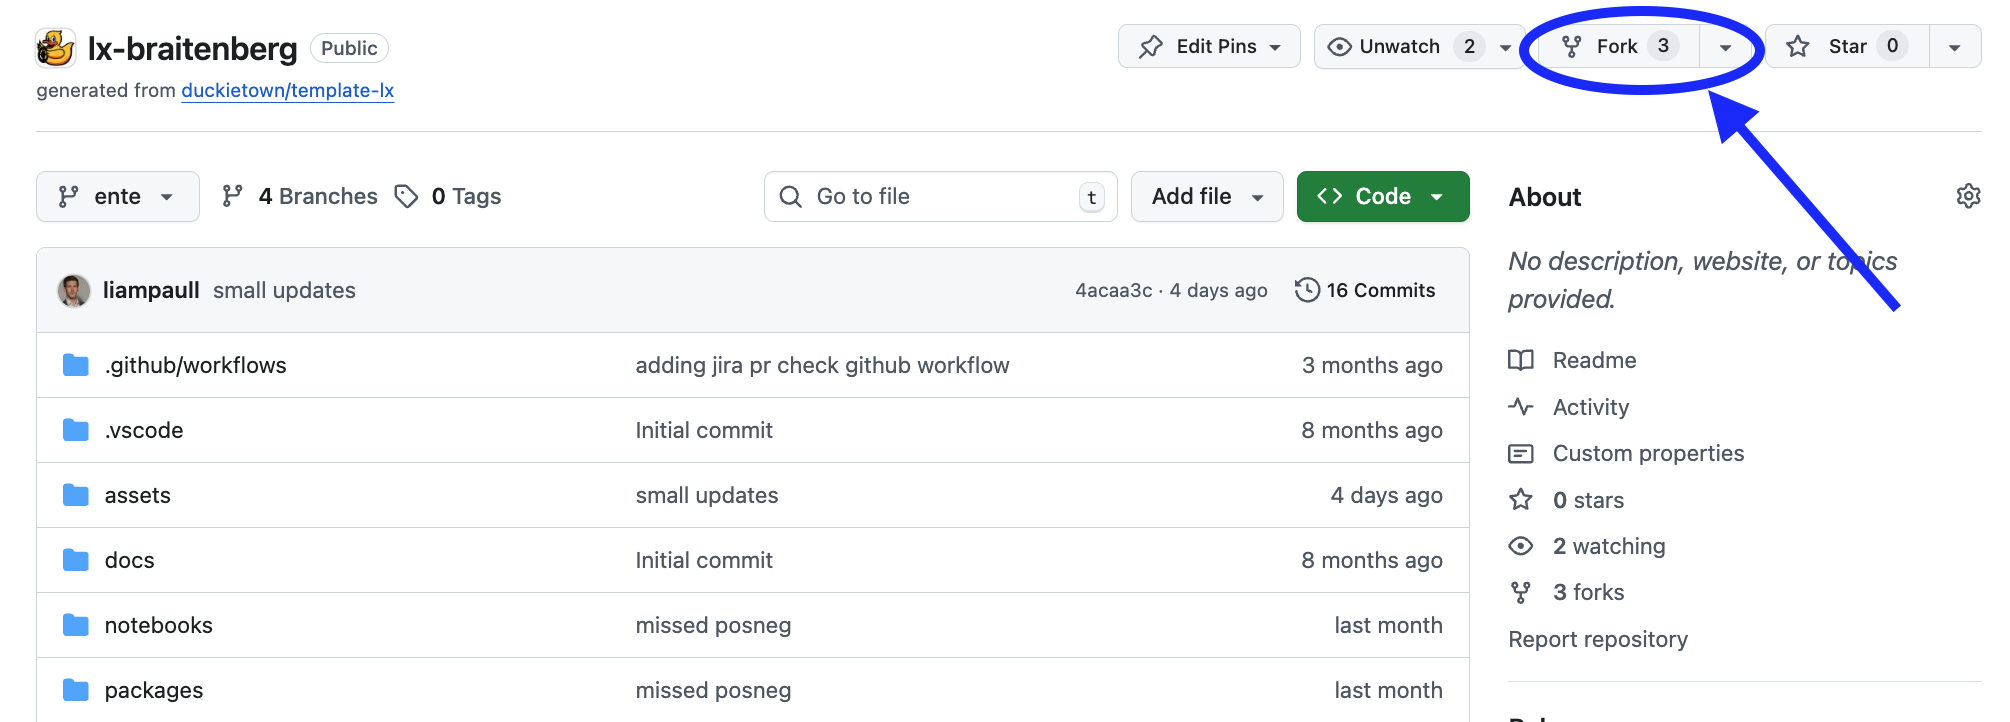
Fig. 189 Fork the LX to be able to make local changes while still being able to receive updates.#
This will create a new repository at: <your_github_username>/lx-planning.
2. Clone the fork#
Clone the fork on your computer, replacing your GitHub username in the command below, and navigate to the new folder:
git clone [email protected]:<your_github_username>/lx-planning
cd lx-planning
3. Configure the upstream repository#
Configure the Duckietown version of this repository as the upstream repository to synchronize with your fork.
List the current remote repository for your fork:
git remote -v
Specify a new remote upstream repository:
git remote add upstream https://github.com/duckietown/lx-planning
Confirm that the new upstream repository was added to the list:
git remote -v
You can now push your work to your own repository using the standard GitHub workflow, and the beginning of every exercise will prompt you to pull from the upstream repository, updating your exercises to the latest version (if available).
Keeping your System Up To Date#
💻 These instructions are for
entelearning experiences. Ensure your Duckietown Shell is set to anenteprofile (and not adaffyone). You can check your current profile with:dts profile list
To switch to an ente profile, follow the Duckietown Manual DTS installation instructions.
💻 Pull from the upstream remote to synchronize your fork with the upstream repository:
git pull upstream ente
💻 Make sure your Duckietown Shell is updated to the latest version:
pipx upgrade duckietown-shell
💻 Update the shell commands:
dts update💻 Update your laptop/desktop:
dts desktop update
🚙 Update your Duckiebot (even if it is a virtual one):
dts duckiebot update DUCKIEBOT_NAME
(where
DUCKIEBOT_NAMEis the name of your physical or virtual Duckiebot.)
Launching the LX through the Code Editor#
Important
All dts code commands should be executed inside the root directory of the learning experience (cd ./path-to-lxs-in-your-workstation/lx-planning).
SSL certificate#
Note
If you have not done so already, set up your local SSL certificate needed to run the learning experience editor with:
sudo apt install libnss3-tools
dts setup mkcert
Warning
If you are running Duckietown inside a Duckietown Workspace, make sure to install the certificate for your host machine as well.
Open the code editor with:
dts code editor [--bind 0.0.0.0]
Where the --bind flag can be used if using a Duckietown Workspace and the browser is not automatically opening this document. Wait for a URL to appear on the terminal, then click on it or copy-paste it in the address bar of your browser to access the code editor. The first thing you will see in the code editor is this same document, you can continue there.
The first thing you will see in the code editor is a version of these instructions. At this point you can start following the LX-specific indications shown in your code editor.
Walkthrough of Notebooks#
Inside the code editor, use the navigator sidebar on the left-hand side to navigate to the notebooks directory and open the first notebook.
Follow the instructions on the notebook and work through them in sequence.
In many cases the last notebook will instruct you to write some code inside the learning experience directory.
Once you have done that you will need to build your code before testing it.
Testing with the Duckiematrix#
To test your code in the Duckiematrix, attach either a physical or virtual robot to a Duckiematrix Entity. The steps below use a virtual robot; for instructions on attaching a physical robot, see Attaching a Robot to a Remote Engine.
1. Creating and starting virtual Duckiebot#
If you have not done so already (e.g., for a different LX), you can create a virtual Duckiebot with the command:
dts duckiebot virtual create --type duckiebot --configuration DB21J ROBOT_NAME
When you run the command, DTS prompts you to enter and confirm the password for the virtual robot’s duckie account; the characters you enter are not displayed. ROBOT_NAME is the hostname. It can be anything you like, subject to the same naming constraints of physical Duckiebots.
Then you can start your virtual robot with the command:
dts duckiebot virtual start ROBOT_NAME
You should see it with a status Booting and finally Ready if you look at dts fleet discover:
       | Hardware |   Type    | Model |  Status  |    Hostname
-----  | -------- | --------- | ----- | -------- | -------------
ROBOT_NAME |  virtual | duckiebot | DB21J |  Ready   | ROBOT_NAME.local
Once you are done for the day, do not forget to stop your virtual robot:
dts duckiebot virtual stop ROBOT_NAME
If in doubt if any of your virtual Duckiebots in running or not, you can check the status of your virtual scuderia at any time with:
dts duckiebot virtual list
2. Starting the Duckiematrix with the virtual Duckiebot#
Now that your virtual robot is ready, you can start the Duckiematrix. From this LX directory:
dts code start_matrix [--no-renderer]
Note
If you are using a Duckietown Workspace, run dts code start_matrix --no-renderer inside the Duckietown
Workspace. If dts is installed on the host machine, then run dts matrix run inside or outside the Duckietown Workspace. When the command is run inside the
Duckietown Workspace, the command is automatically delegated to the host
machine, where it launches the native Renderer.
You will see the Unity-based Duckiematrix simulator start up. The startup screen will look like:
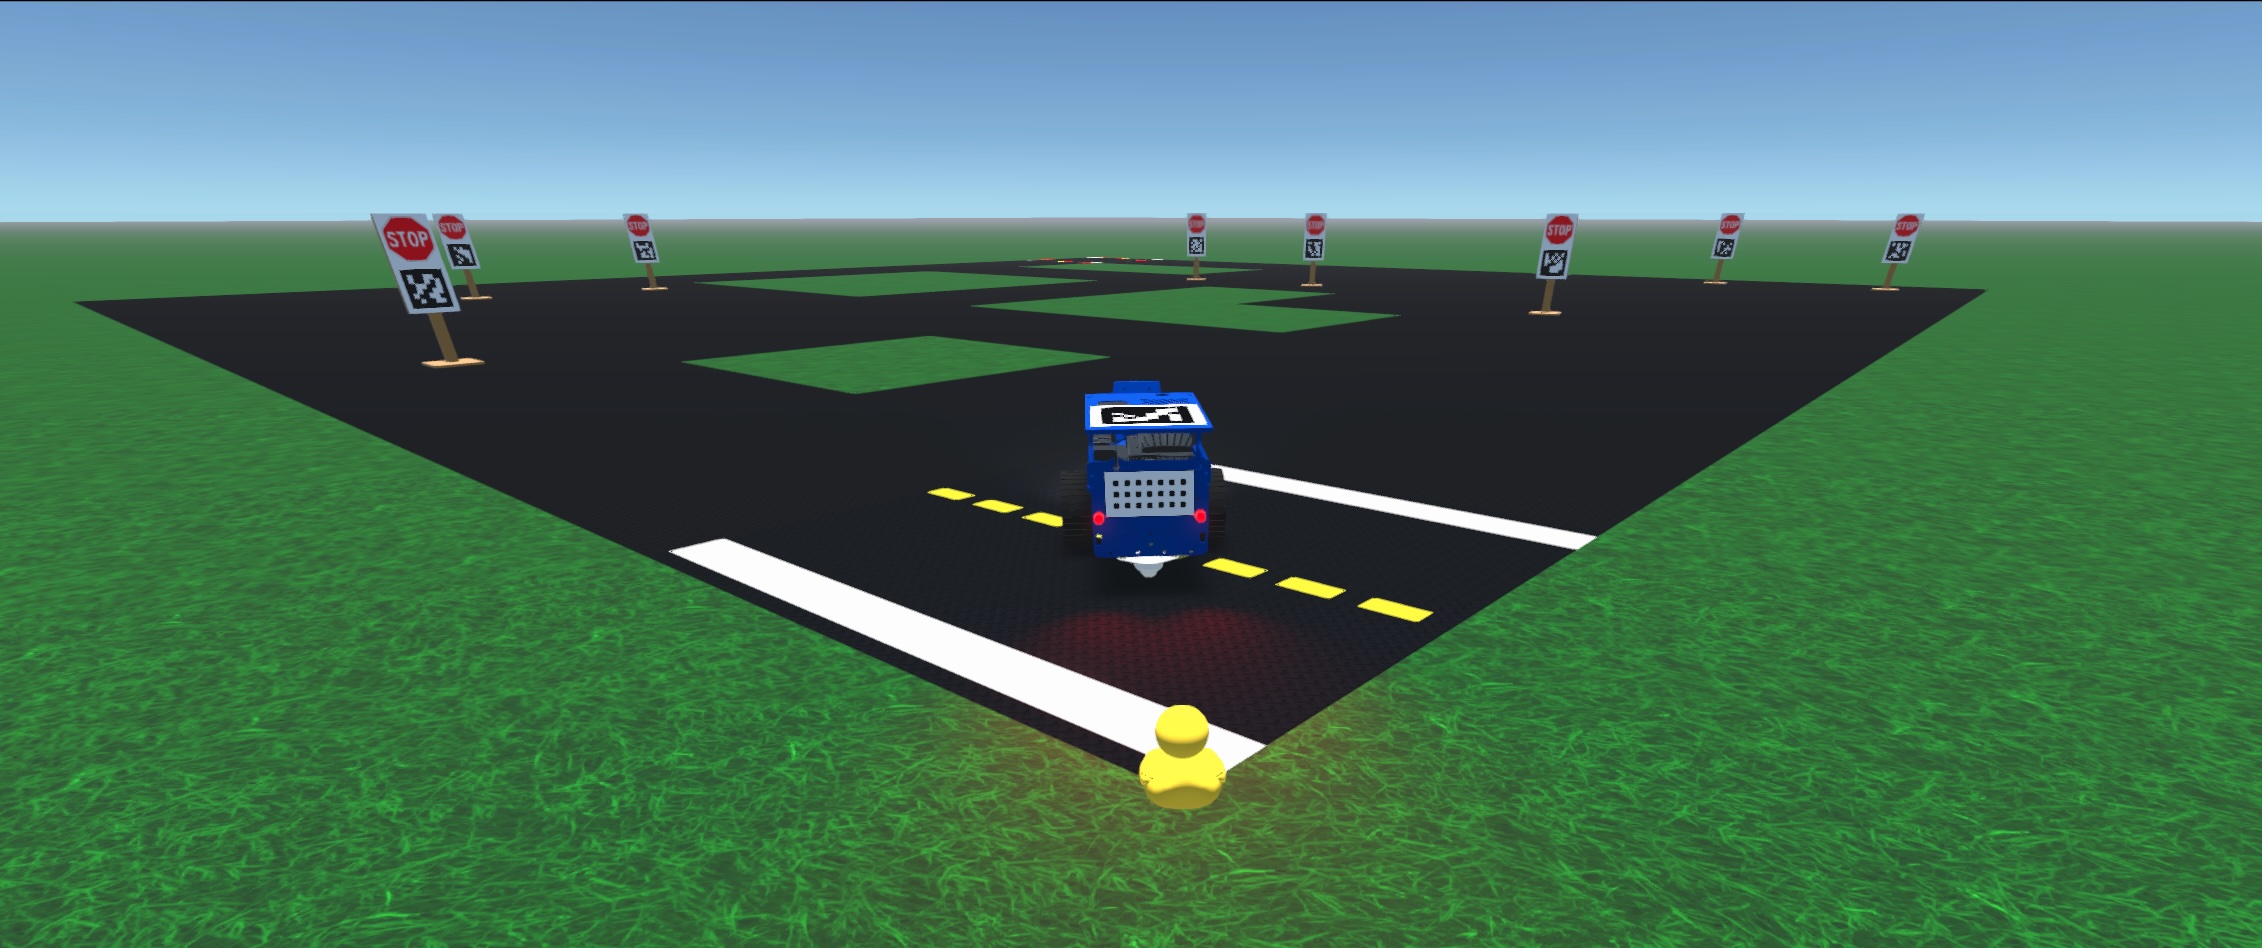
Fig. 190 In this LX you will be greeted by a particular Duckietown with signs and potholes/missing tiles.#
Remember that to activate the Duckiematrix window, click anywhere on it and press [ENTER]. You can then at any time press ESC to disengage the mouse.
From here you can move the duckie towards the Duckiebot with the W, A, S, and D keys, or you can move the camera angle to view the Duckiebot with the mouse. If you are close enough to your Duckiebot, you can jump on with the ‘E’ key. You can then drive the Duckiebot around with the W, A, S, and D keys. All available keyboard commands are summarized in the “Settings” tab at the bottom left of the Duckiematrix window.
If you get very lost from the road and you want to come back, you can do so with the R key.
Building the Code#
From inside the learning experience root directory, you can build your code with:
dts code build -R ROBOT_NAME
Deploying the code on a virtual Duckietown robot#
🚙 To test your code on your physical Duckiebot you can do:
dts code workbench -R DUCKIEBOT_NAME
💻 To test your code on a virtual robot in the Duckiematrix:
dts code workbench -m -R ROBOT_NAME
Note
The -m flag indicates we are targeting a virtual robot in the matrix.
Troubleshooting#
Troubleshooting
SYMPTOM
When running dts code editor I get an error: dts : No valid DTProject found at '/path/to/lx'
RESOLUTION
Make sure you are executing the commands from inside a learning experience folder (e.g., */lx-planning/)
Troubleshooting
SYMPTOM
My virtual robot hangs indefinitely when I try to update it.
RESOLUTION
Try to restart it with the following command, where ROBOT_NAME is the name of your virtual robot:
dts duckiebot virtual restart ROBOT_NAME